Gym Management System
Documented by Mojoomla - at October 09 2015
GYM Master - GYM Management System V19
Documented by Mojoomla - at June 03 2021
A) Introduction
Gym Management System for Cake php is ideal way to manage complete Gym operation. It has different user roles like Staff Member, Member, accountant and admin user.
This user guide covers all options that this cake php scripts provides. Please read the documentation carefully as it probably contains answers to most of questions that may arise. If you feel some aspect is not covered or have some questions, contact us via e-mail sales@mojoomla.com. We will do our best to answer you in shortest time.
CakePHP 3 Requirement
- HTTP Server. For example: Apache. Having mod_rewrite is preferred, but by no means required.
- PHP 5.5.9 or greater[5.6 Recommended]
- mbstring PHP extension.
- intl PHP extension.
Please confirm above requirements to your host for smooth installation process.
1). FTP Upload
- Unzip the " gym_master.zip " file
- Upload the extracted "gym_master" folder into your server.
- and then open in web browser,you will see installation wizard.
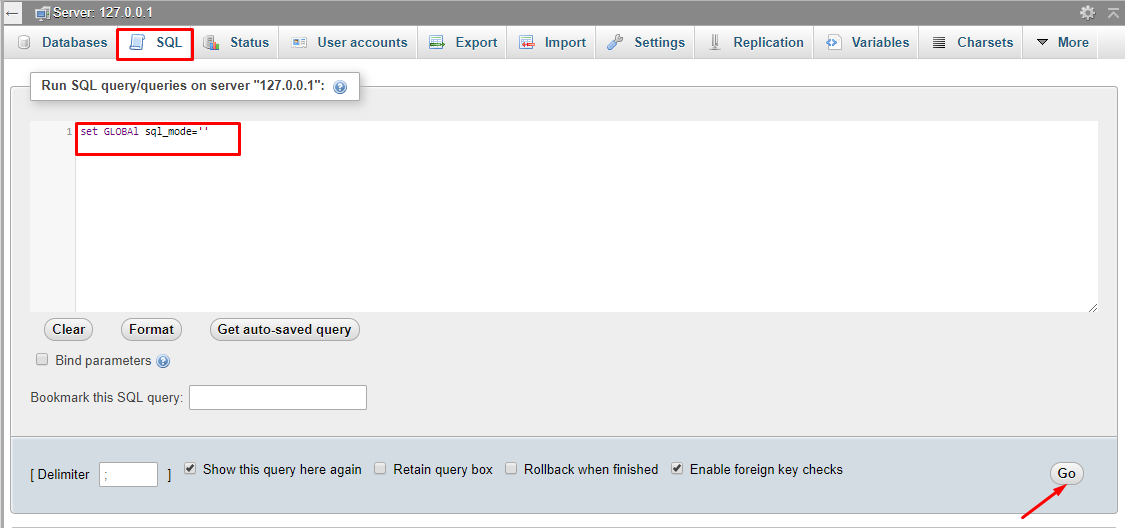
- Go to your root database and execute below query.
NOTE :- set GLOBAL sql_mode=' '
B) Installation:
1).Server Requirement
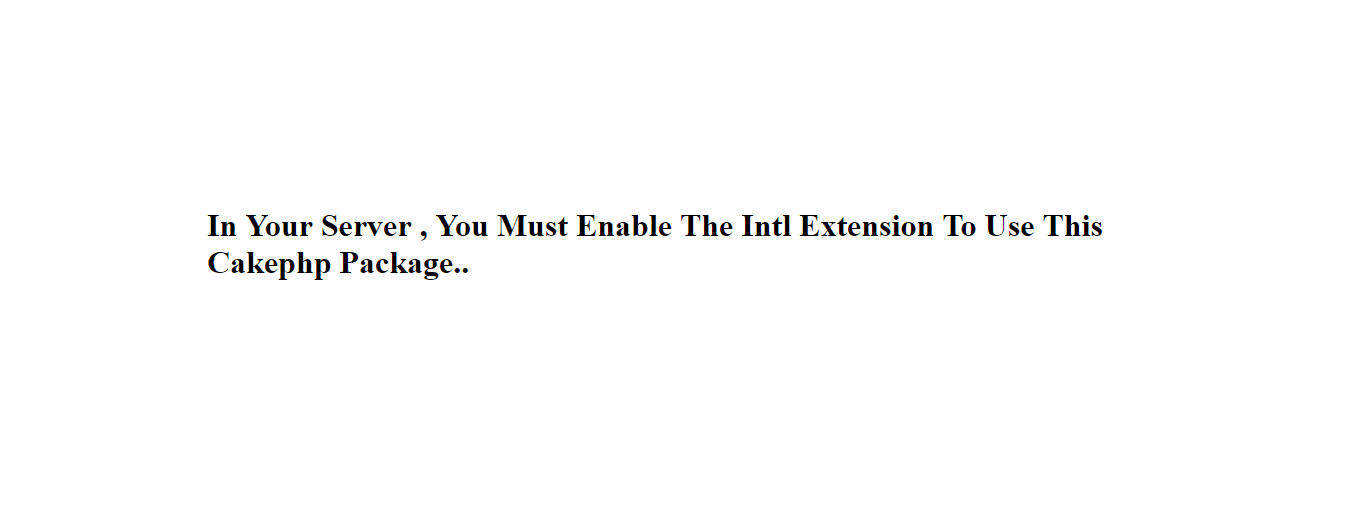
If Your Server's Intl Extension Is Disable Then You Show This Message.
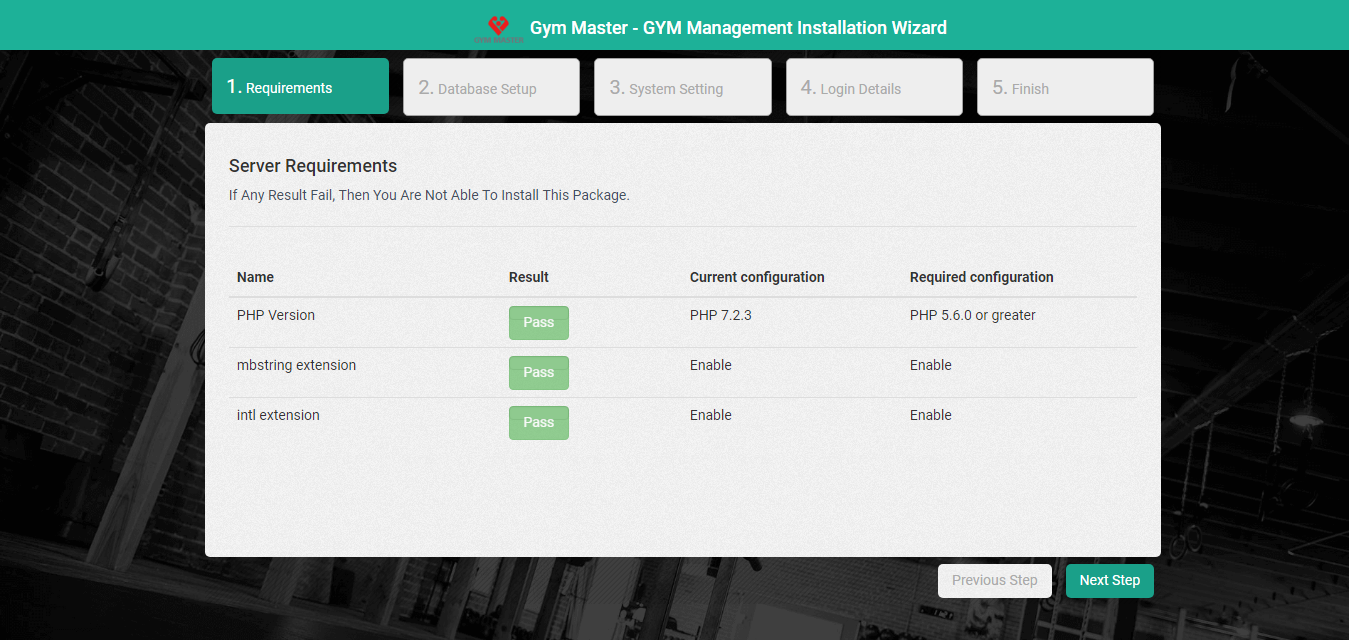
- PHP Version : Check Your PHP Version
- mbstring extension : Check Your mbstring Extension
- intl extension : Check Your intl Extension
2).Database setup
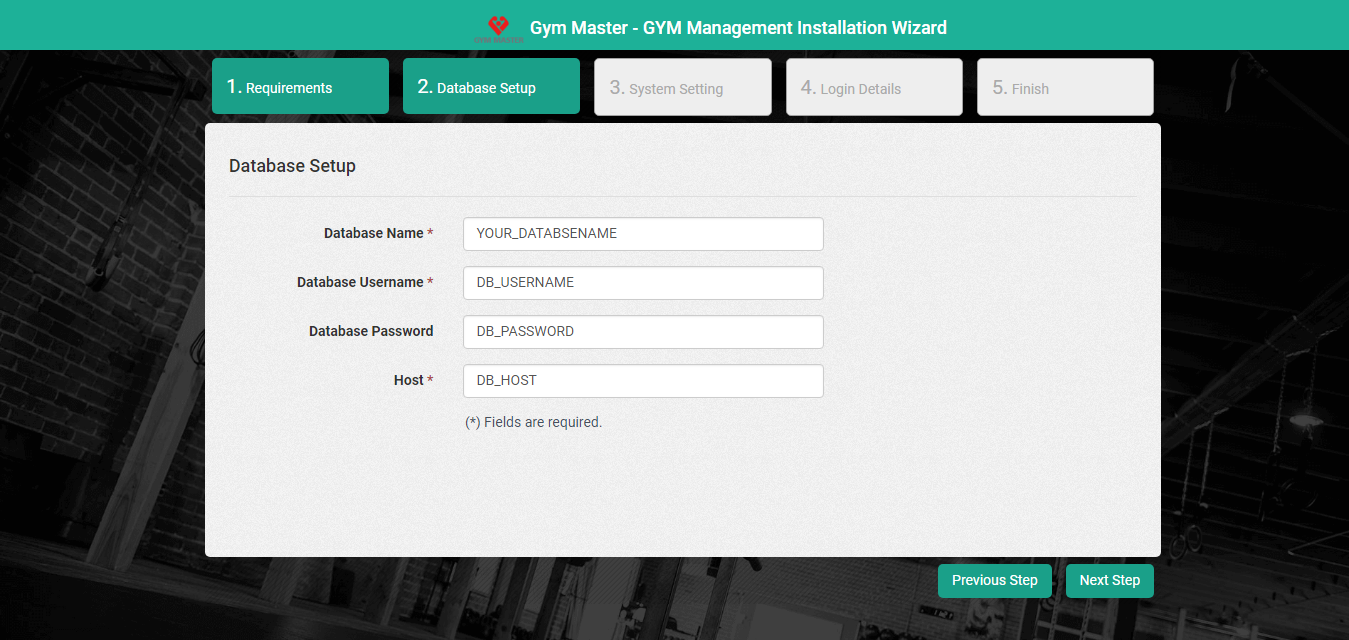
- Database Name : Enter Database name
- Database User name : Enter Database Username
- Database Password : Enter Database Password
- Host : Enter Host Name
3).System Setting
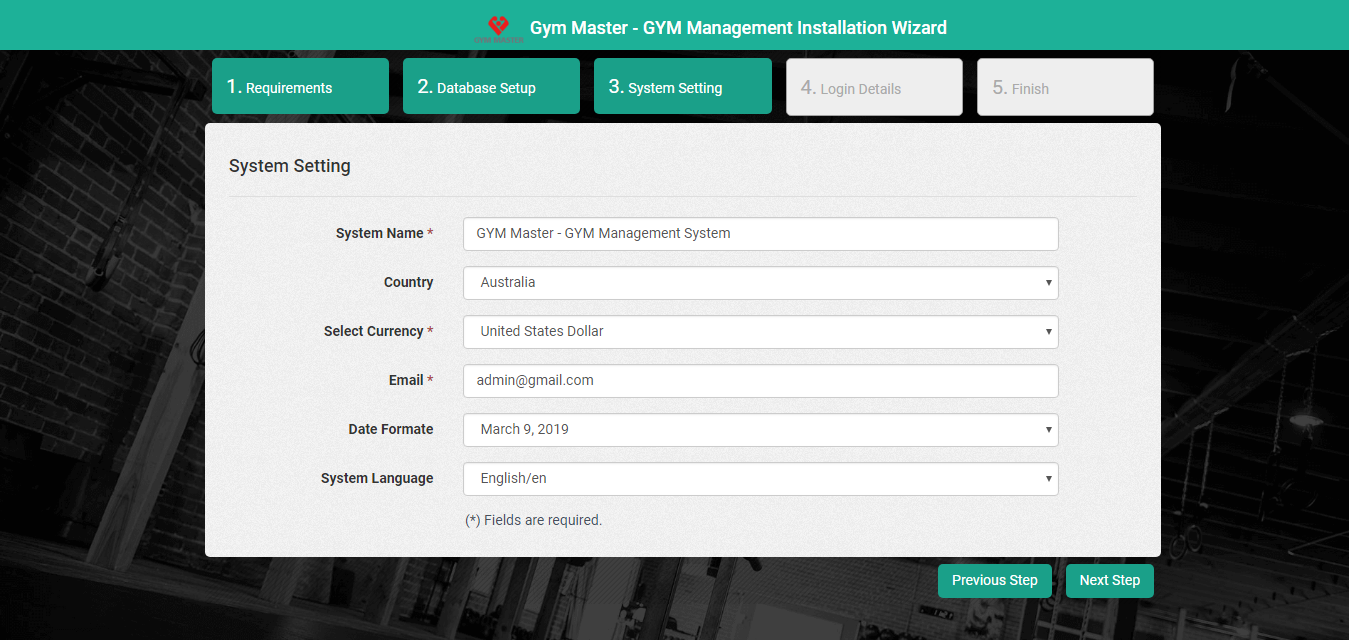
- System Name :Enter your System name.
- Country :Select your Country Name.
- Select Currency :Select Currency.
- Email :Enter your email Address.
- Date Format :Select Date Format.
- Calander Language :Select Calander Language.
4).Login Details
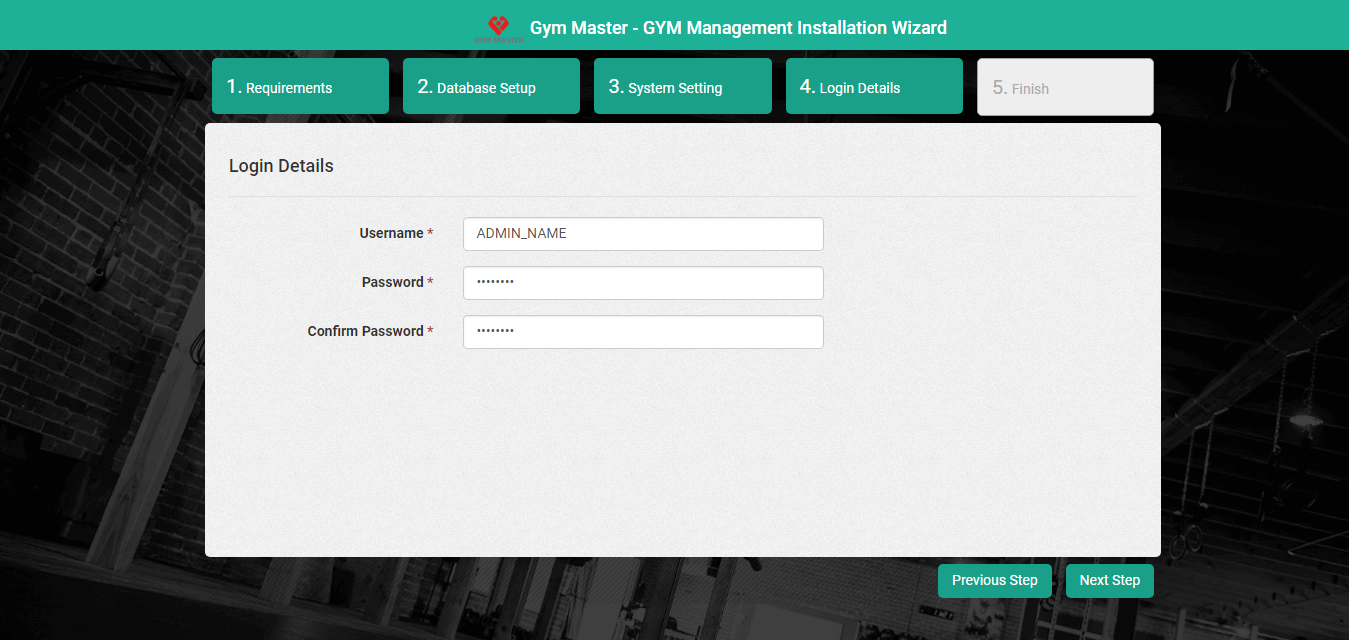
- Username :Enter admin username.
- Password :Enter admin password.
5).Finish
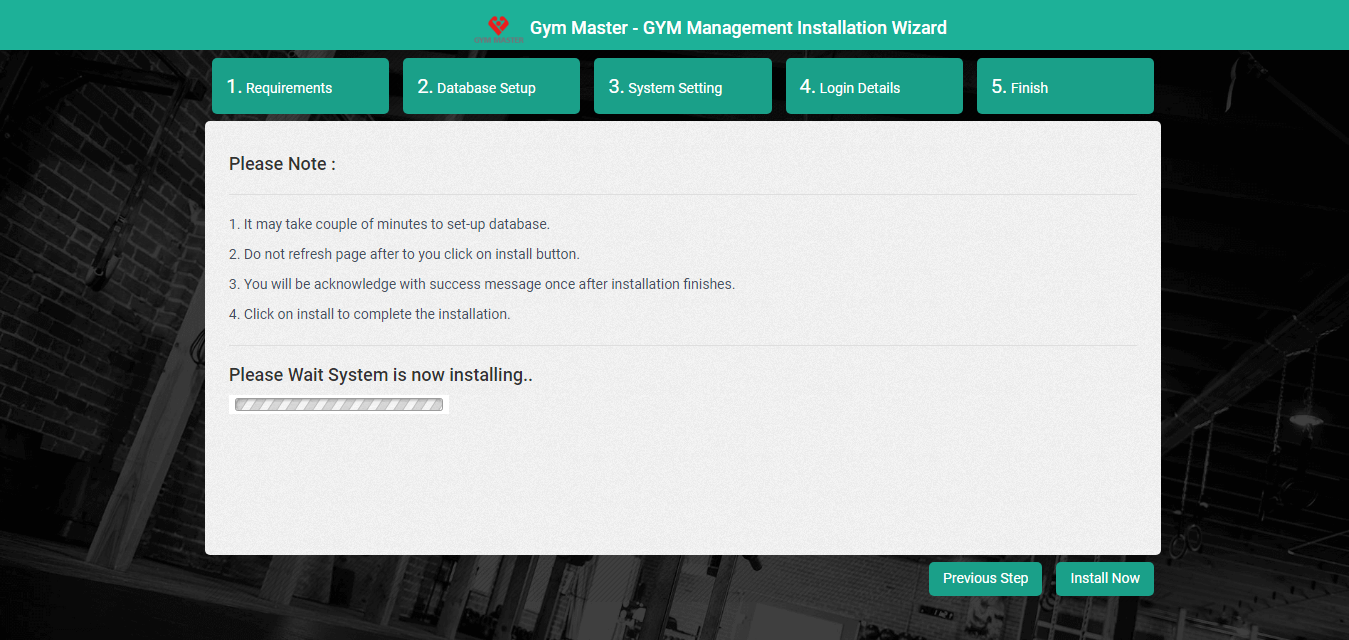
- Read the notes and click on install now.
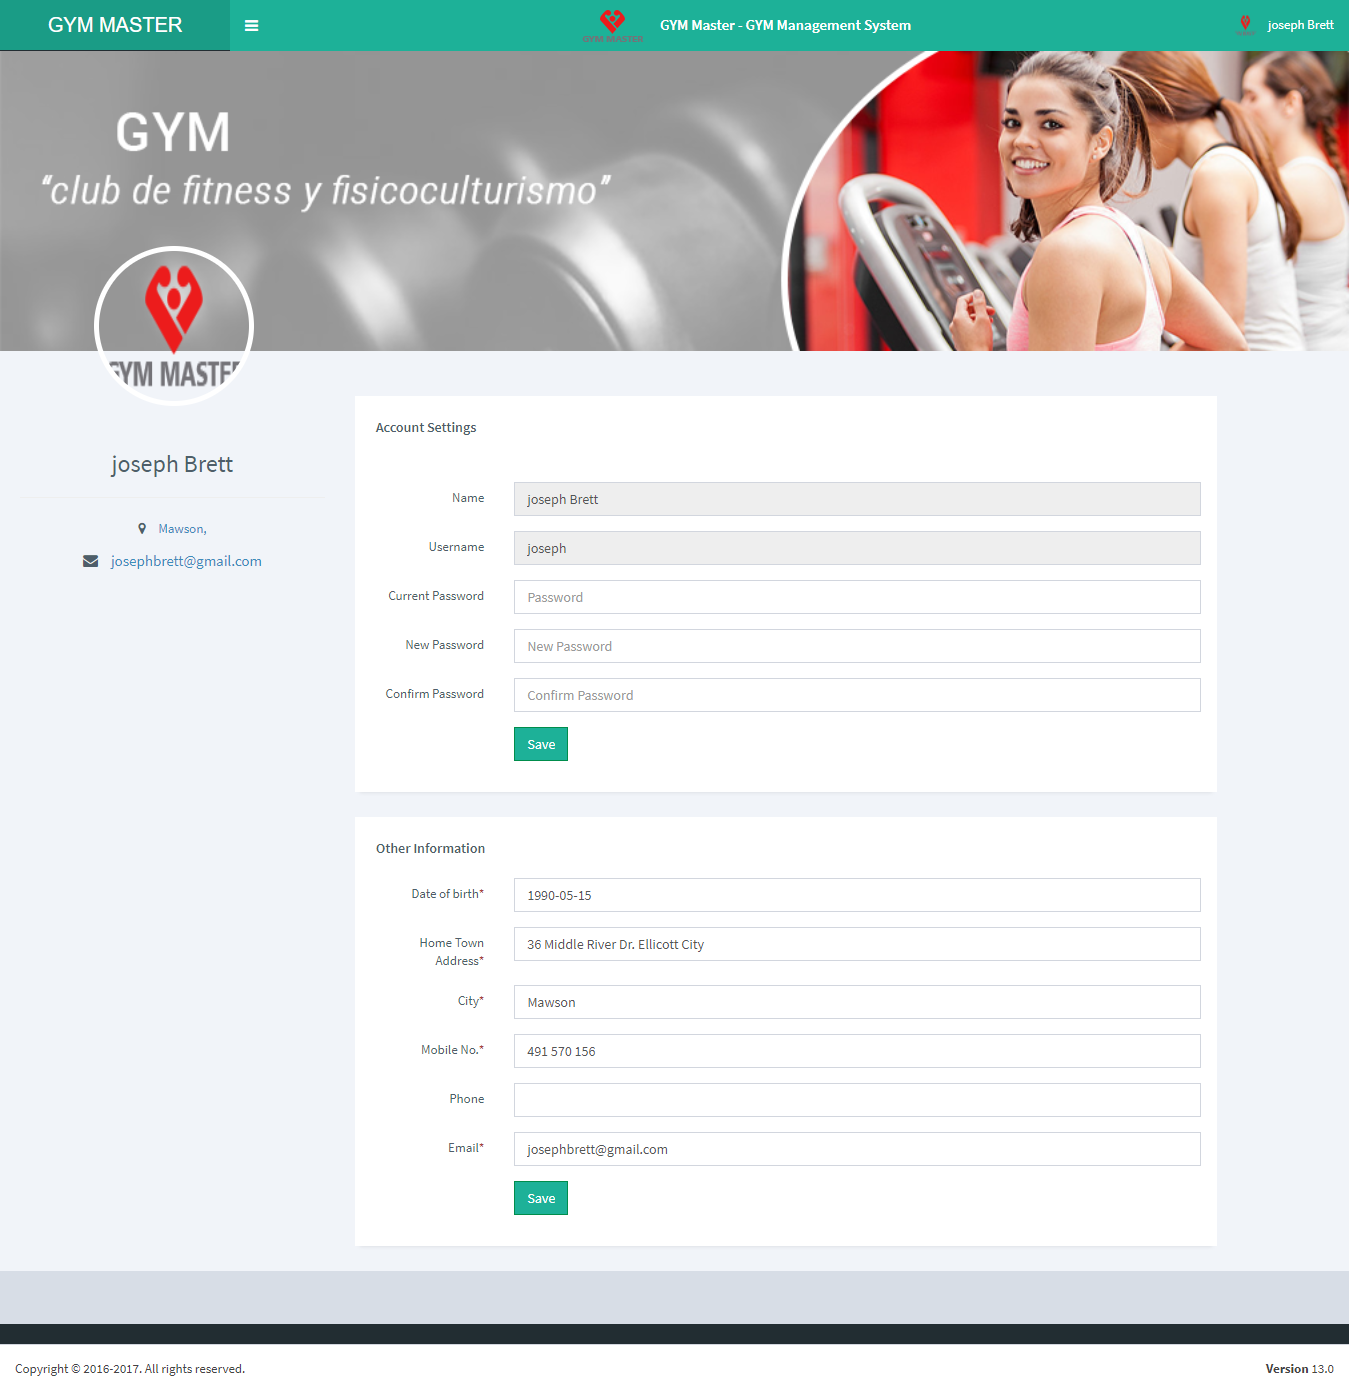
Once System installed successfully.You can login into the system with entered username and password.
You can reset you password by going to profile page.Click on top right corner menu and click on profile.
5) Update :
No need to follow below steps if you are installing first time.
Migration to Verion 19.0 for already installed gym master application
Follow the steps to update system
- Extract update_v19 folder from gym_mater.zip file
- Open the extracted update_v19 folder from the gym_master.zip file.
- Copy src and webroot folders files and replace it in already installed src and webroot folder in gym_master directory.
- NOTE : PLEASE BACKUP YOUR SRC AND WEBROOT FOLDER BEFORE UPDATING.
Mobile API :
- Mobile API files are located at "gym_master/webroot/nghome" folder
- NOTE: Do not change directory name or location.Otherwise API will stop working.
6) Frontend Login Page:
- Login Page :
After completing installation wizard you will see this login page.You can now login with admin username and pass that you have set during installation wizard
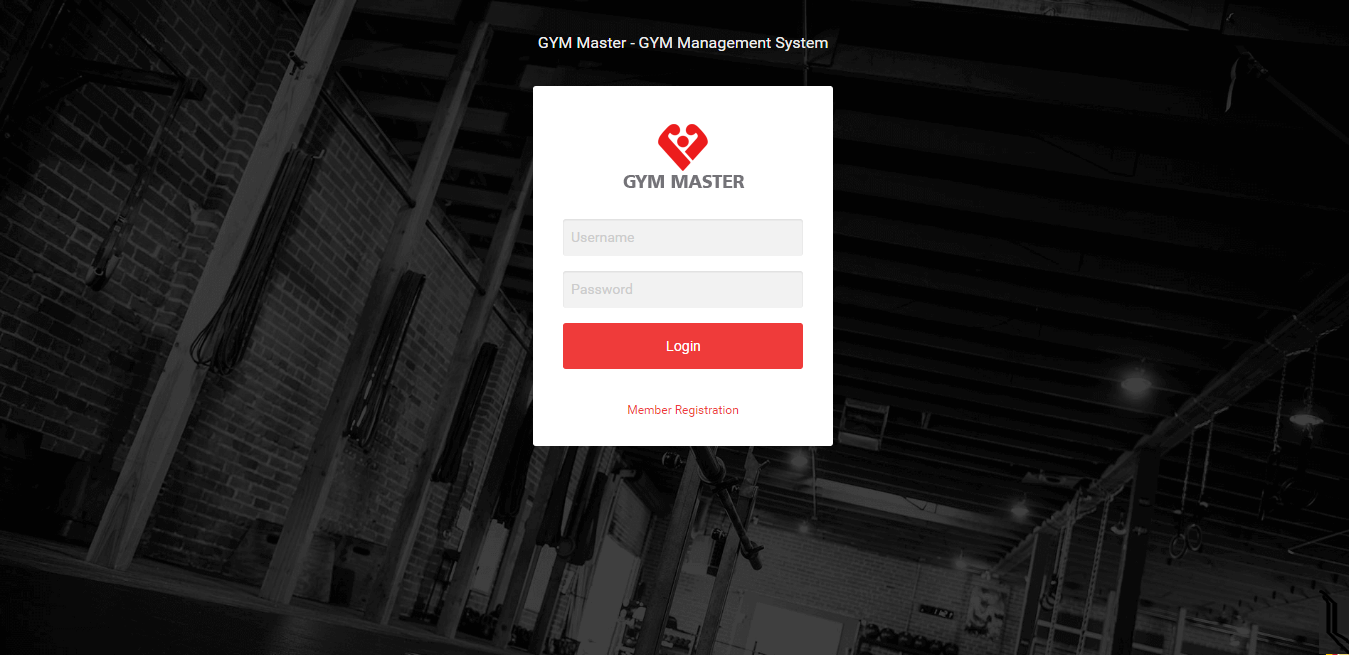
Now all user can login from this login page.
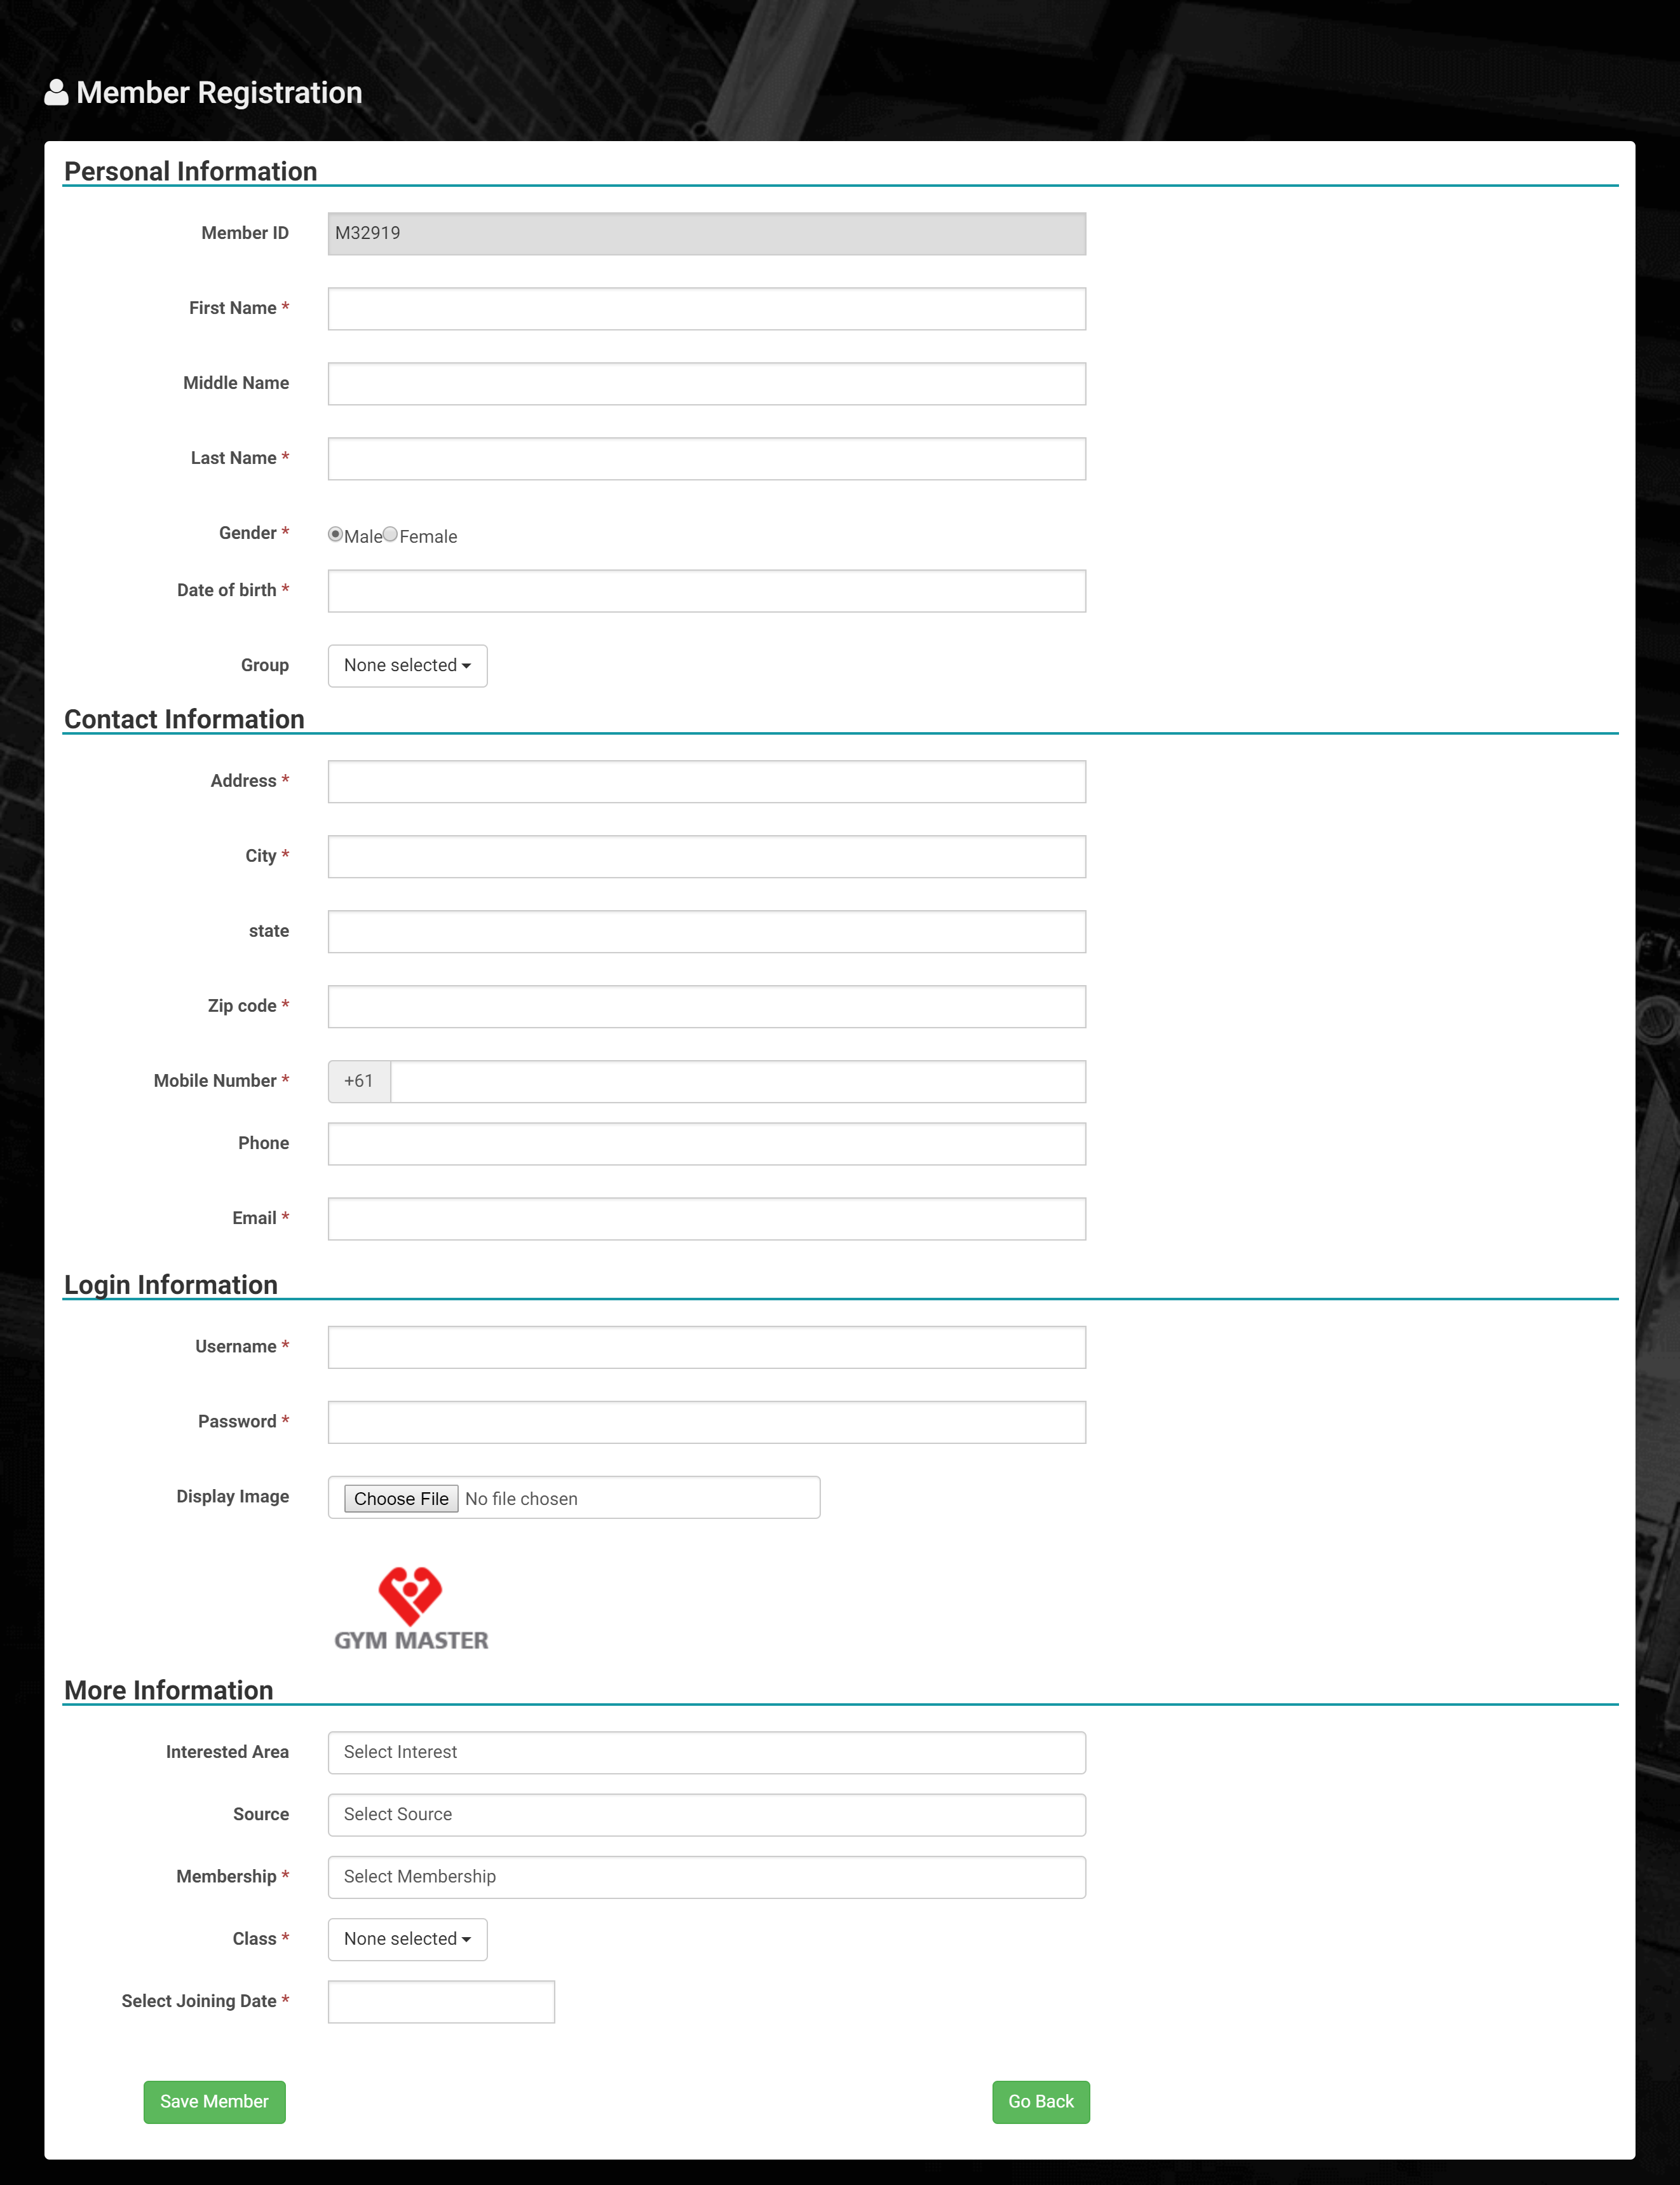
7) Member Registration:
Member Can be register by clicking on member registration link on login page.
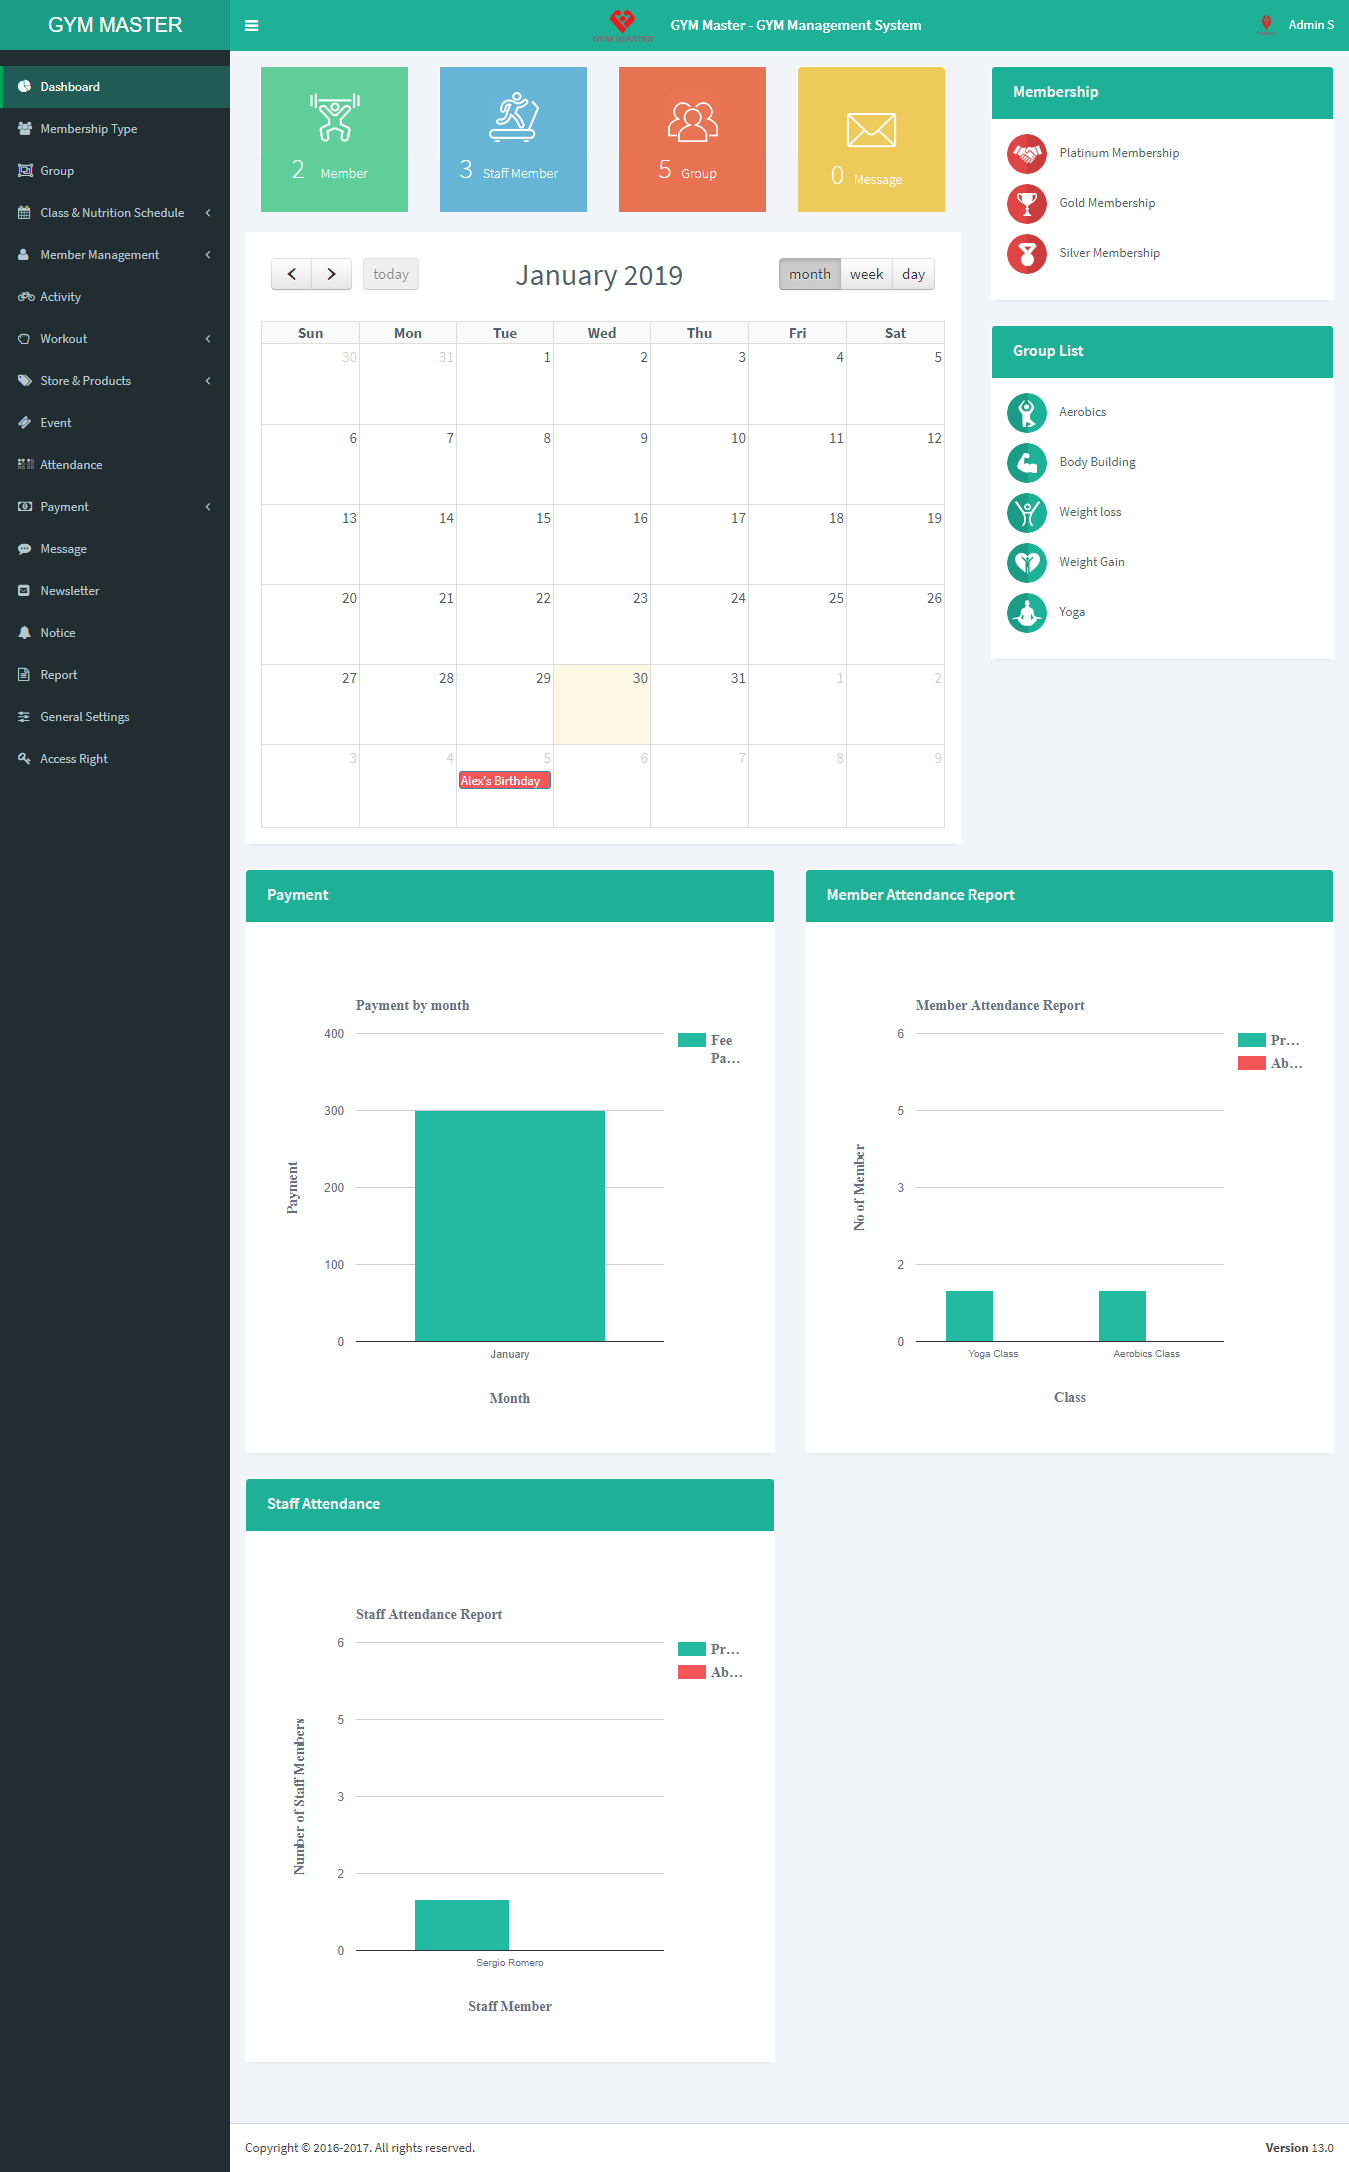
C) Admin View:
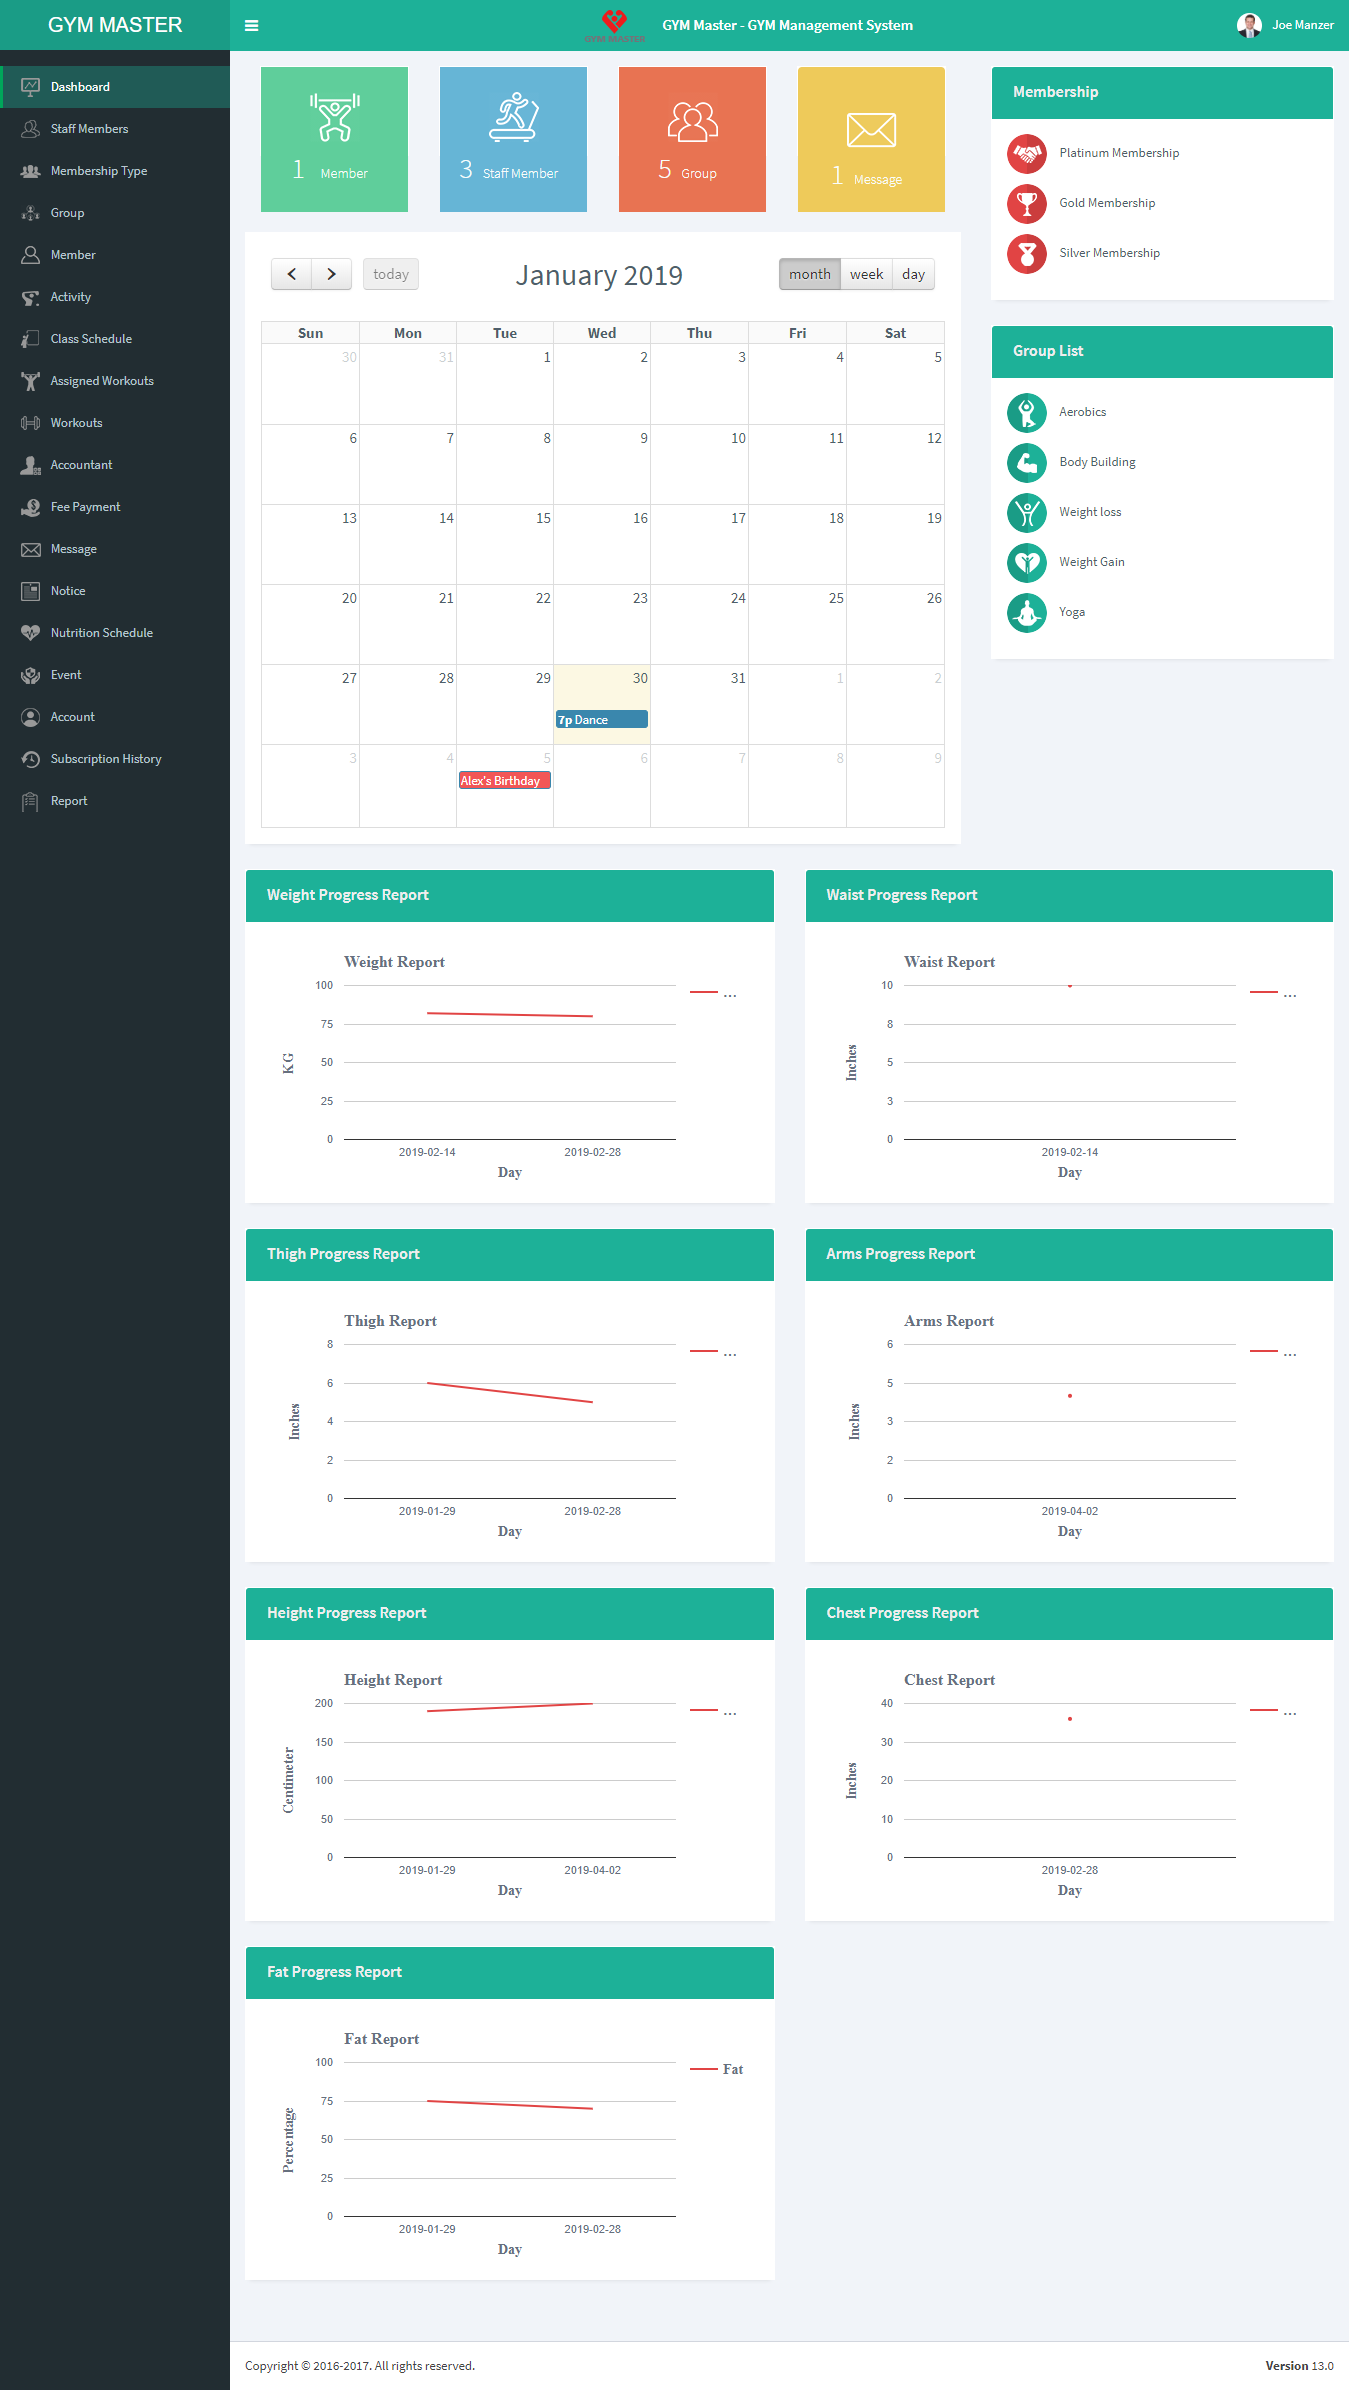
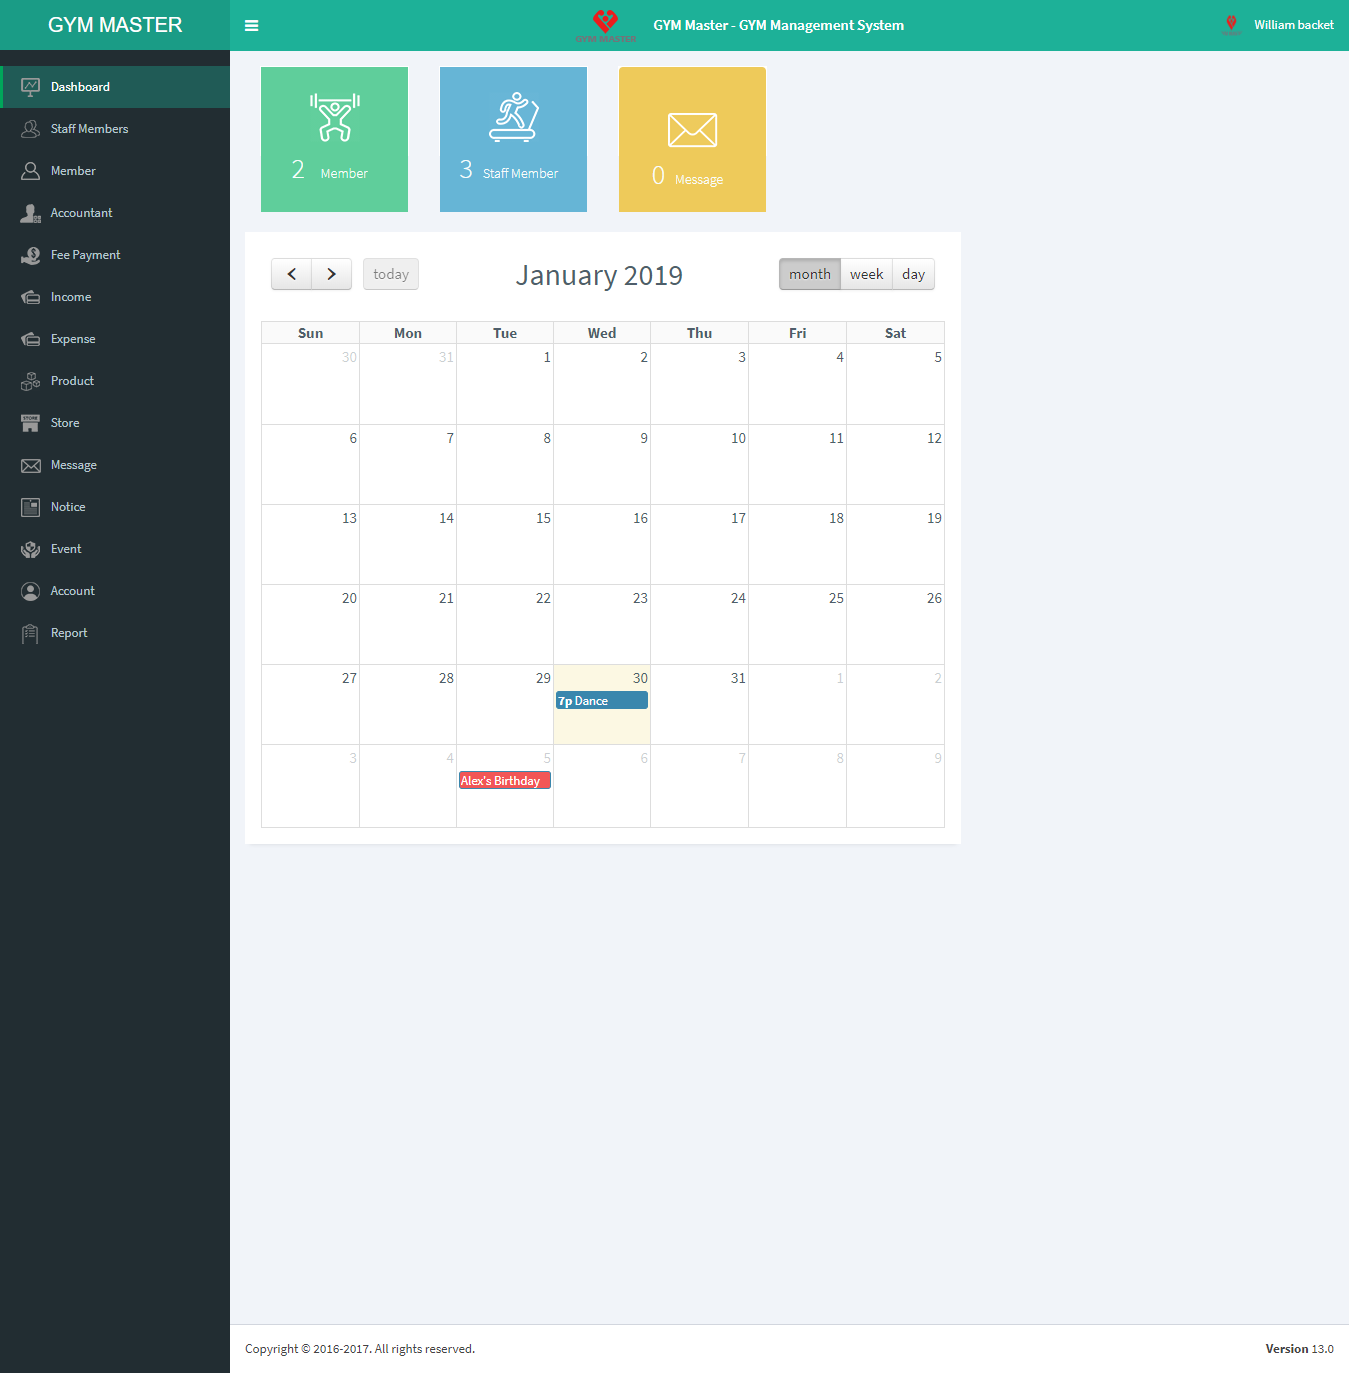
Dashboard: Admin side dashboard view.
1) General Settings
Click on General Setting to start setting up the system . You are advised to fill all fields of General settings as these details are used in different section of whole system .You can change these settings as per your requirement.

- Gym Name : Enter name of gym.
- Starting Year : Enter starting year of the gym.
- Gym Address : Enter address of the gym.
- Official Phone No : Enter official phone number of the gym.
- Country : Enter country of gym Located in.
- System Language : Select the language to change the whole system language.
- Set Language to RTL : Check this box to enable RTL support.
- Date Picker Language : Select datepicker box language.
- E-mail : Enter official e-mail address of the gym.
- Date Format : Select date format.
- Calendar Language : Select Calendar Language.
- Time Zone : Select Time Zone.
- Gym Logo : Enter gym logo.
- Cover Image : Upload gym photo and this will be used for profile background.
- Weight : Enter weight measurement unit's name.
- Height : Enter height measurement unit's name.
- Chest : Enter chest measurement unit's name.
- Waist : Enter waist measurement unit's name.
- Thigh : Enter thigh measurement unit's name.
- Arms : Enter arms measurement unit's name.
- Fat : Enter fat measurement unit's name.
- Member can view other member's details : If you want one member to view other members list then enable it.
- Staff Member can view own trainee member's details : If you want staff member can see own trainee members list then enable it.
- Enable Sendbox: If you want to test paypal payment then it should be enable.
- Paypal Email Id: Enter your paypal email id.
- Select Currency: From here select your currency.
- Enable Alert Mail : If you want to send membership alert mail to the members before expiry date.
- Reminder Before Days : Enter Number of days remaining to expiry.It will send a email when this days are remaining before expiry.
- Reminder Message : Enter reminder message.
- ShortCodes For Notification Mail Message Content : You can set your custom expiry alert mail content.Shortcode will be replaced when auto email sent.(Eg.GYM_MEMBERNAME will be replaced with actual member name)
- Member can Message To other's : If you want to enable messaging between users use this.
- Left Header Text : Enter Left Header Text above left menu.
- Footer Text : Enter Footer Text.
System Settings
Measurement Units
Member Privacy Setting
Paypal Setting
Membership Alert Message Setting
Message Setting
Header & Footer Text
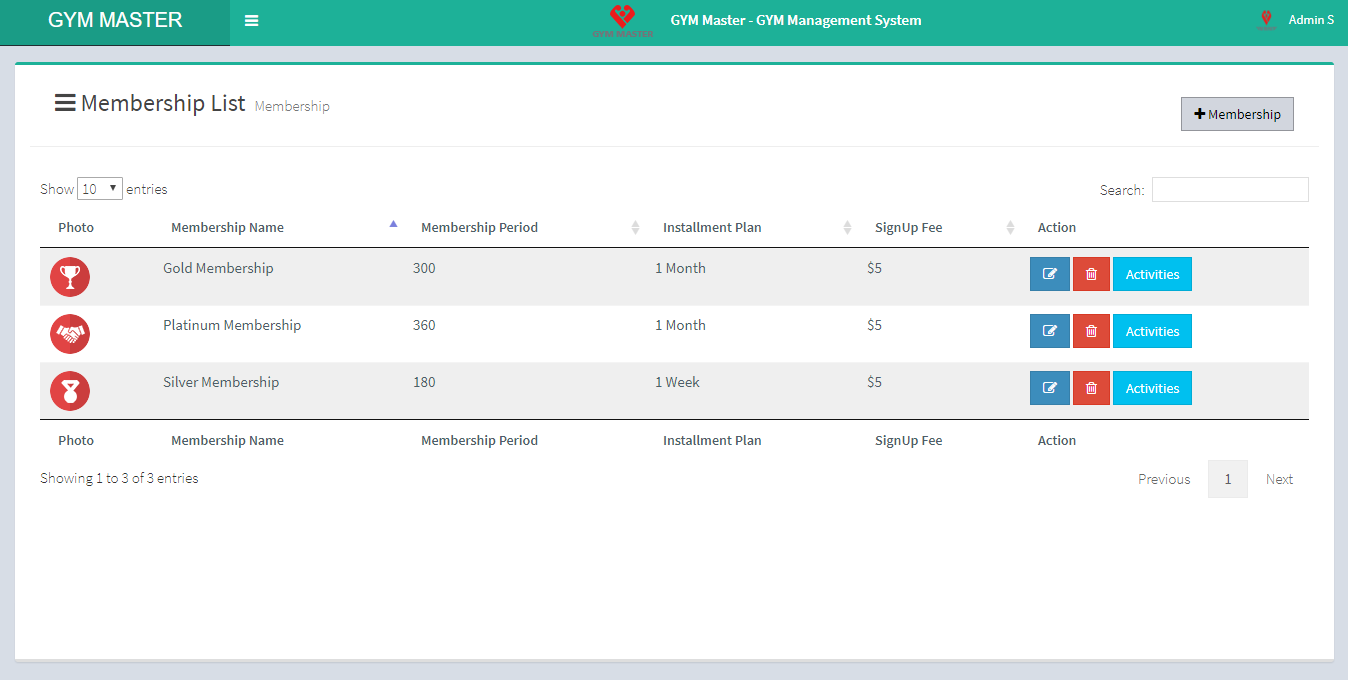
2) Membership Type:
You can add new membership type and manage all types of membership as well as view complete list of all Membership.
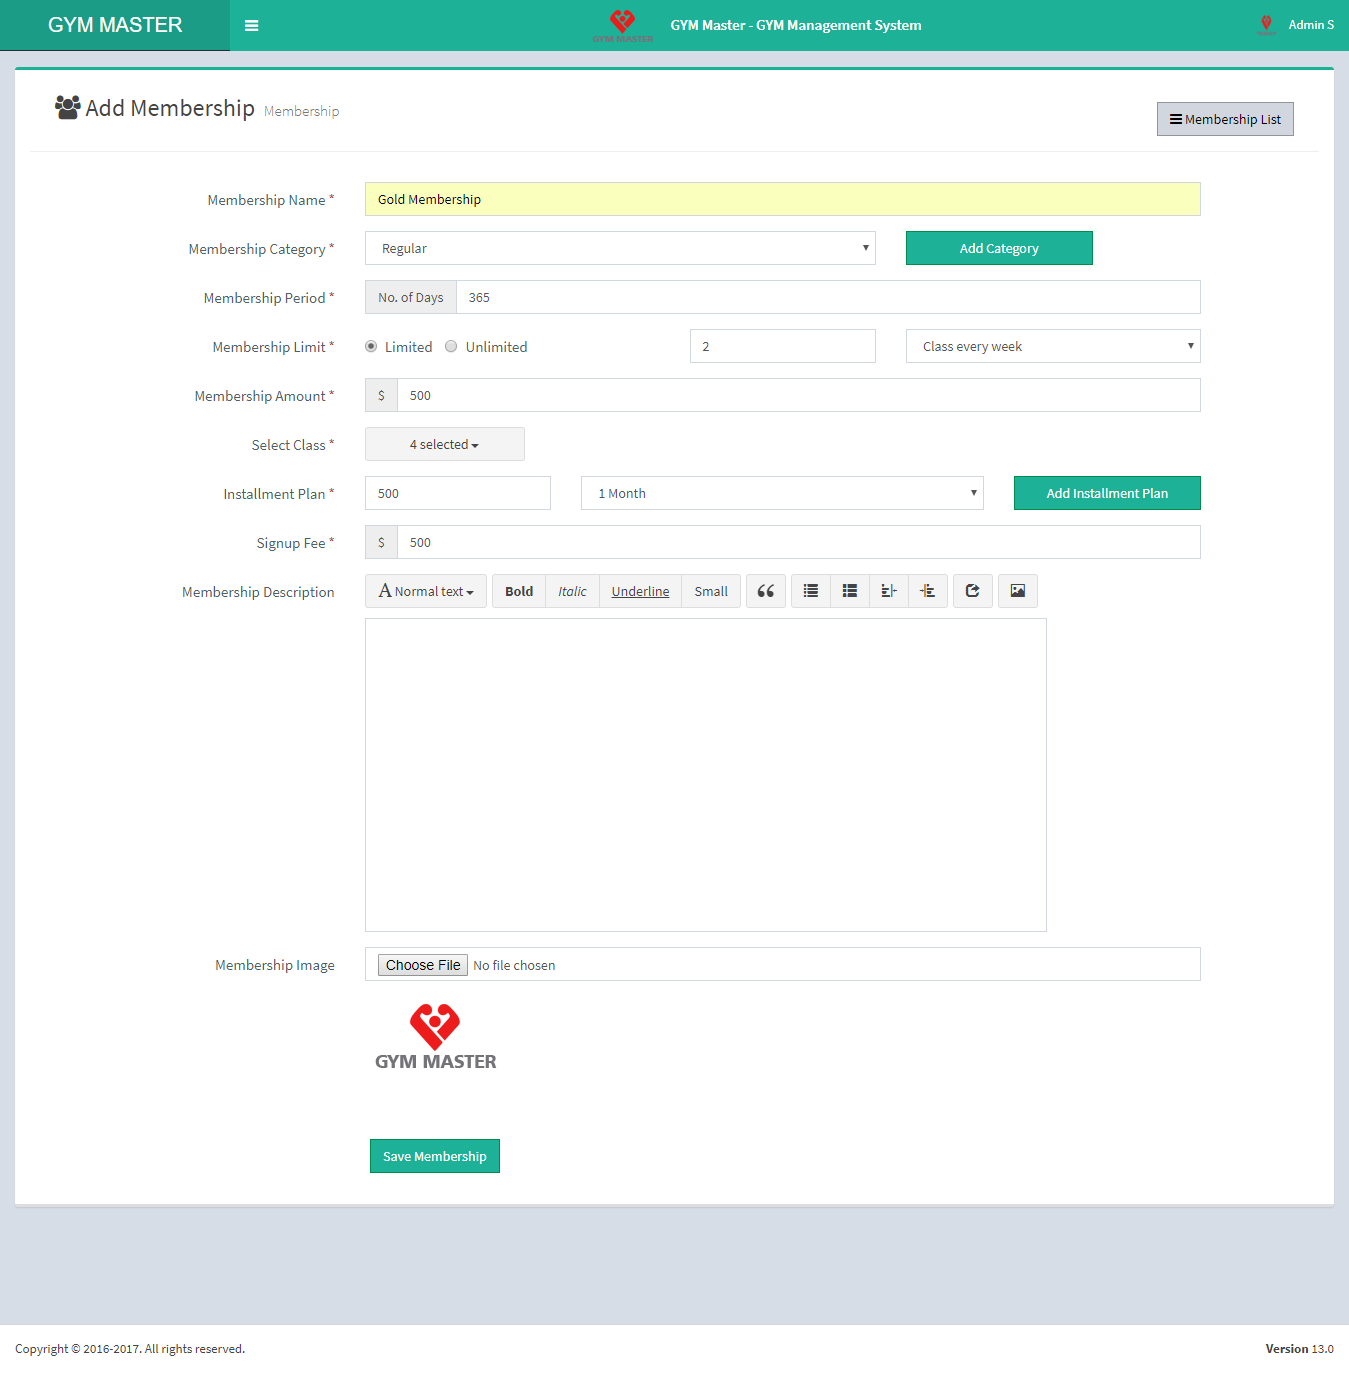
- Add Membership Type:
- Membership Name: Enter new membership name.
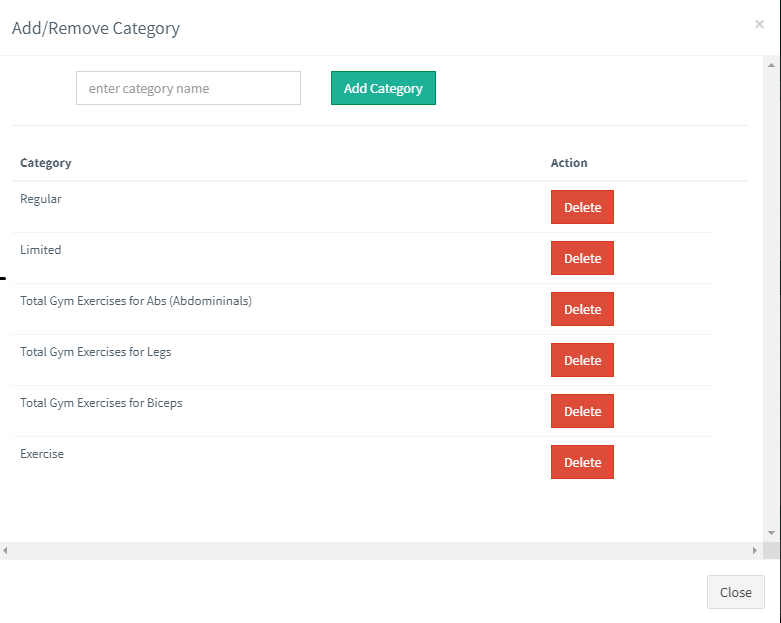
- Membership Category: Select membership category from the list.
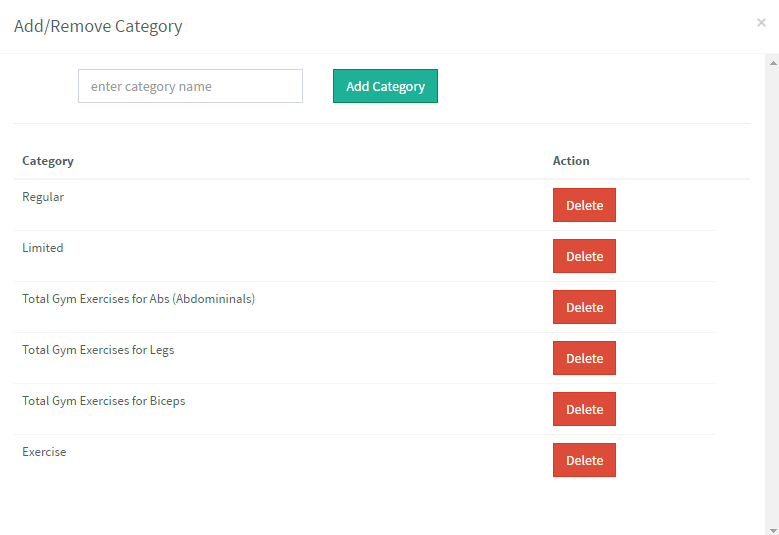
- Add Or Remove: If desired membership category is not available in list then click on Add Or Remove button. You can add new category from here.
- Membership Period: Enter membership period into total days.
- Members Limit: Select limit of members in this membership.
- Membership Amount : Enter amount of this membership.
- Select Class : Select your Class
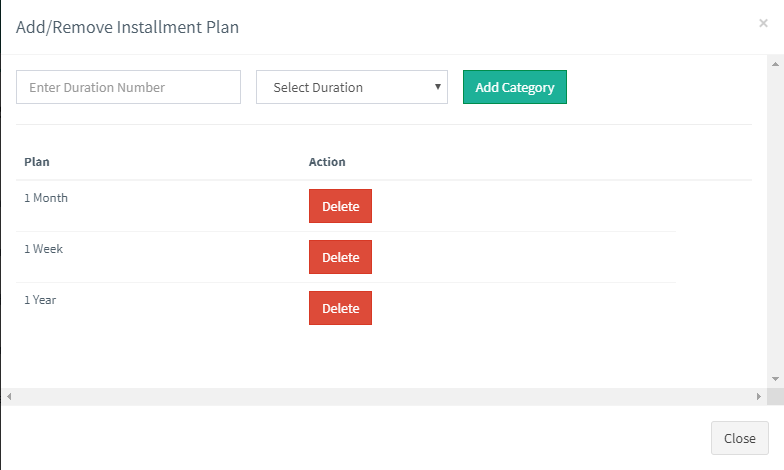
- Installment Plan: Enter installment amount into first box and period in next box. Add Or Remove: If Installment period you want to select is not in the list and if you want to add new period then click on Add Or Remove button. You can add new installment period from here.
- Signup Fee: Enter Signup Fee for membership.
- Membership Image: Upload image for this membership.
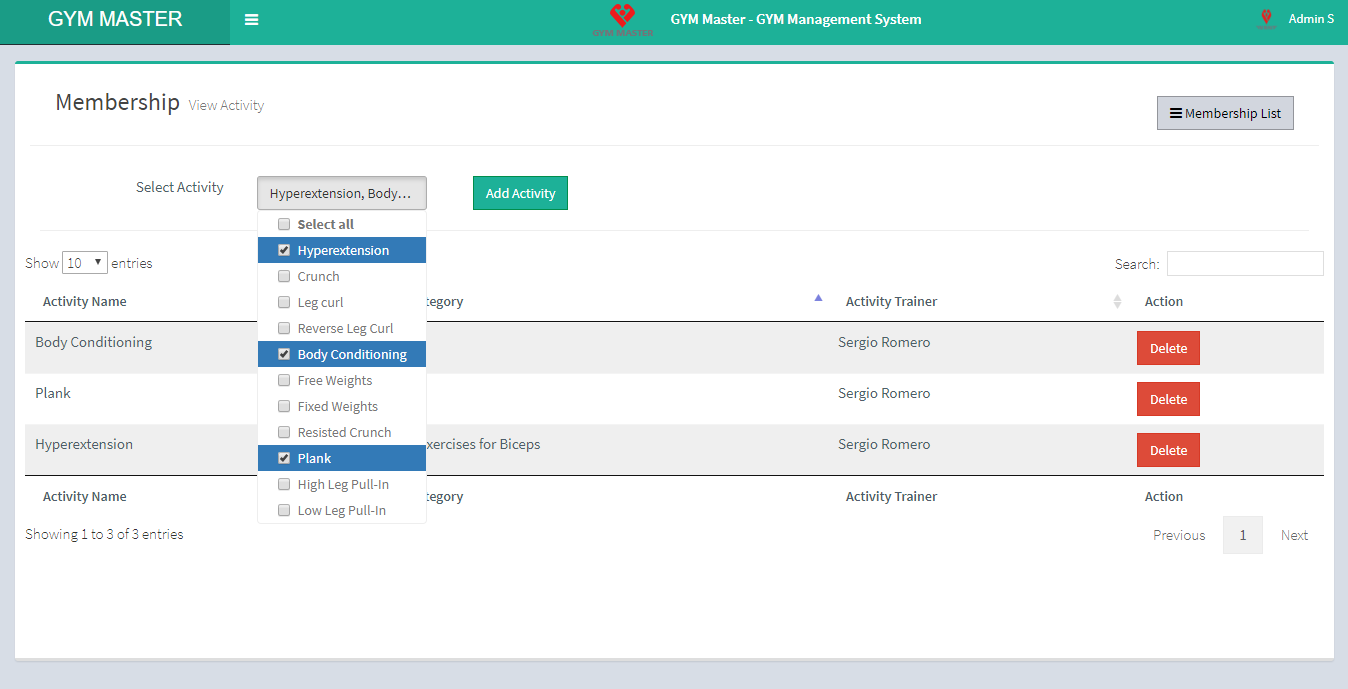
- View Activity:
From here user can manage activities of membership.
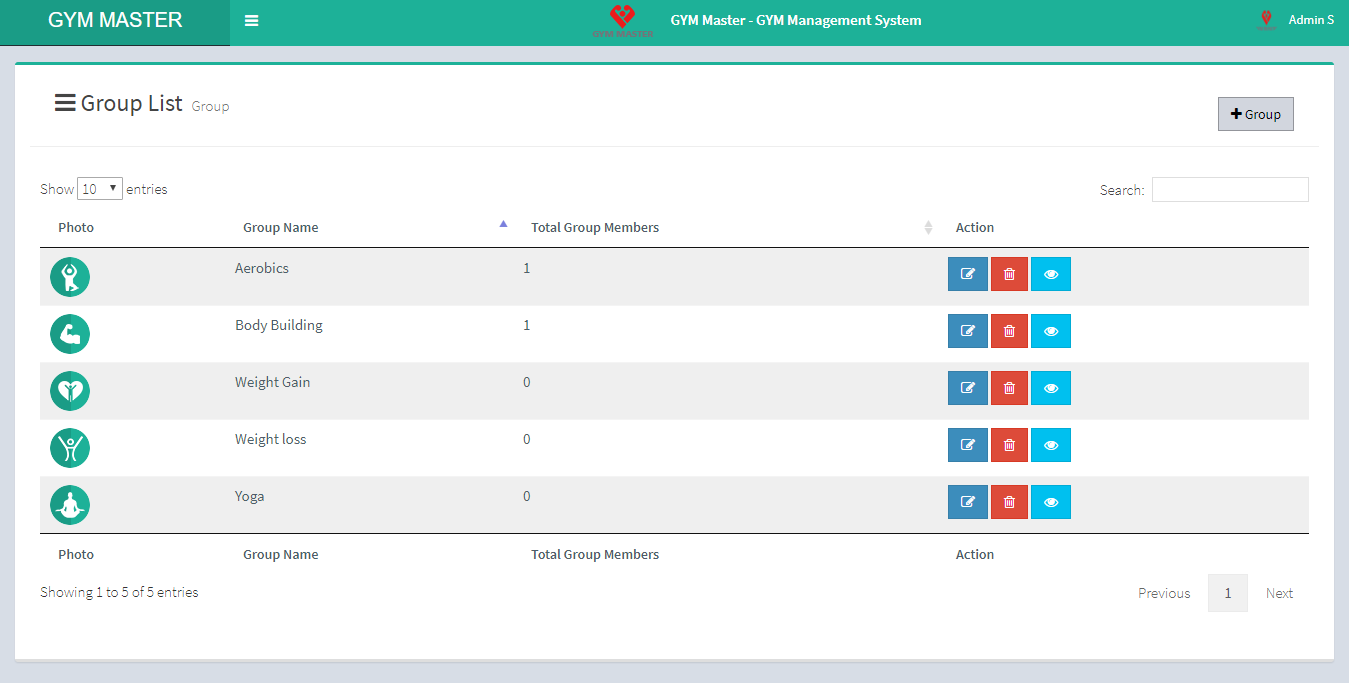
3) Group:
You can add new Group, manage all Groups and view complete list of all Groups.
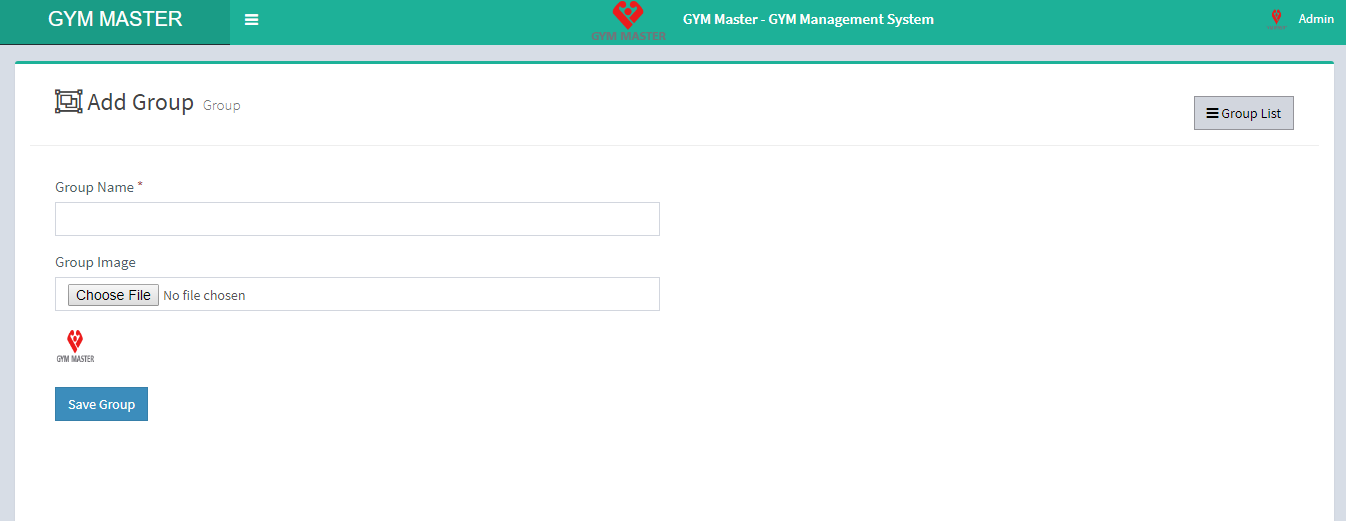
- Add Group:
- Group Name: Enter new Group name.
- Group Image: Upload image for this group.
4) Staff Member:
You can add new Staff Member, manage all staff member and view complete list of all Staff Members.
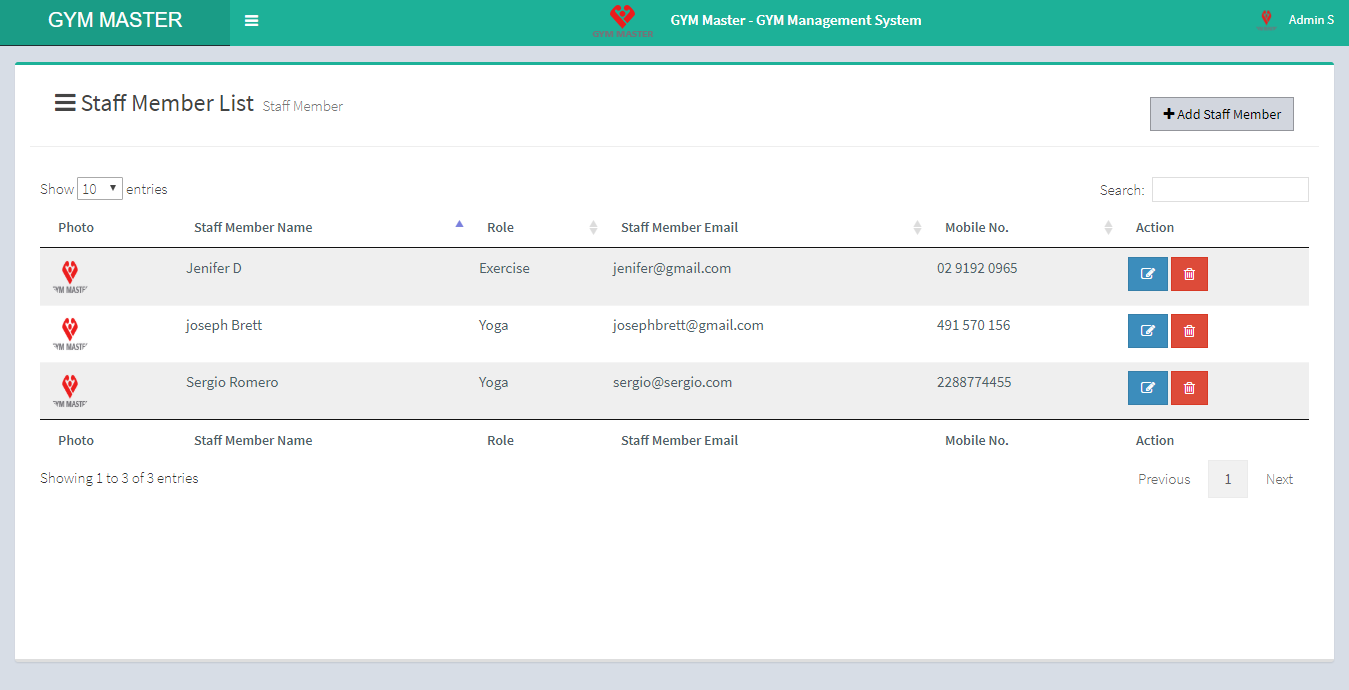
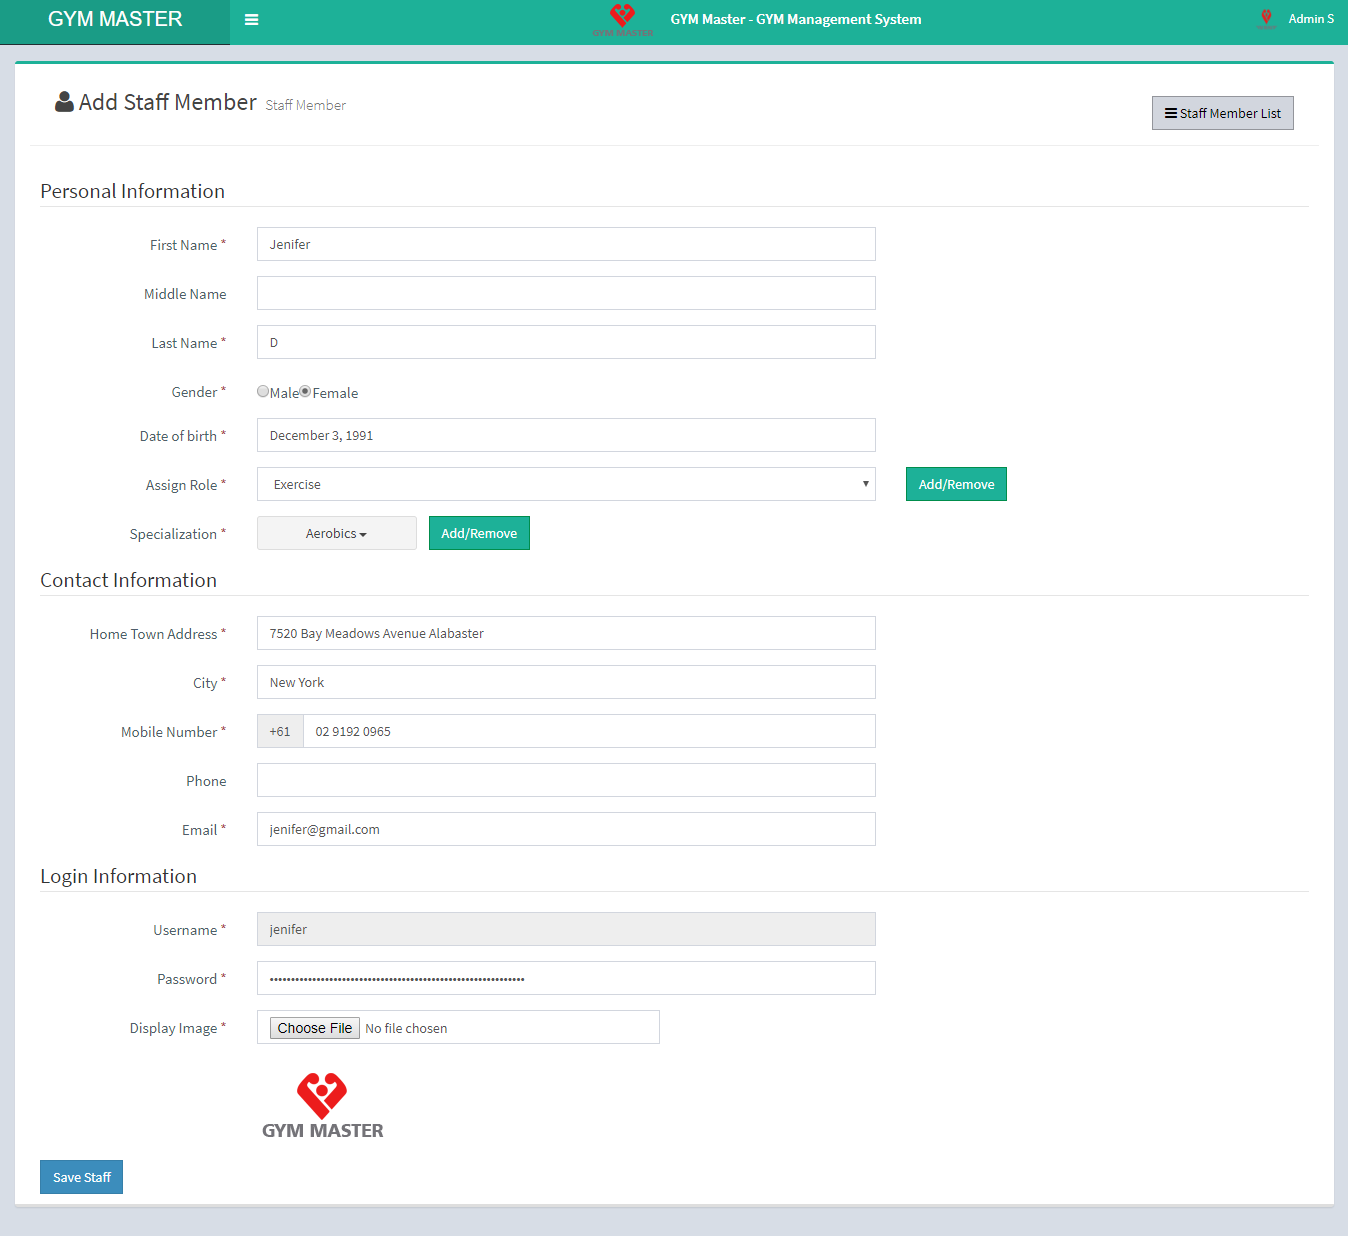
- Add Staff Member Information:
- Name: Enter new staff member name.
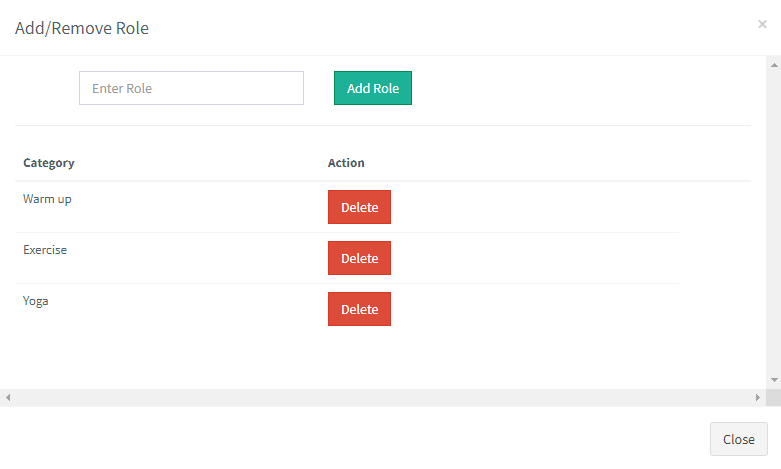
- Assign Role: Select role for new staff member.
- Add Or Remove: If desired role is not there in the list and you want to add new role then click on Add Or Remove button. you can add new role from here.
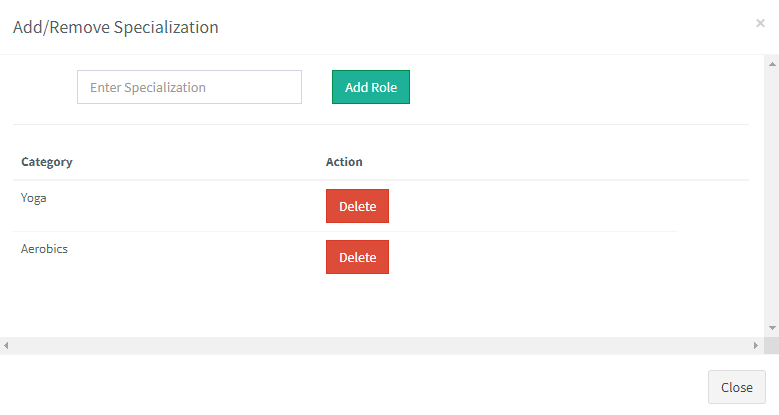
- Specialization: Select specialization of staff member. You can also "multi select" specialization for any staff member.
- Add Or Remove: If desired specialization is not in the list and you want to add specialization then click on Add Or Remove button. You can add new specialization from here.
- Home Town Address: Enter home town address of staff member.
- City: Enter city name of staff member.
- Mobile Number: Enter mobile number of staff member.
- Phone: Enter phone number of staff member.
- Email: Enter email id of staff member. Email ID must be unique.
- Username: Enter username to enable staff member login. Username must be unique.
- Password: Enter password of staff member for login.
- Image: Upload profile image of staff member.
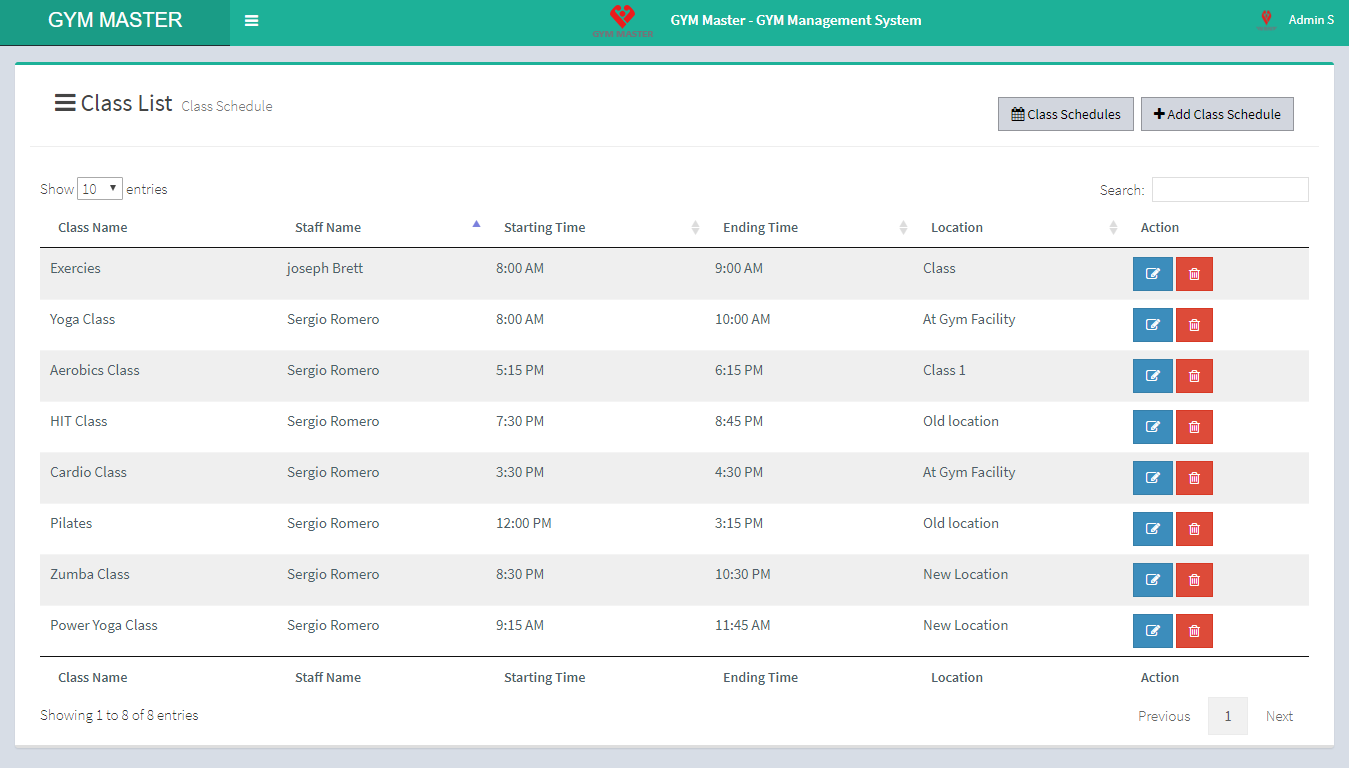
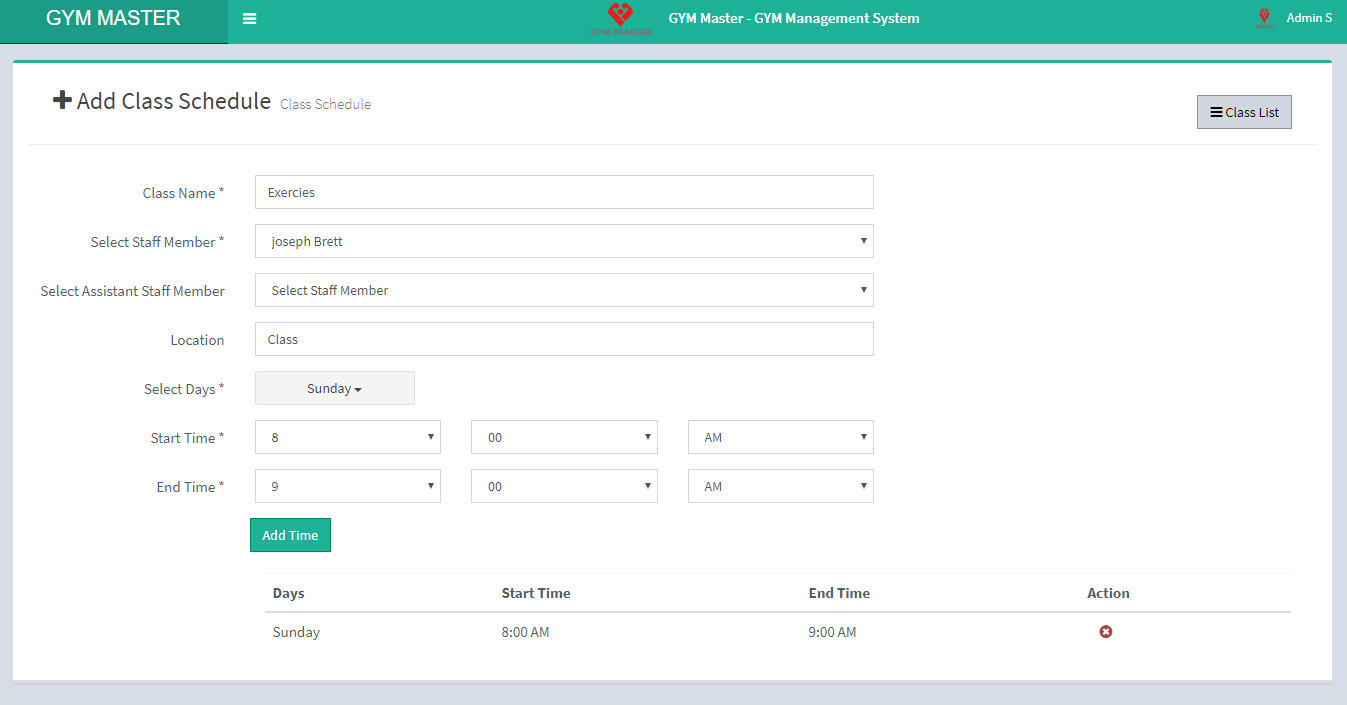
5) Class-Schedule:
You can add new class-schedule and manage all class-schedule as well as view complete list of all class-schedules.
- Add Class:
- Class Name: Enter new class name.
- Select Staff Member: Select Staff Member for this class.
- Select Assistant Staff Member: Select Assistant Staff Member for this class.
- Location : here you can add event's location.
- Select Day: Select duration of class. Here you can also select multiple days to this class.
- Start Time: Select start time of this class.
- End Time: Select end time of this class.
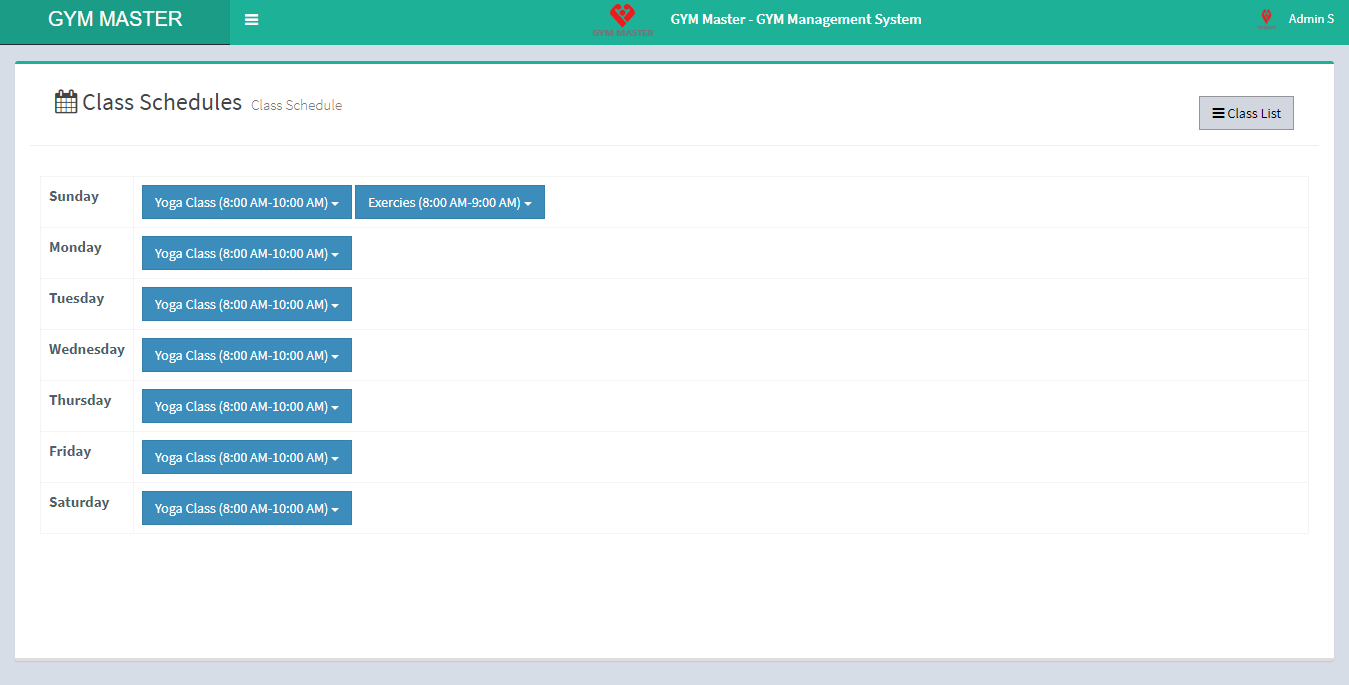
- Schedule List:
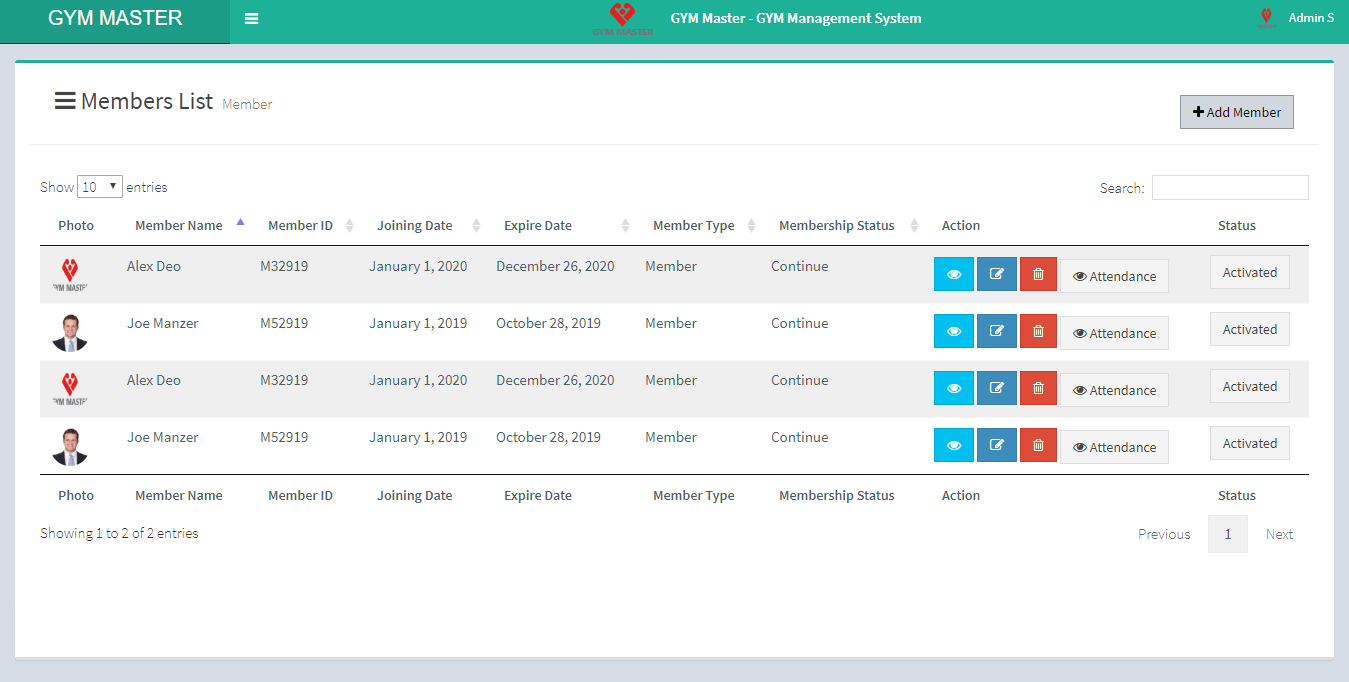
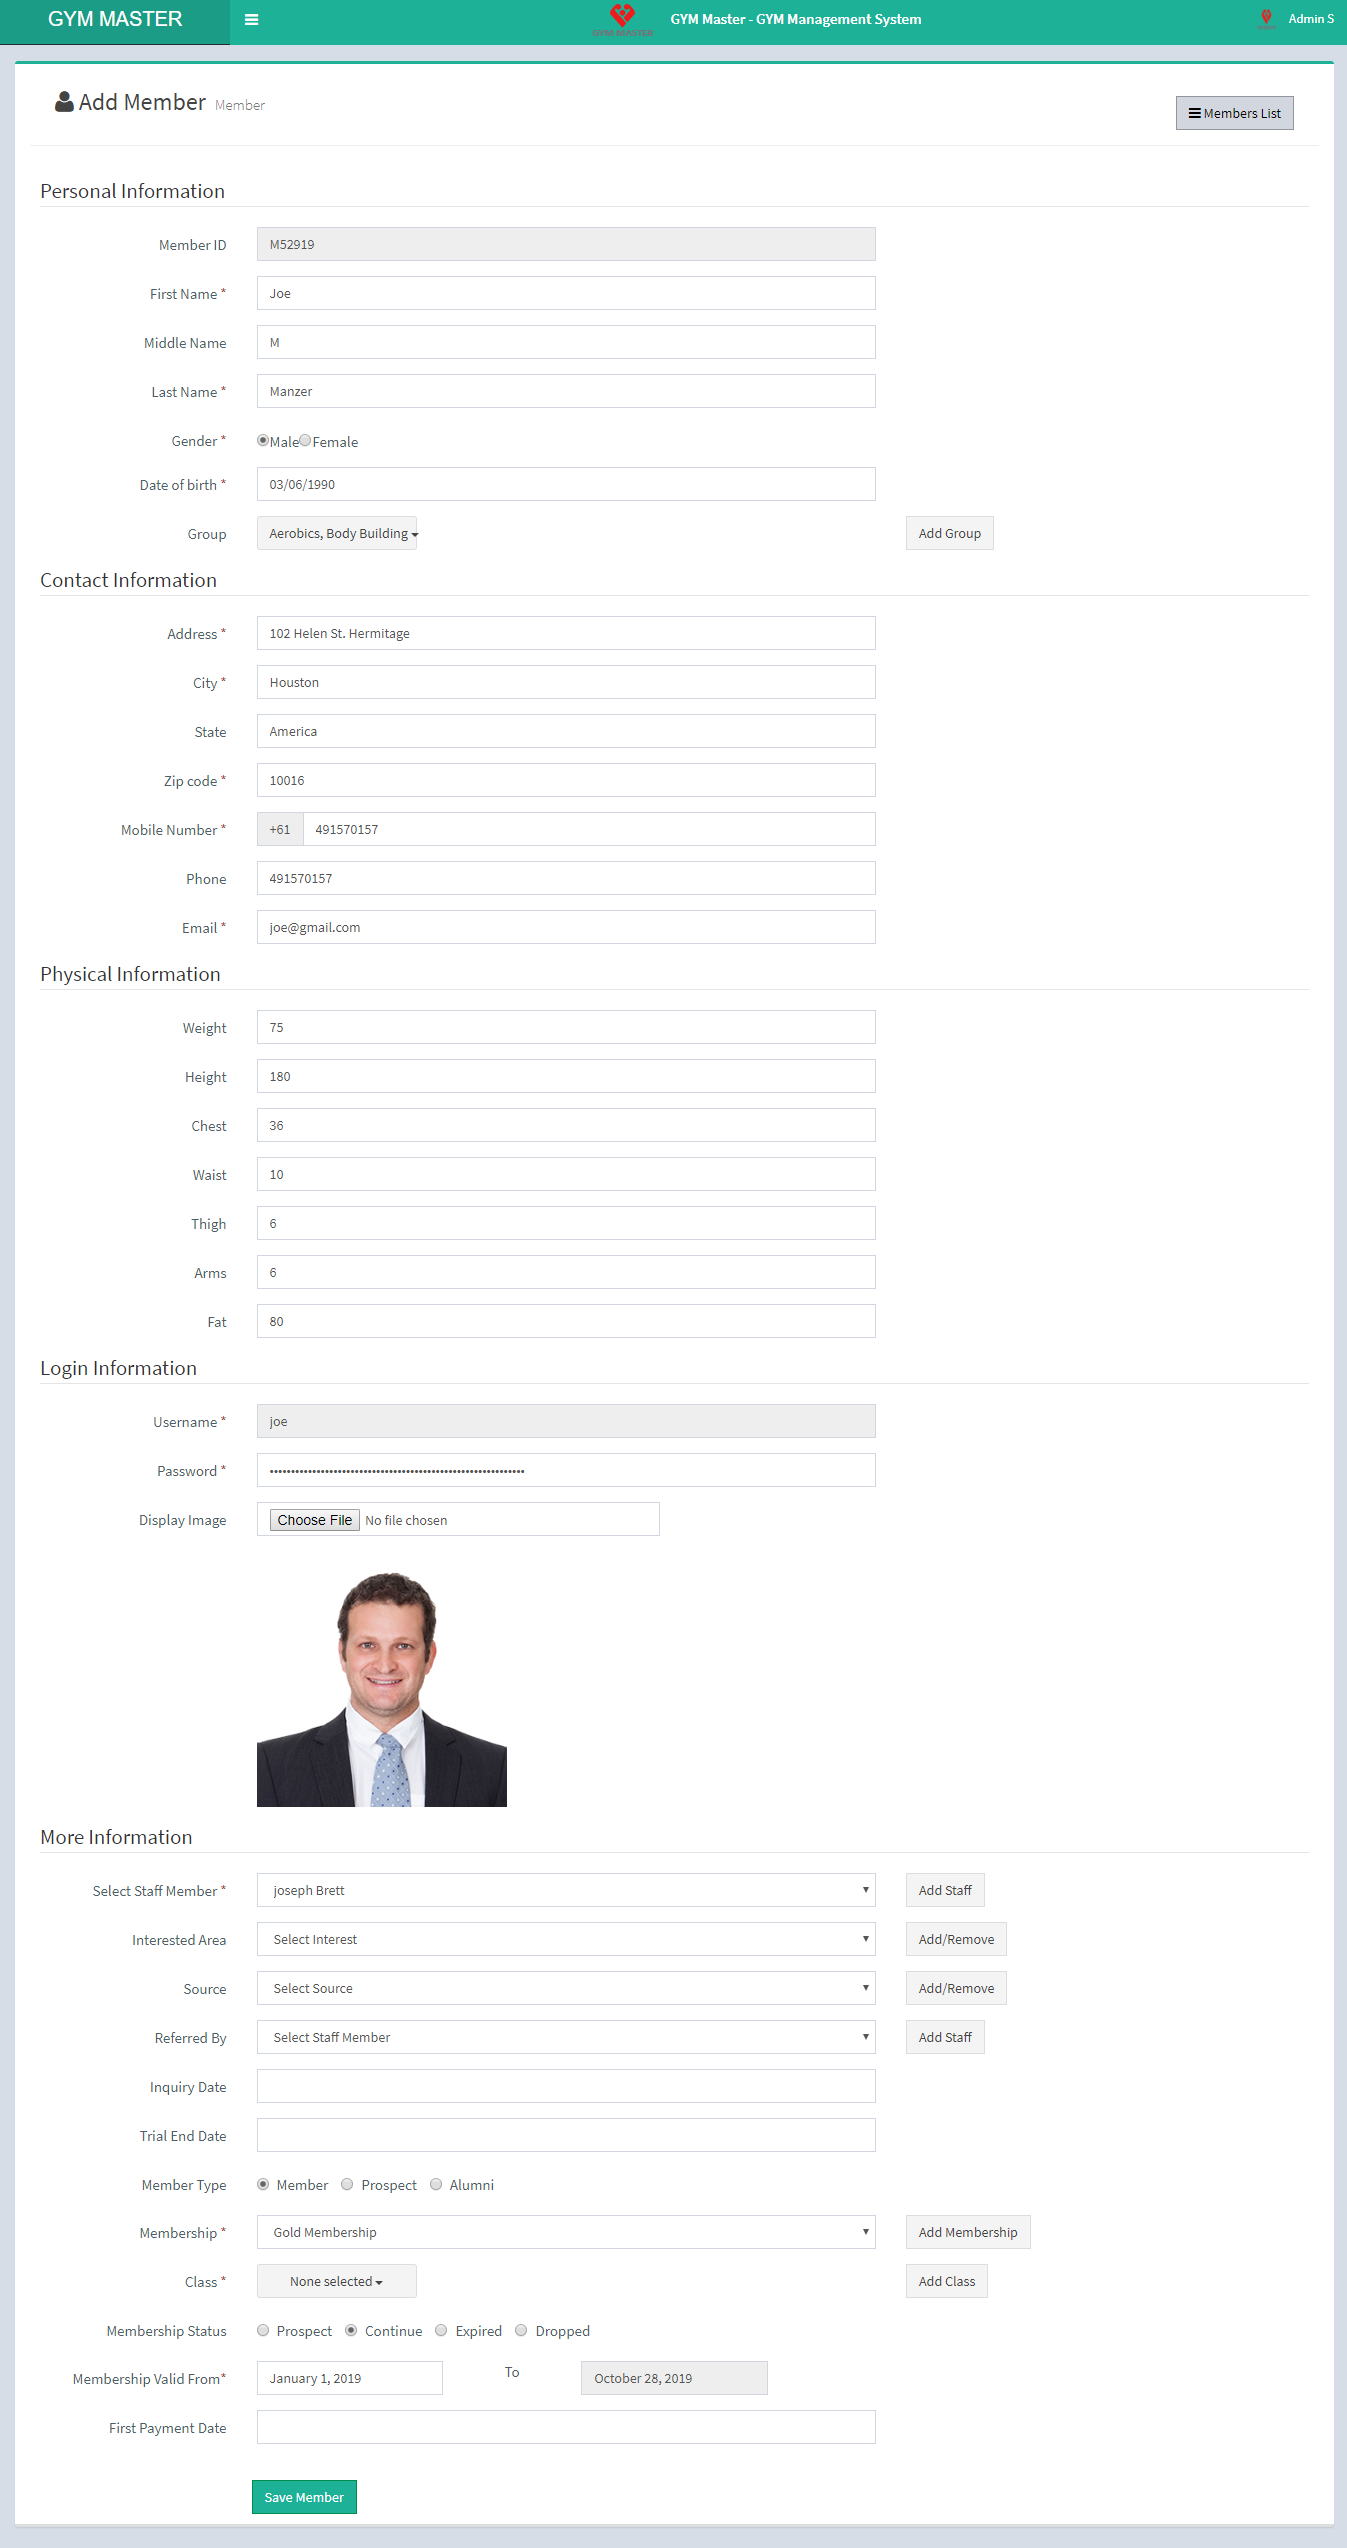
6) Member:
You can manage all information about Member.
- Add Member Information:
- Member Id: Here member id will be automatically generated for each new member. So that you do not need to enter any value here.
- Name: Enter new member name.
- Gender: Select Gender For member.
- Date Of Birth: Enter date of birth for member.
- Group: Select group for member. You can also select multiple groups for one member.
- Home Town Address: Enter home town address of member.
- City: Enter city name of member.
- State: Enter state name of member.
- Zipcode: Enter zipcode of member.
- Mobile Number: Enter mobile number of member.
- Phone: Enter Phone number of member.
- Email: Enter email id of member. Email ID must be unique.
- Weight: Enter Weight Measurement of member.
- Height: Enter Height Measurement of member.
- Chest: Enter Chest Measurement of member.
- Waist: Enter Waist Measurement of member.
- Thigh: Enter Thigh Measurement of member.
- Arms: Enter Arms Measurement of member.
- Username: Enter username for member login. Username must be unique.
- Password: Enter password for member login.
- Image: Upload profile image of member.
- Select Staff Member: Select staff member to instruct to this user.
- Interested Area: Select interested area of member.
- Source: Select source which through you join gym.
- Referred By: Select referring staff member
- Inquiry Date: Enter the inquiry date of member.
- Trial End Date: Enter the trial end date for member.
- Membership: Select membership type
- Class: Select class for member.
- Membership Status: Select membership status.
- Membership Valid From: Enter the begin date; End date will be applied automatically depending on membership period.
- First Payment Date: Enter the first payment date of member.
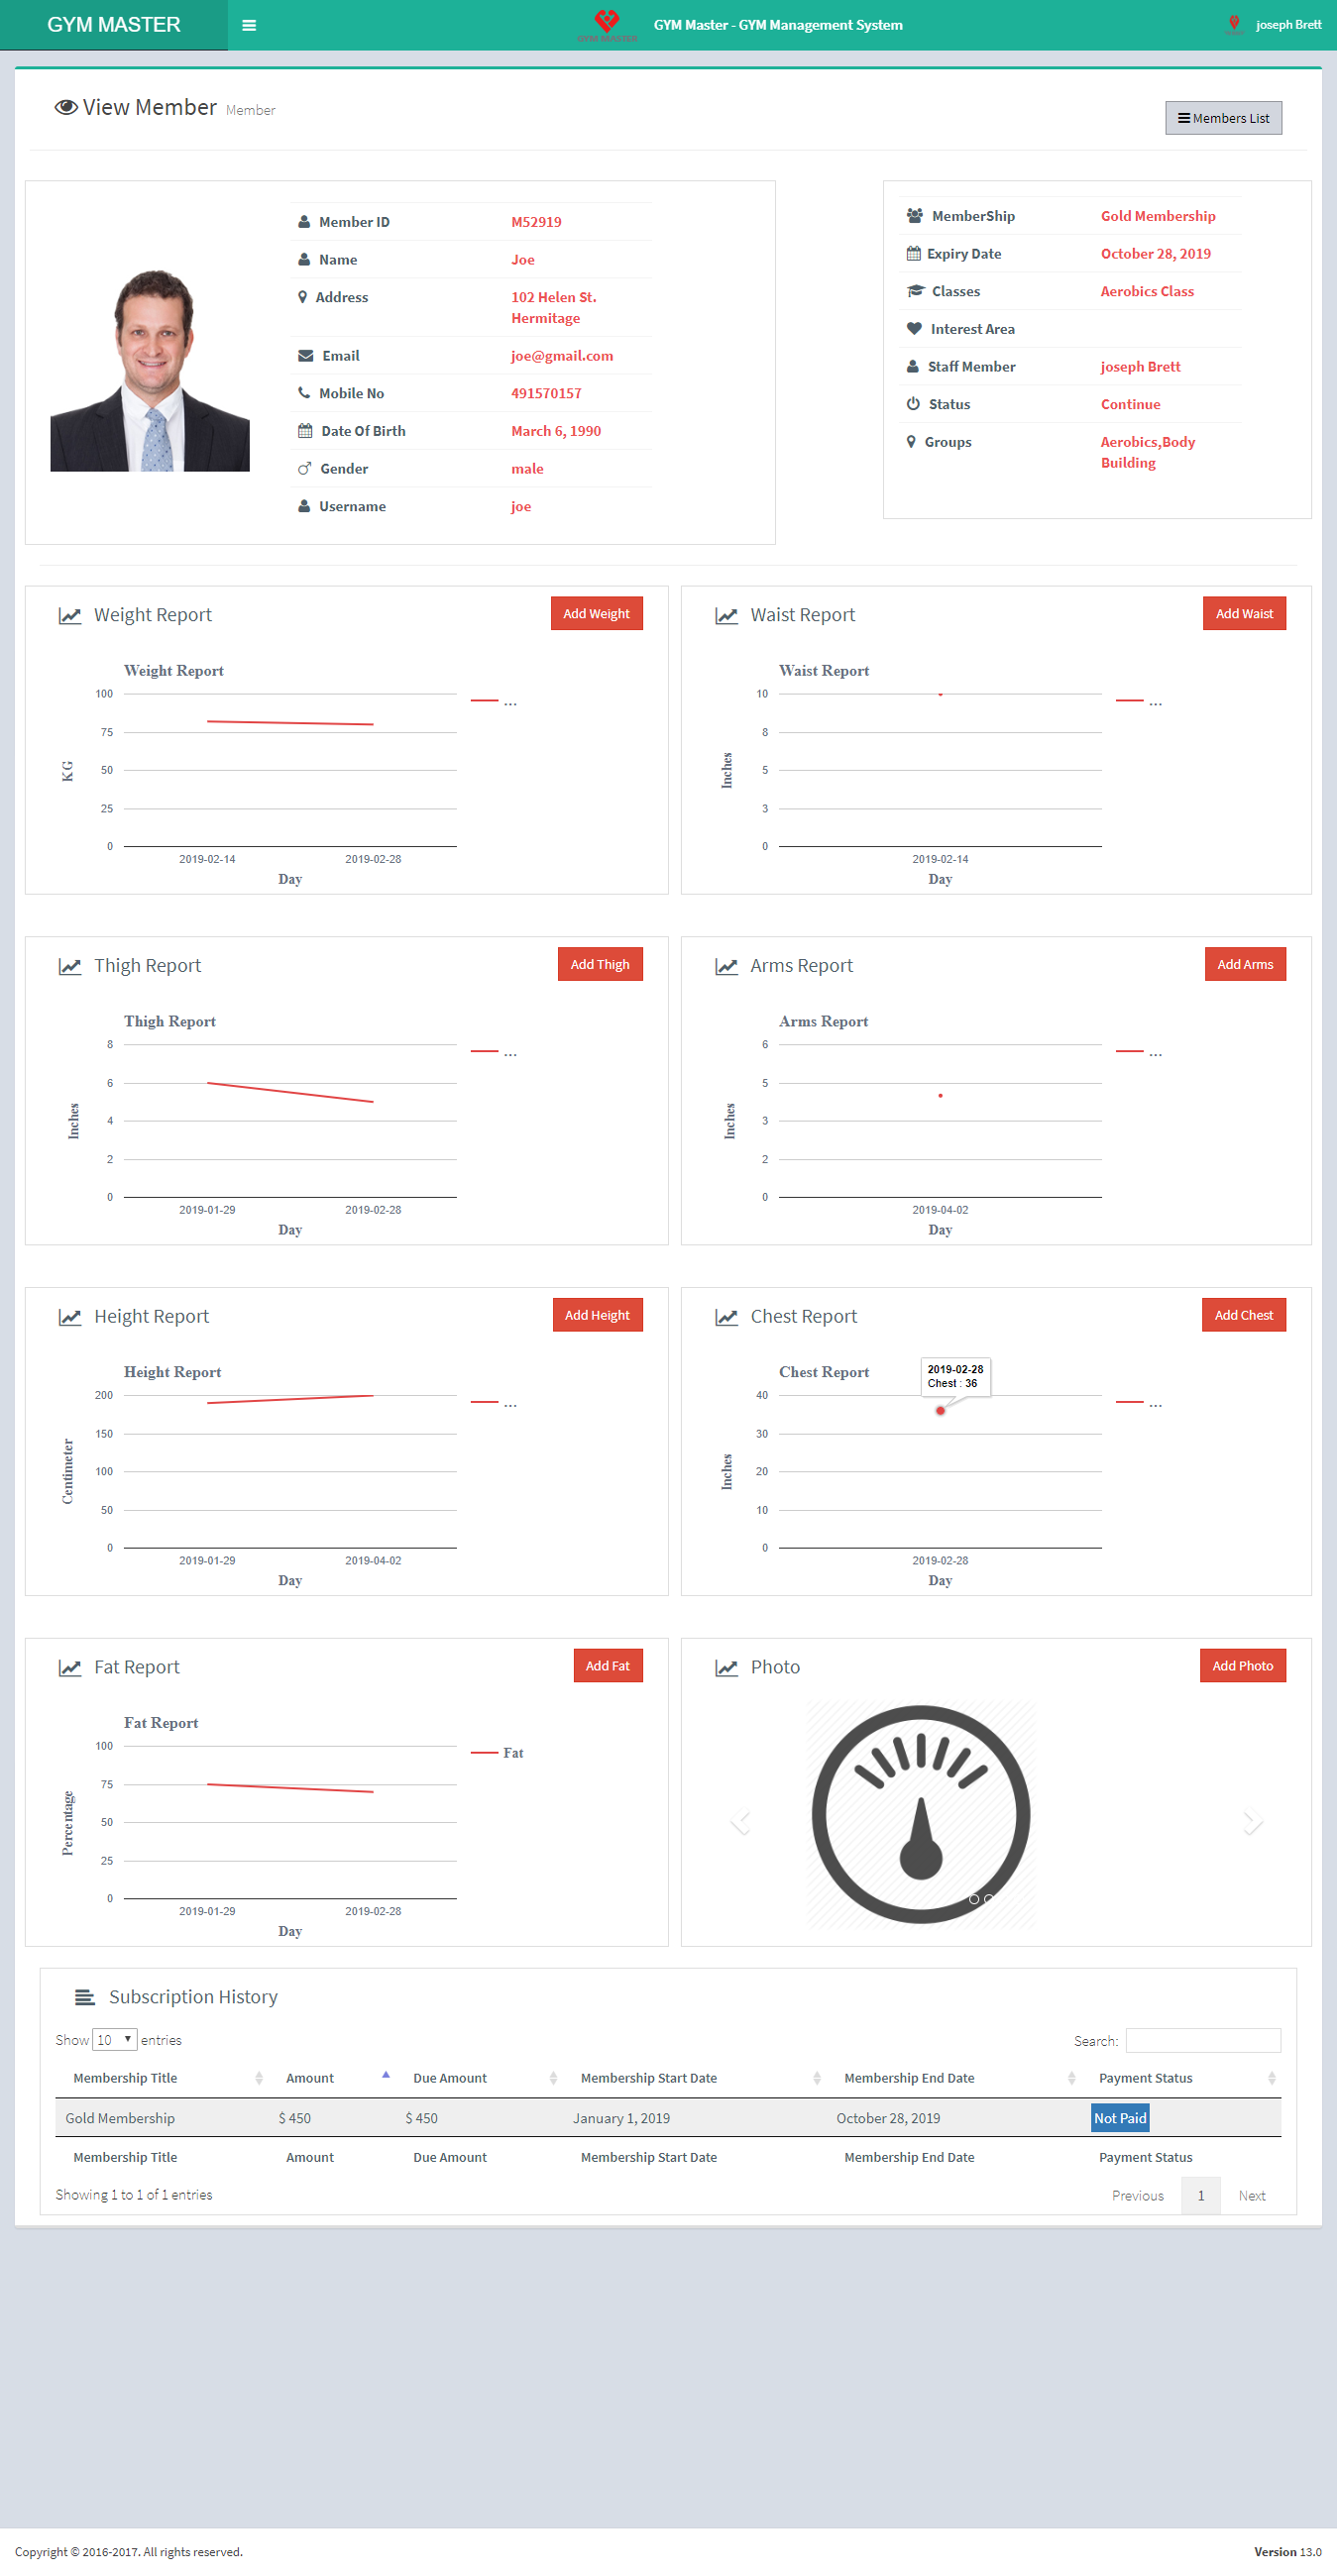
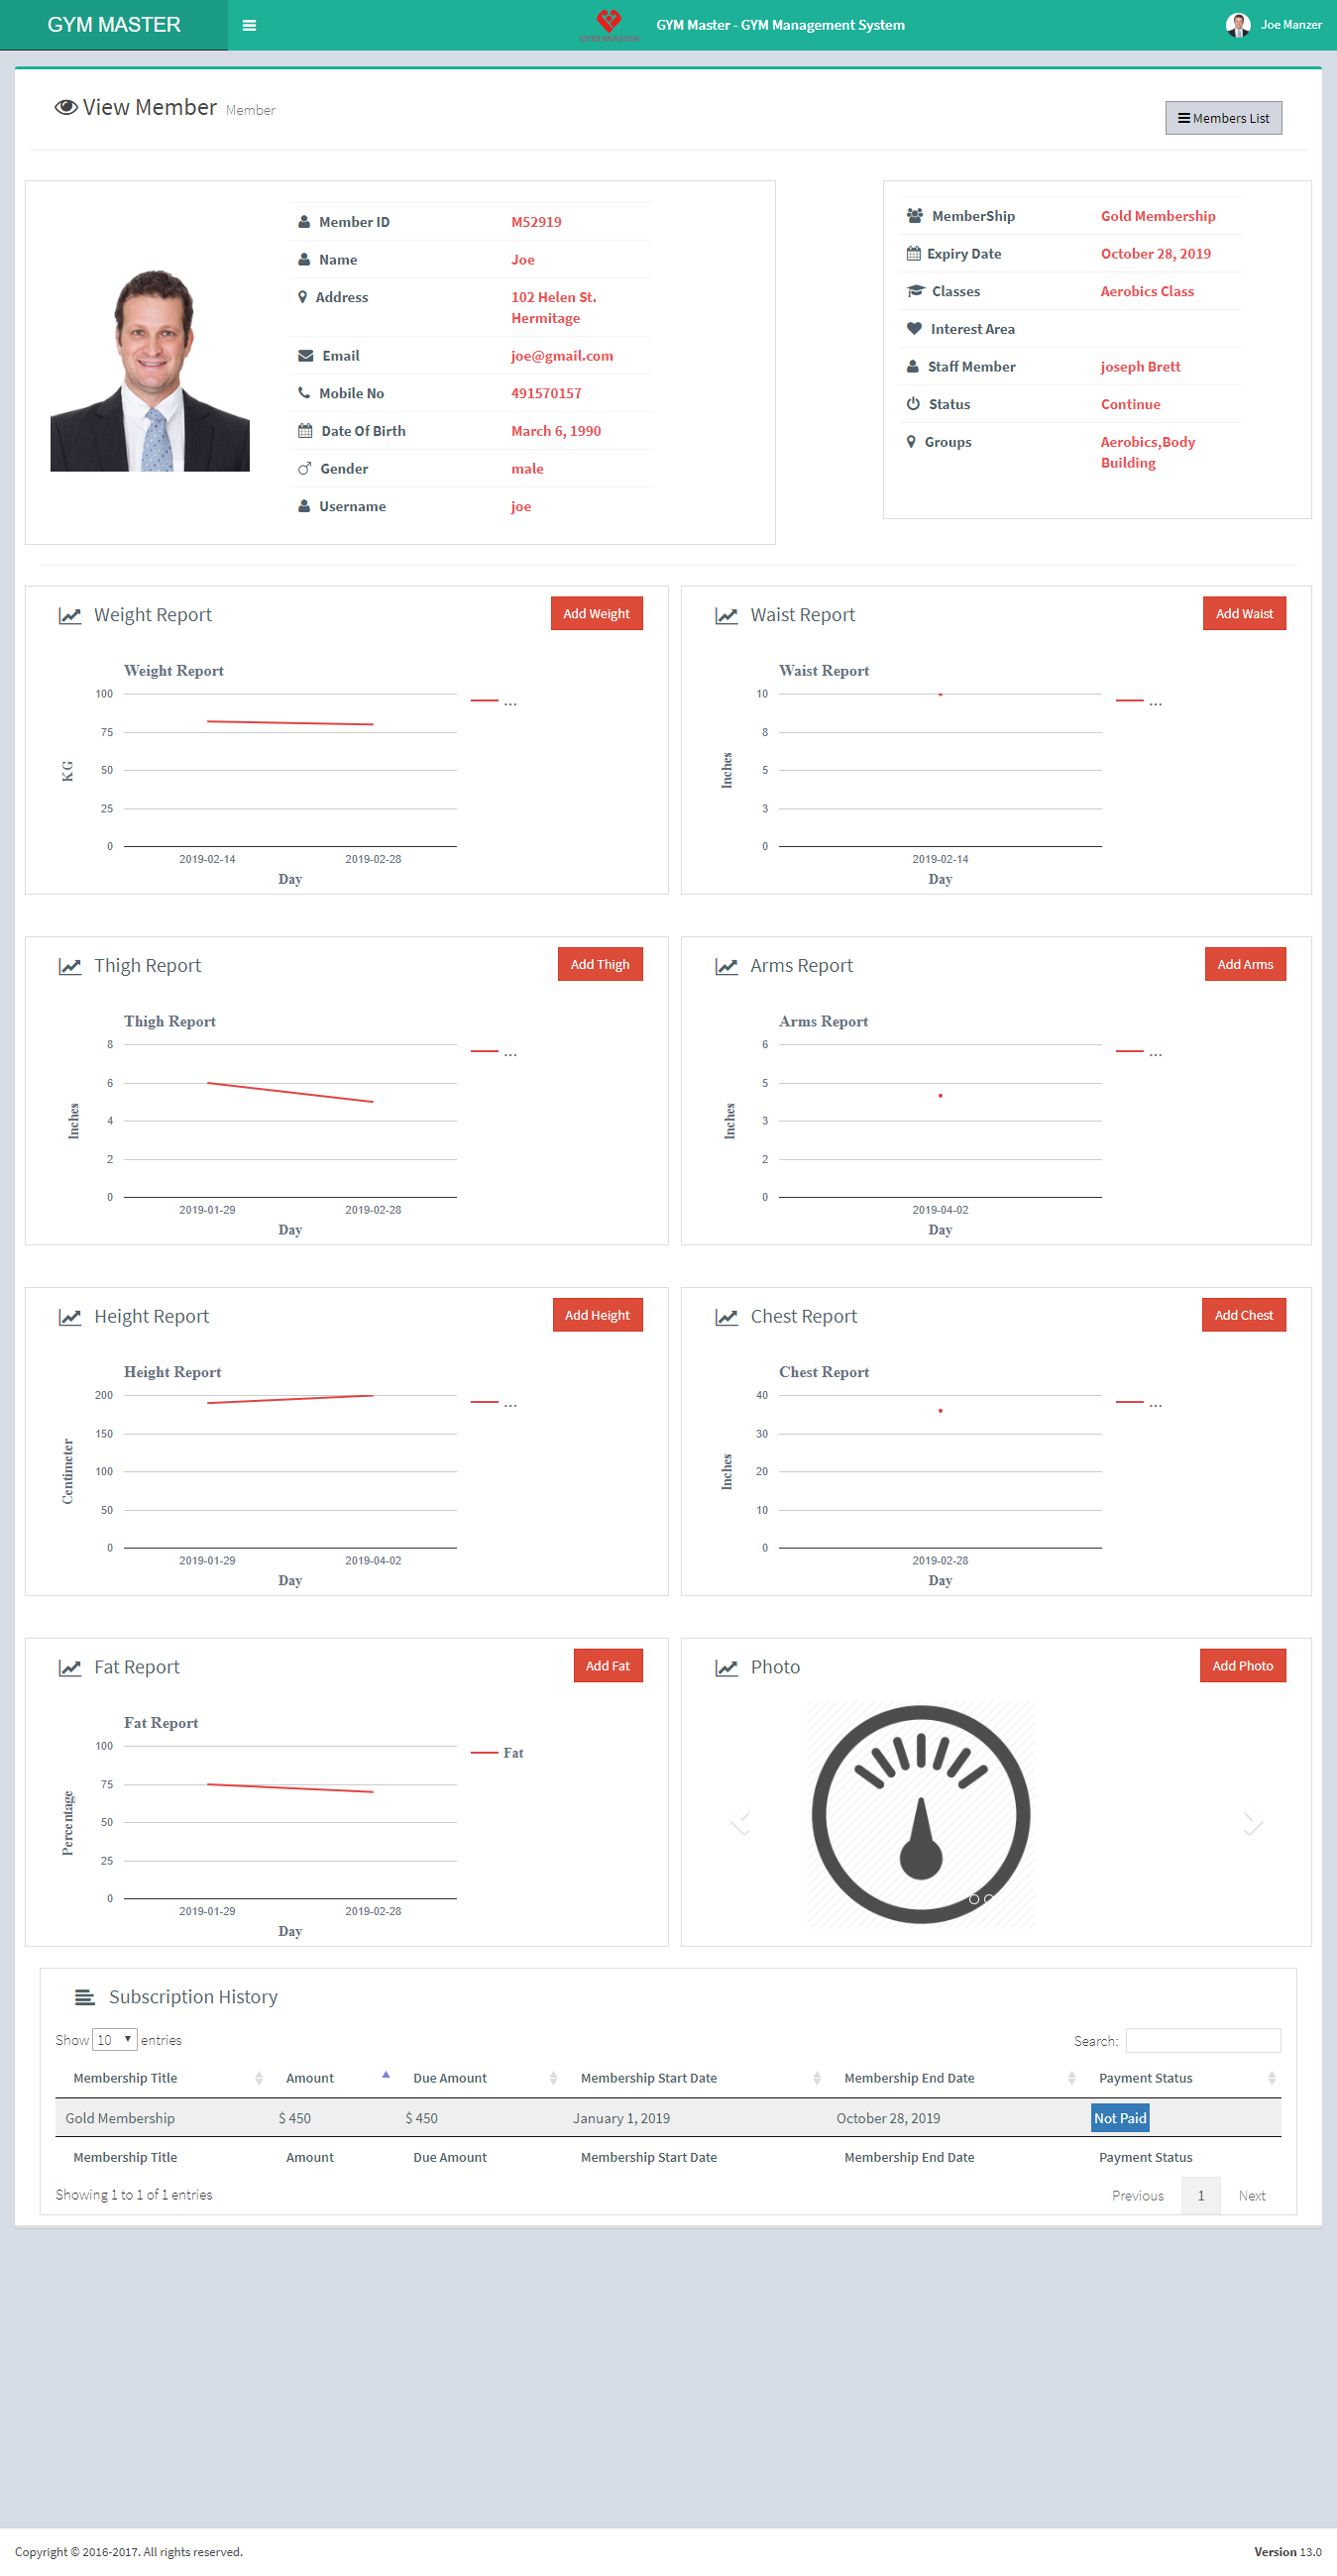
- View:
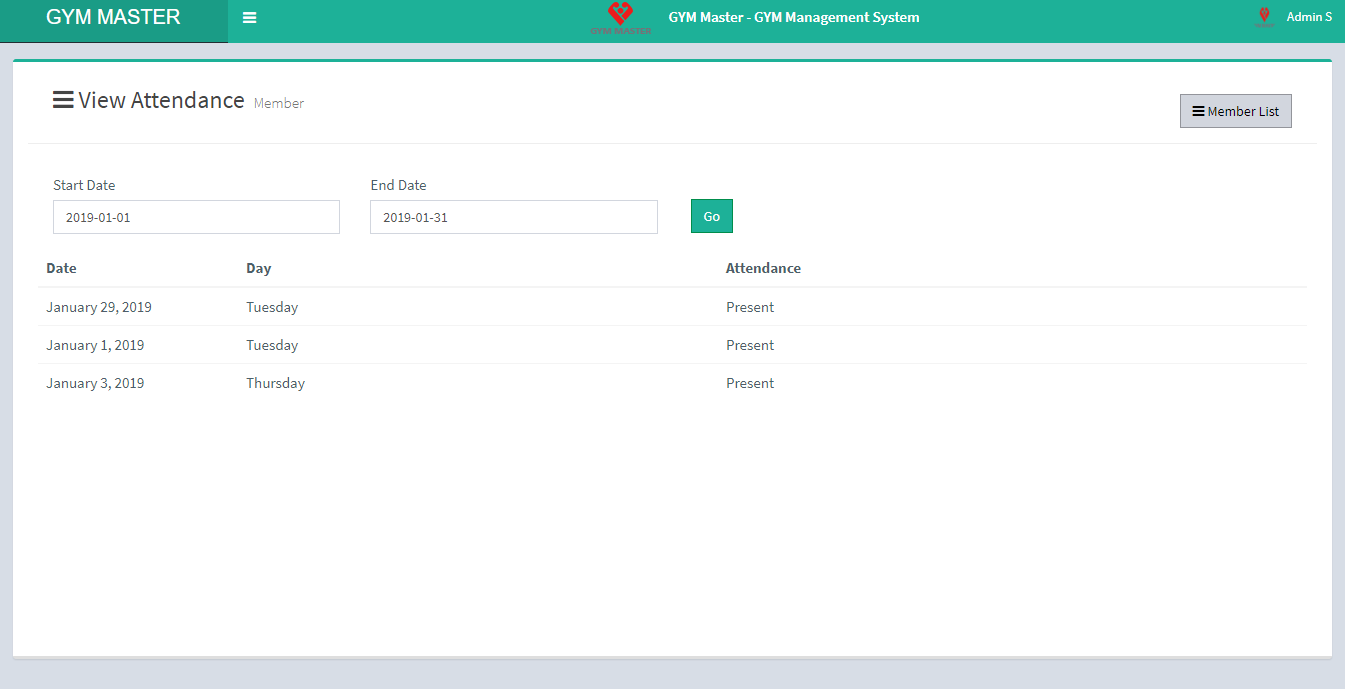
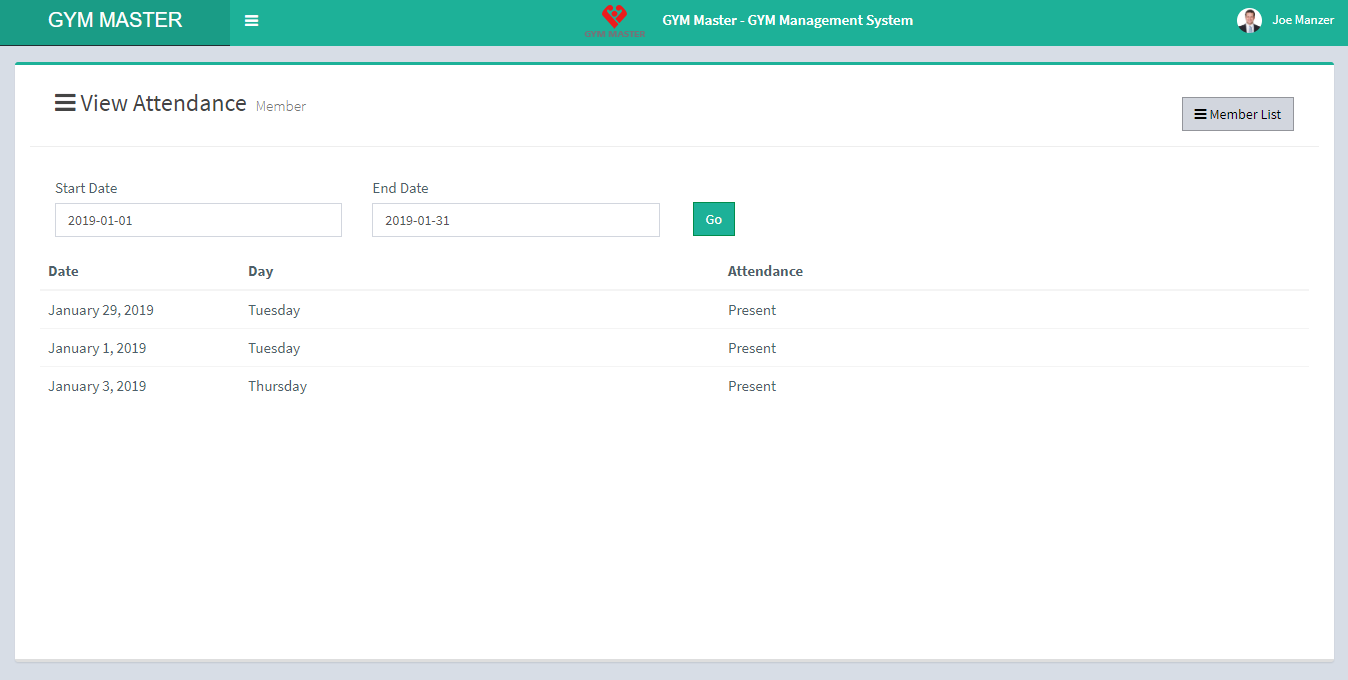
- Attendance:
Admin can view detail of particular member by clicking on view detail button. This will open up details. From here admin can also view progress reports of member.
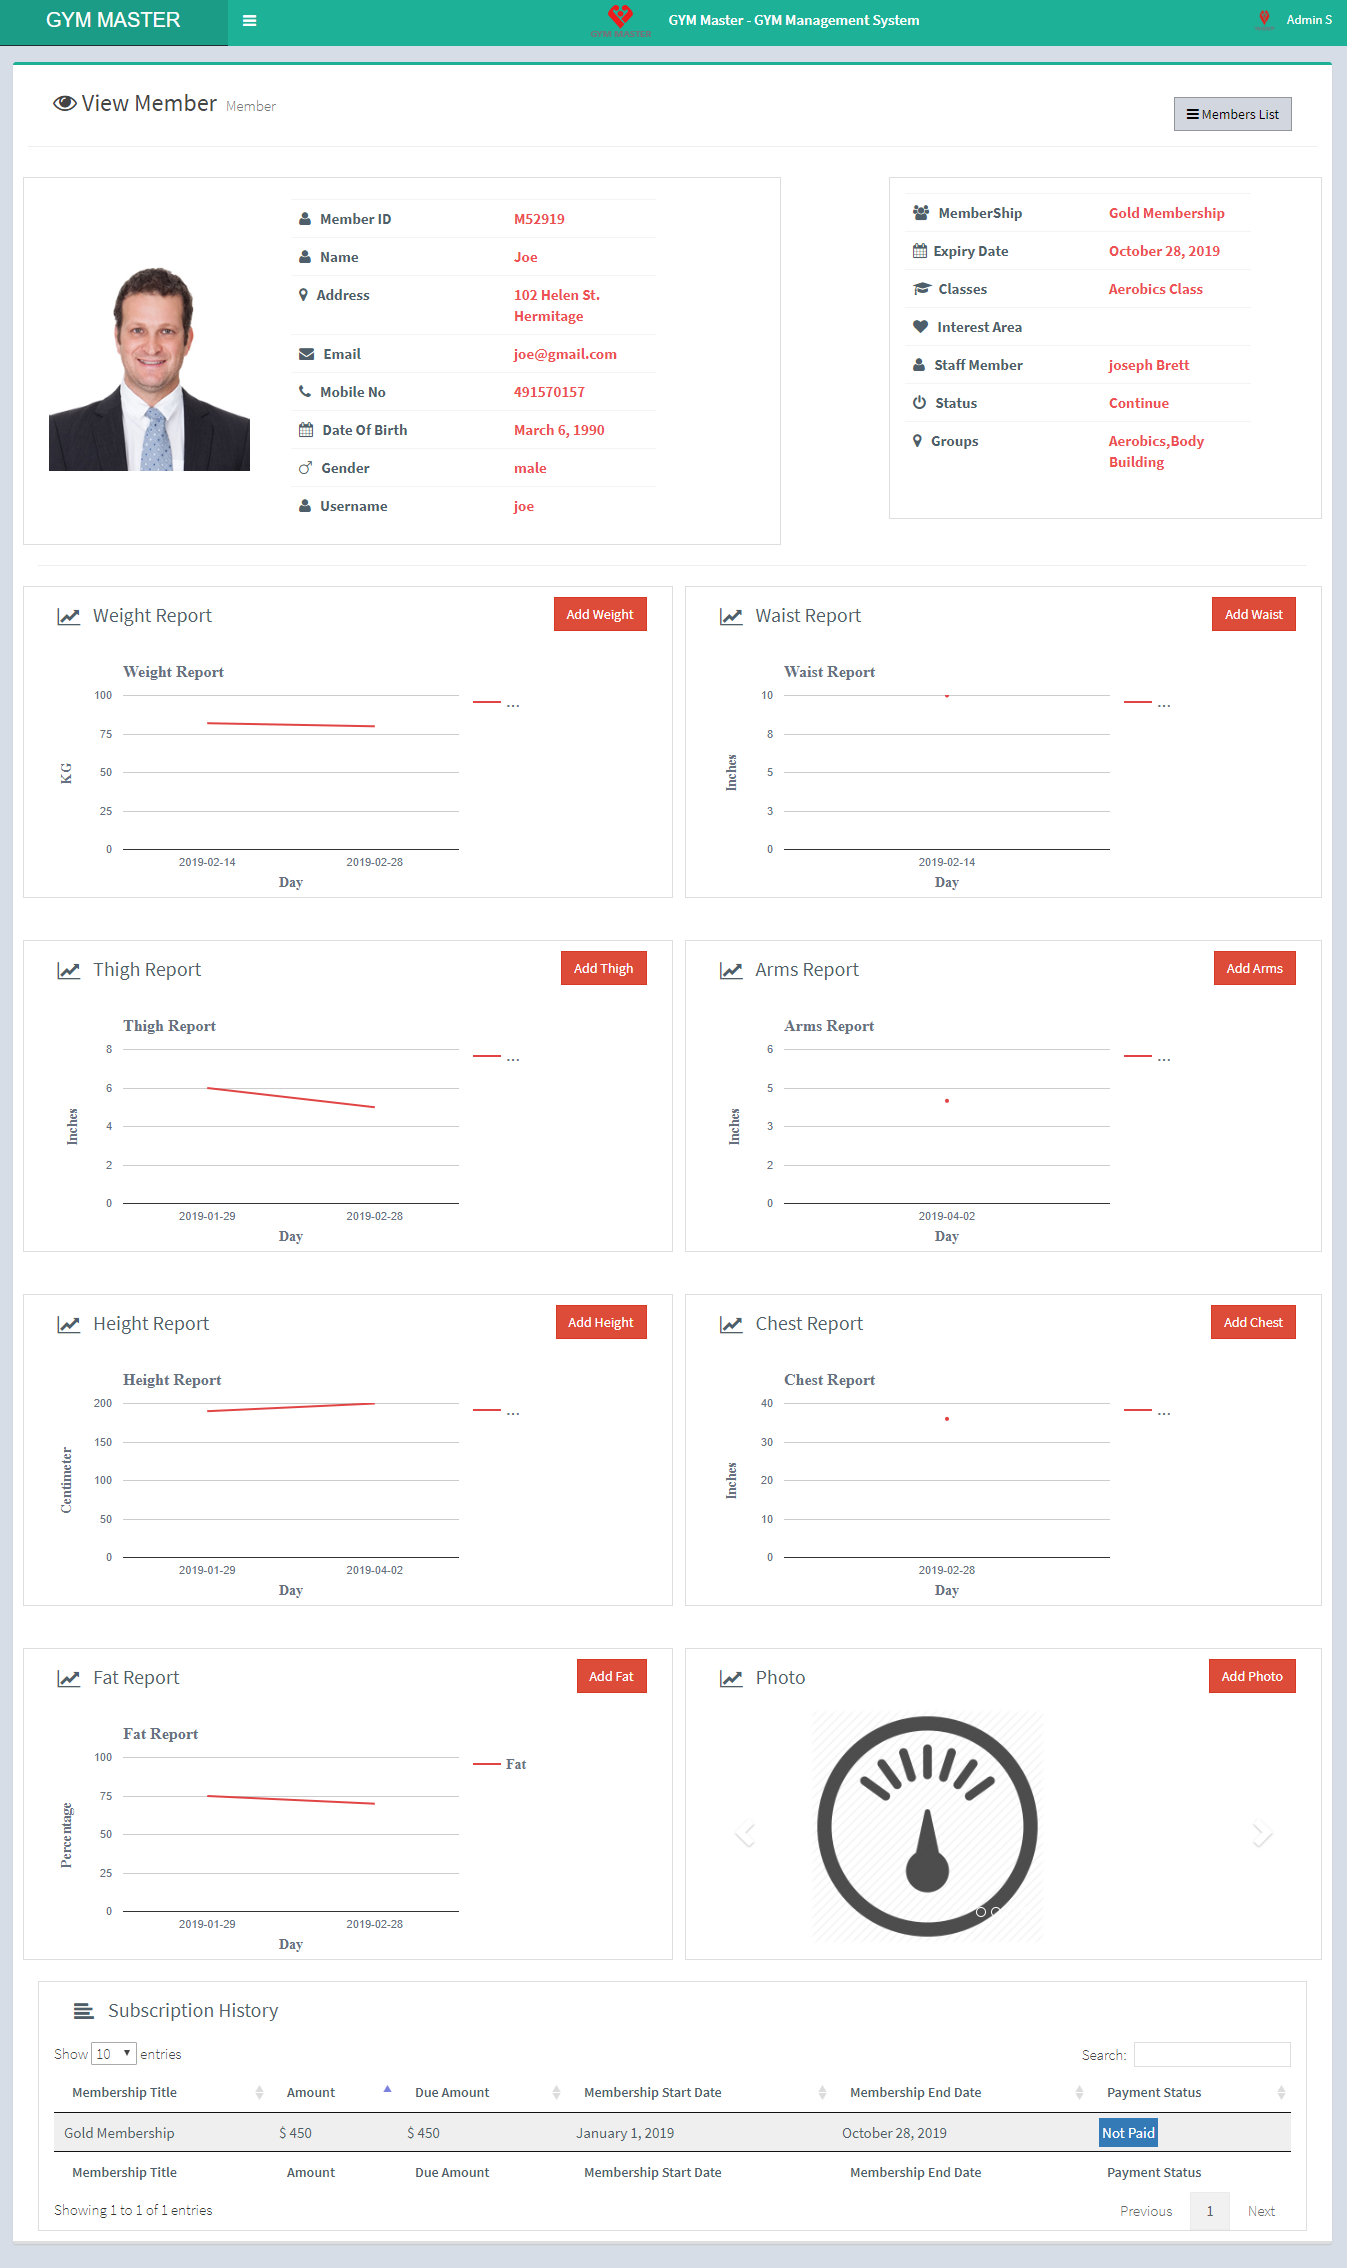
Display Attendance of particular member.
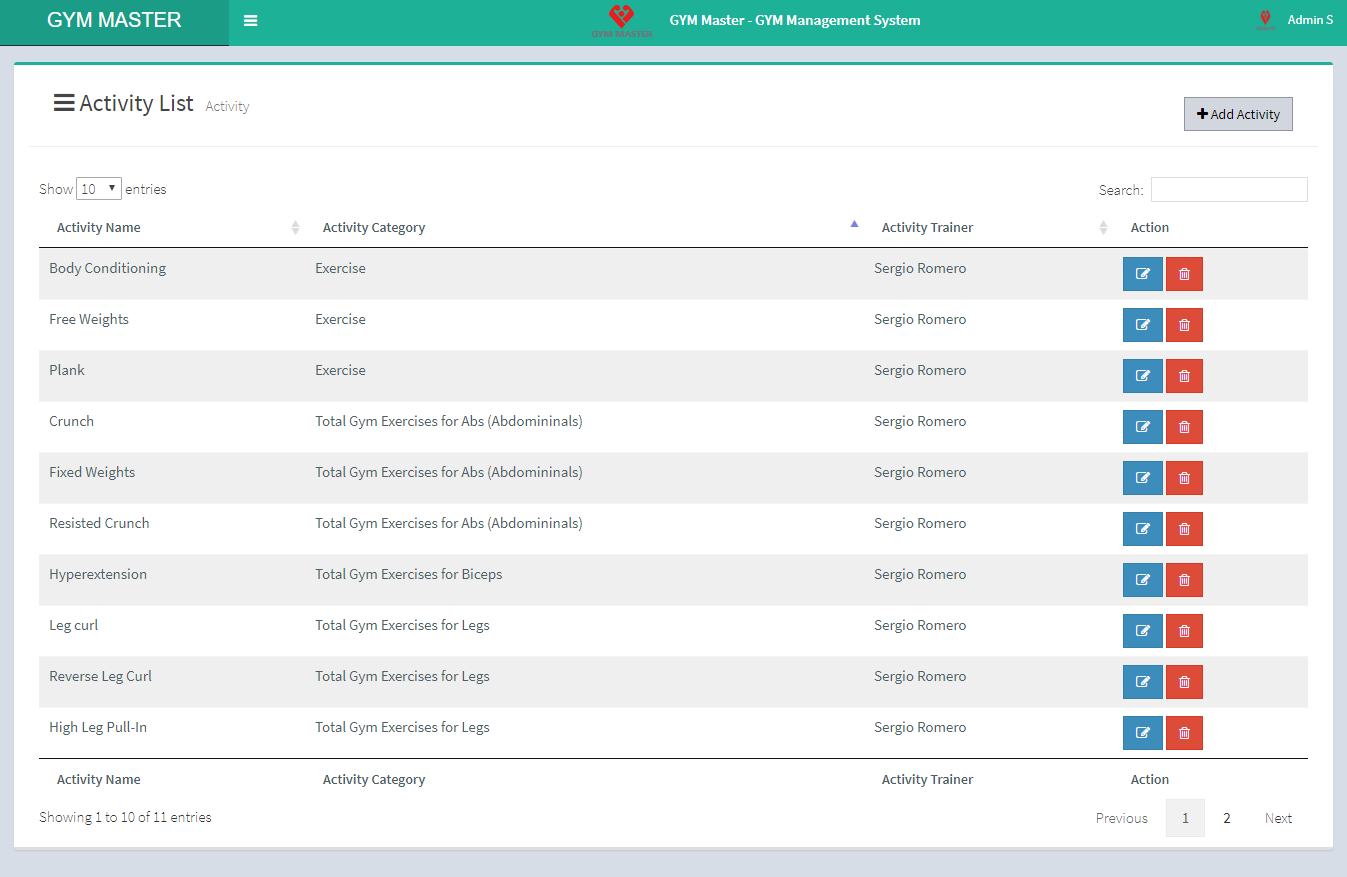
7) Activity List:
You can add new activity, manage all activities and view complete list of all activities.
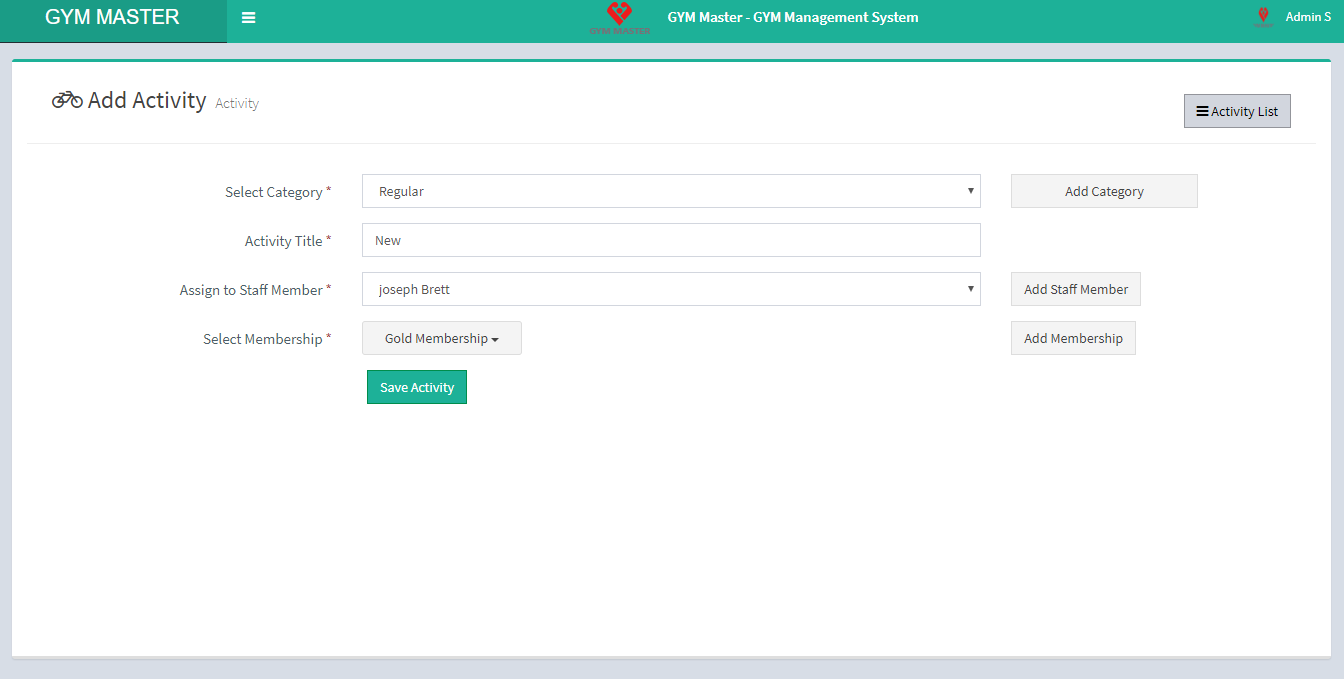
- Add Activity:
- Activity Category: Select Activity Category from the list.
- Add Or Remove: If desired activity category is not in the list and you want to add category then click on Add Or Remove button. You can add new category from here.
- Activity Title: Enter new activity title.
- Assign to Staff Member: Select staff member for this activity.
- Membership: Select membership in which you want to add this activity.
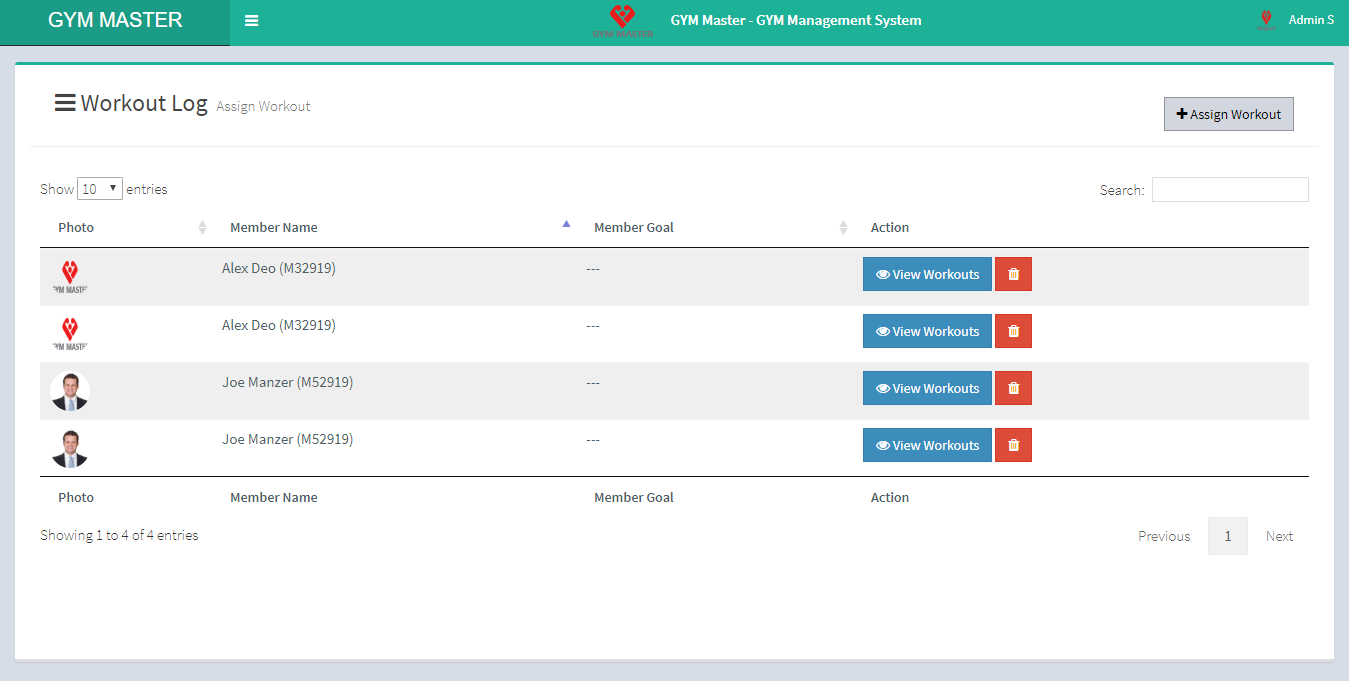
8) Assign Workouts:
You can assign workout to member, manage all workouts and view complete list of all assigned workouts.
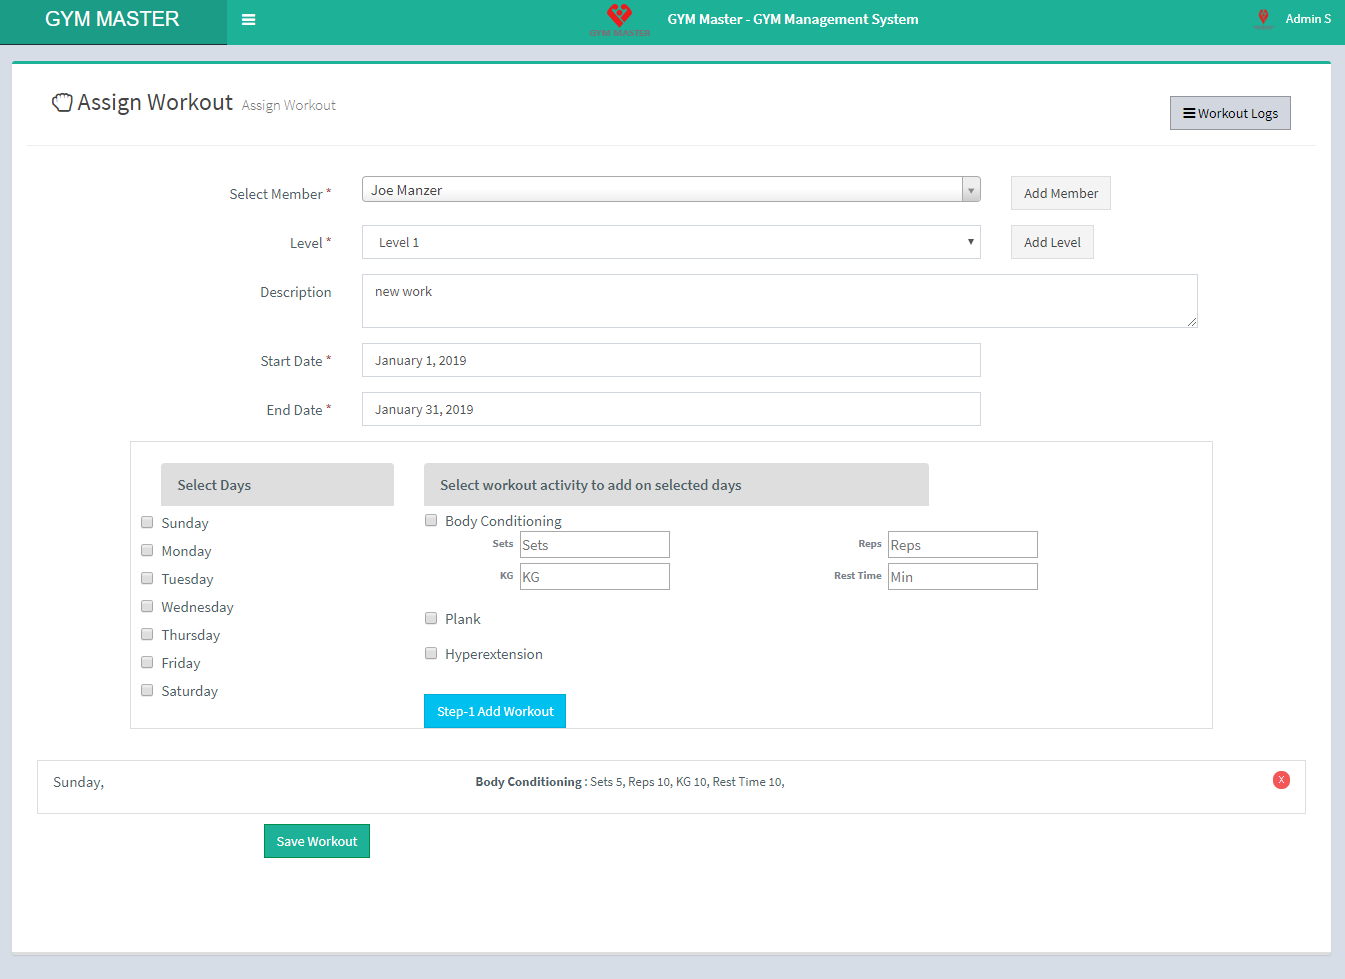
- Assign Workouts:
- Member: Select member to assign workout schedule.
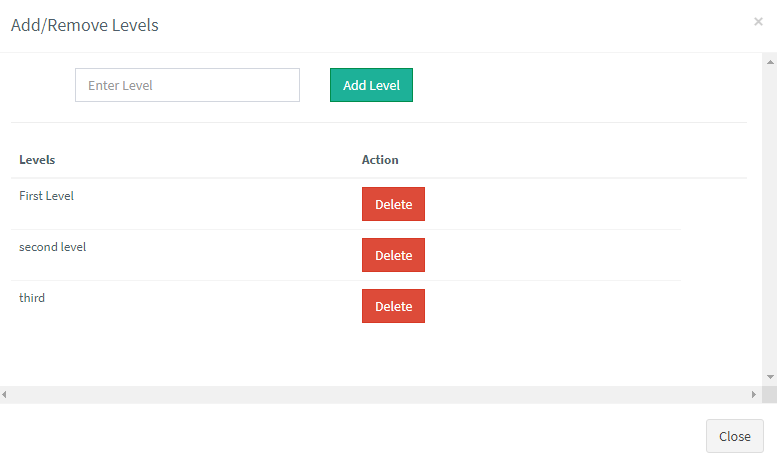
- Level: Select level of member in gym.
- Add Or Remove: If desired level is not in list and you want to add level then click on Add Or Remove button. You can add new level from here.
- Description: Enter Description of this workout.
- Start Date: Enter start date for this workout.
- End Date: Enter end date for this workout.
- Step 1:Select days for which you want to assign workout. Selected start date and end date for this workout.
- Step 2: Select the activity along with set and reps as shown
* Sets: Enter number of sets for this activity.
* Reps: Enter number of reps for this activity.
* KG: Enter weight kg for this activity.
* Rest Time : Enter appropriate rest time
For all the activities repeat step 2. - Step 3: Once you are done adding activity set & reps, click on step-1 add workout button to add this workout.
- Step 4: Review the workout details and you must save this workout by clicking on Save Workout button.
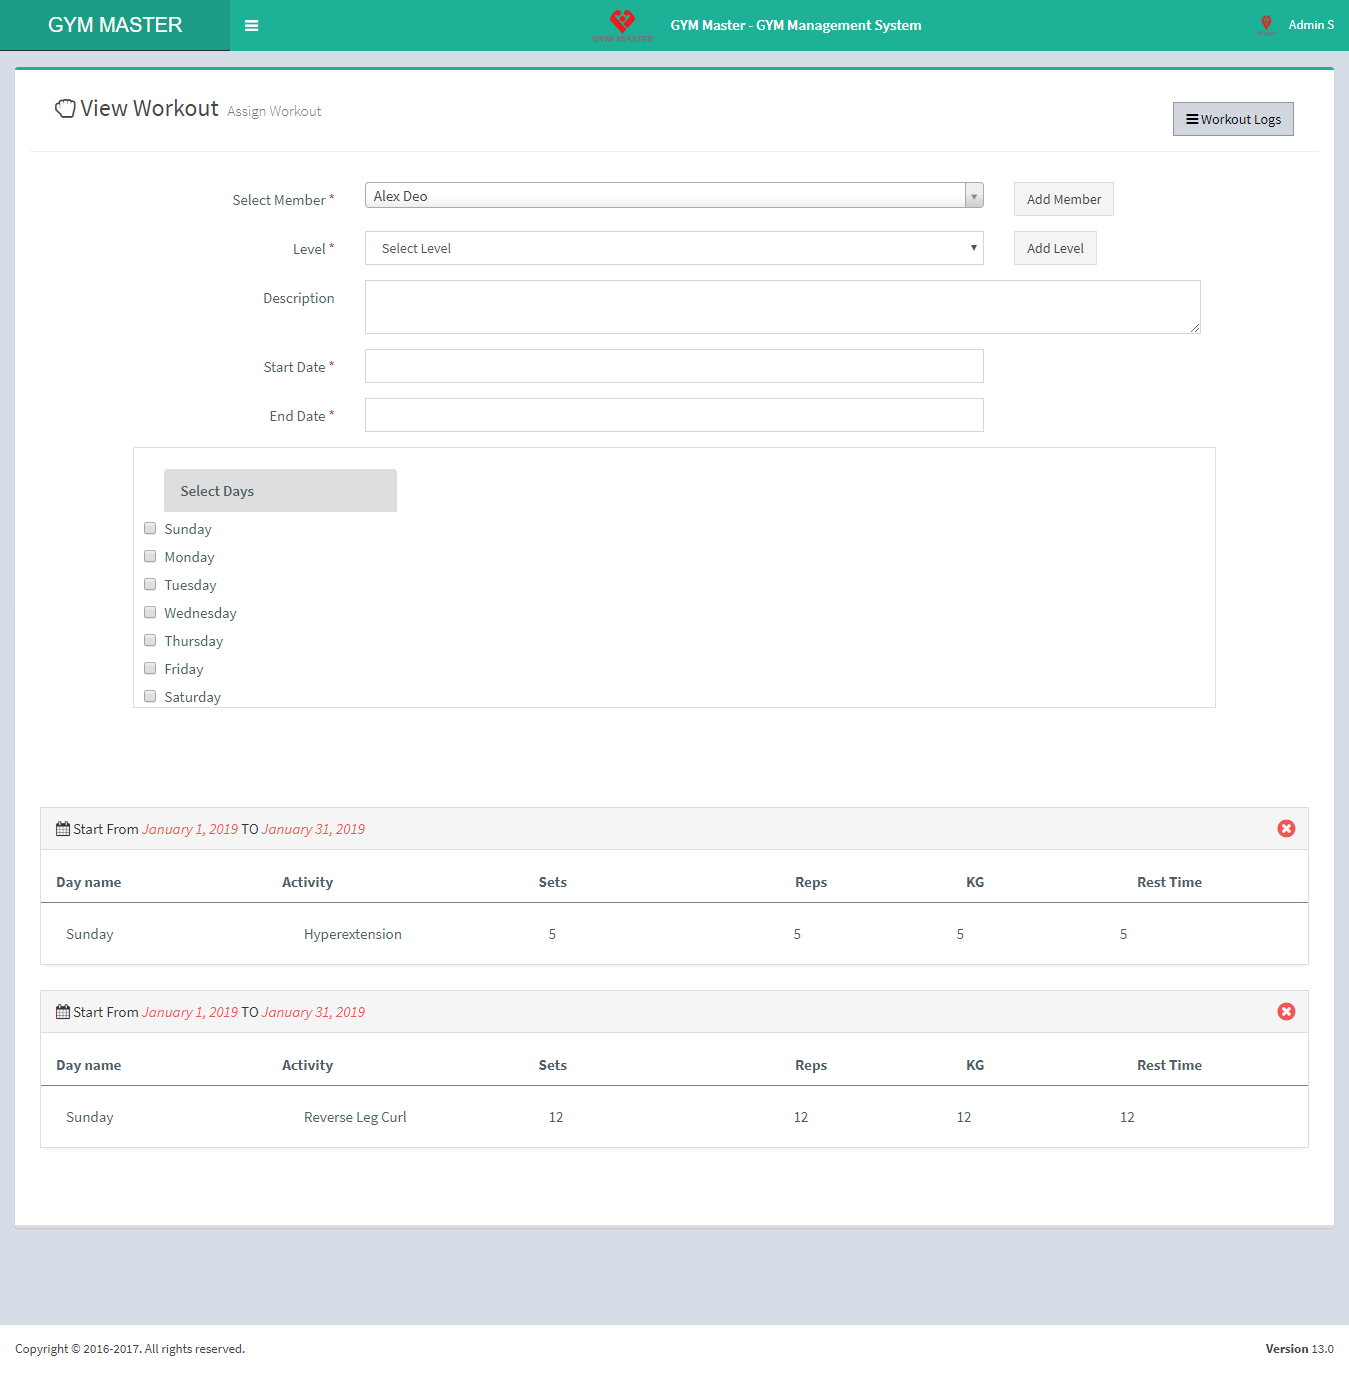
- View Workouts:
9) Daily Workouts:
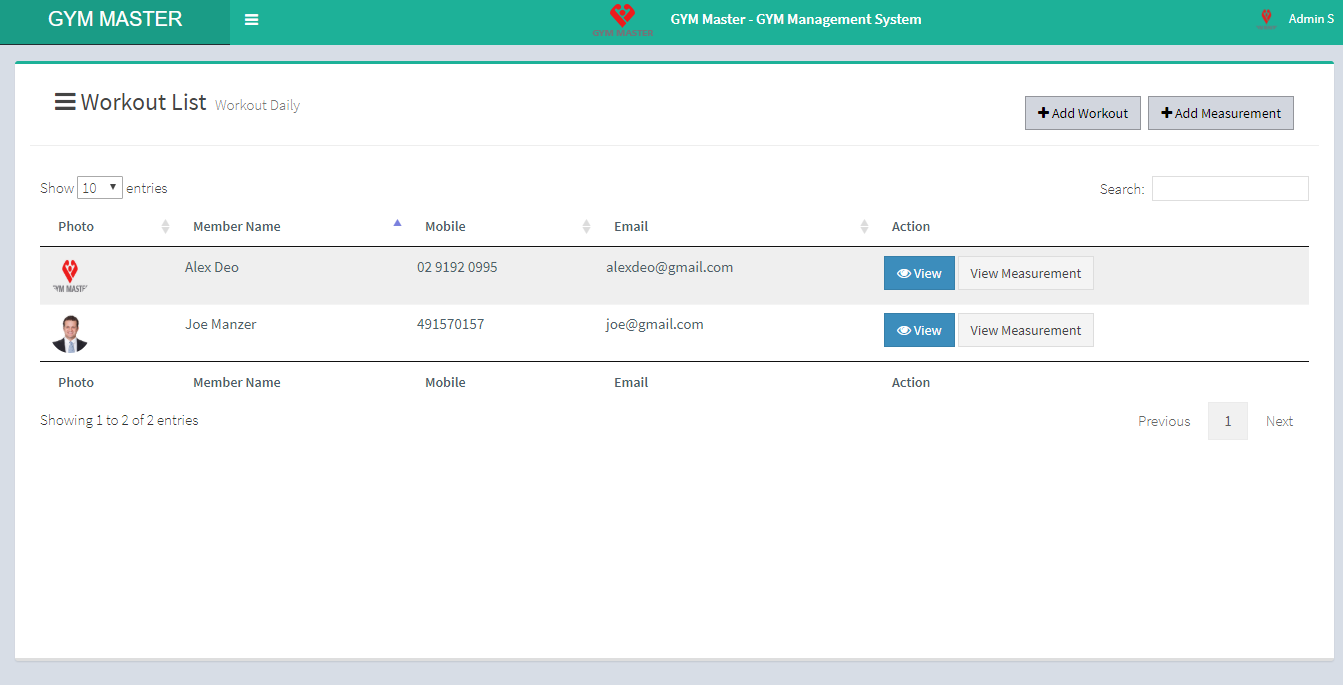
You can log "completed workouts", manage all assigned workouts and view complete list of all "member workouts".
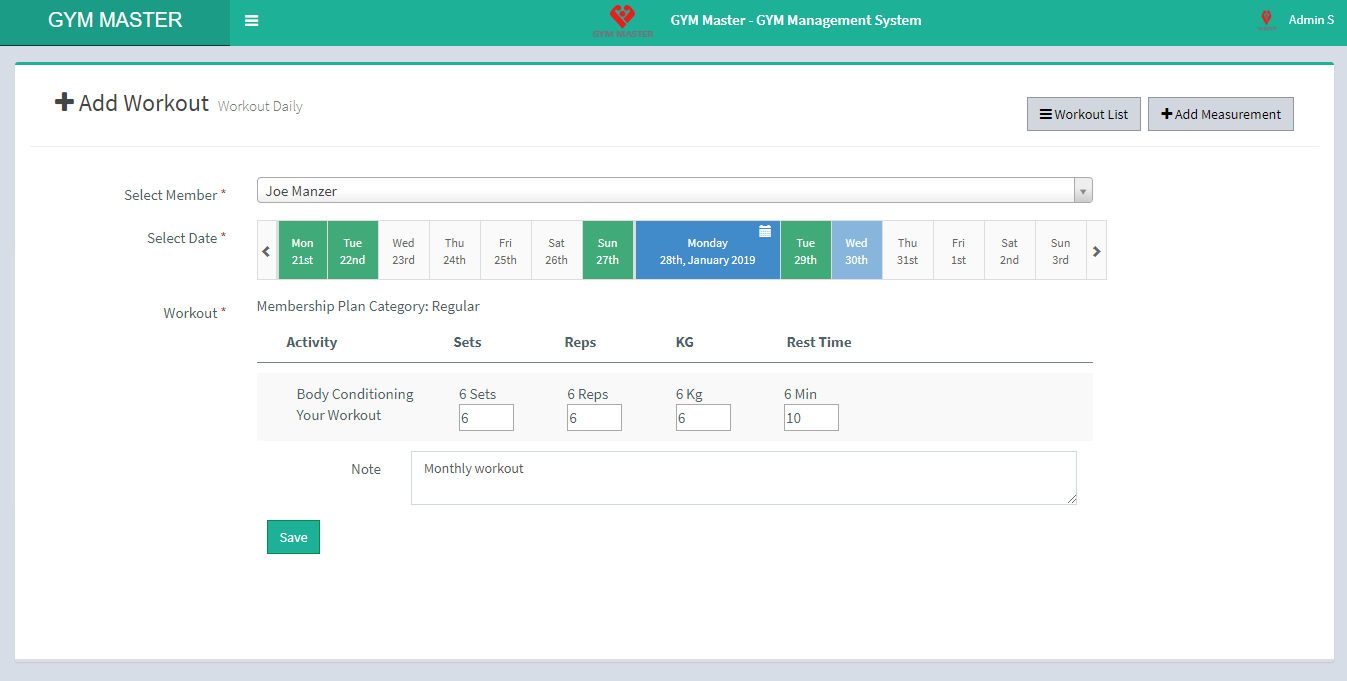
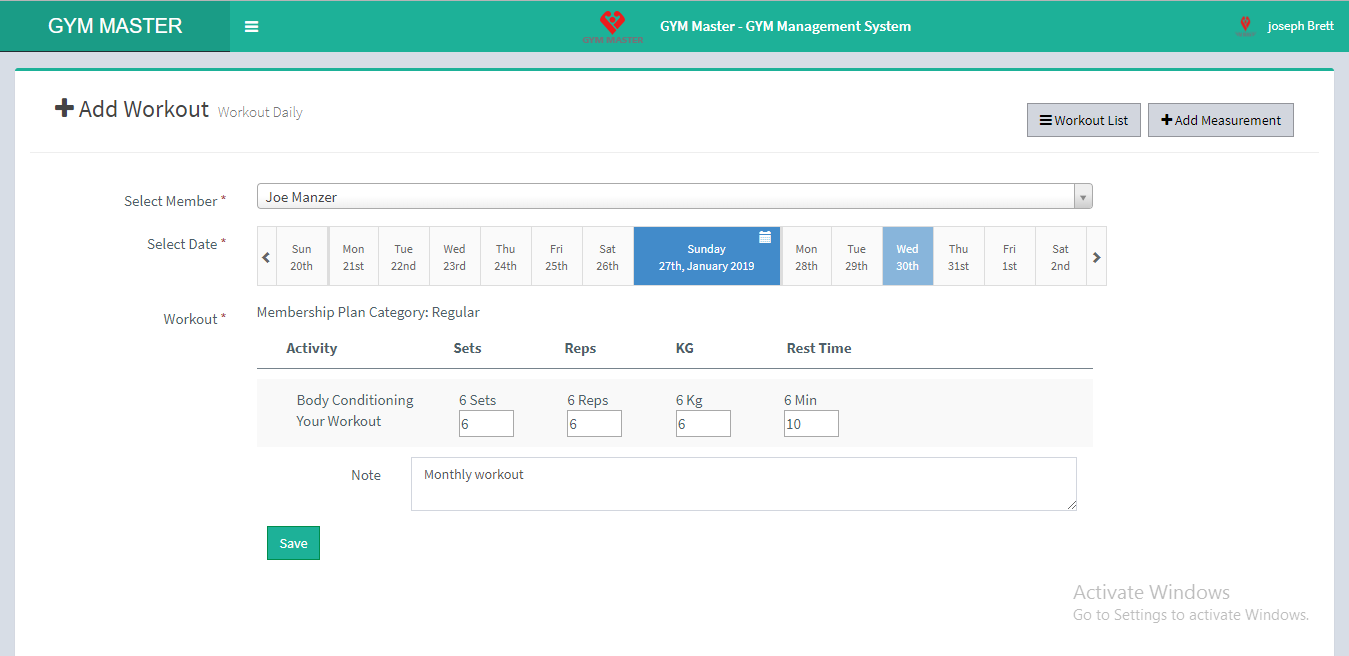
- Add Workout:
- Member: Admin can log completed workouts on behalf of members.
- Record Date: Enter Date of completed workout for selected user. Based on the date you choose, workout schedule will appear automatically
- Workout: Enter assigned workout records.
- Note: Enter extra notes if you want to
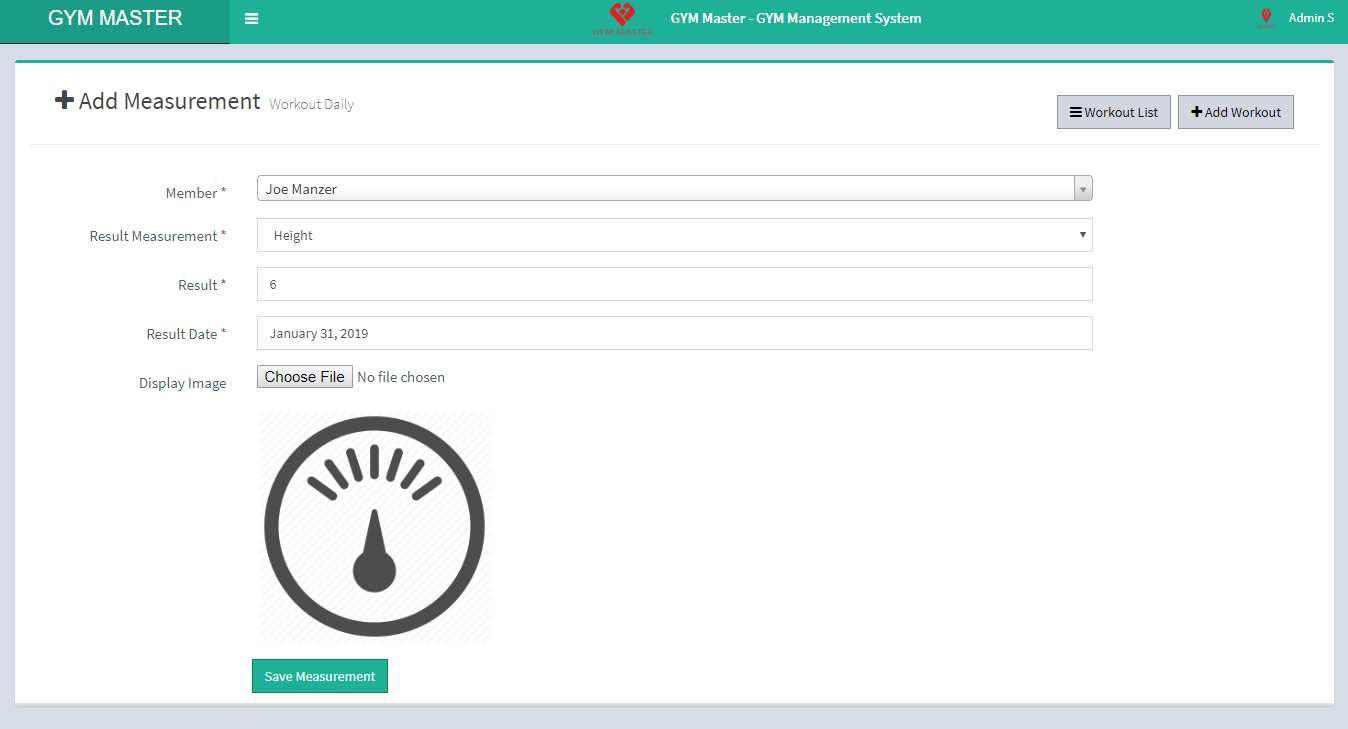
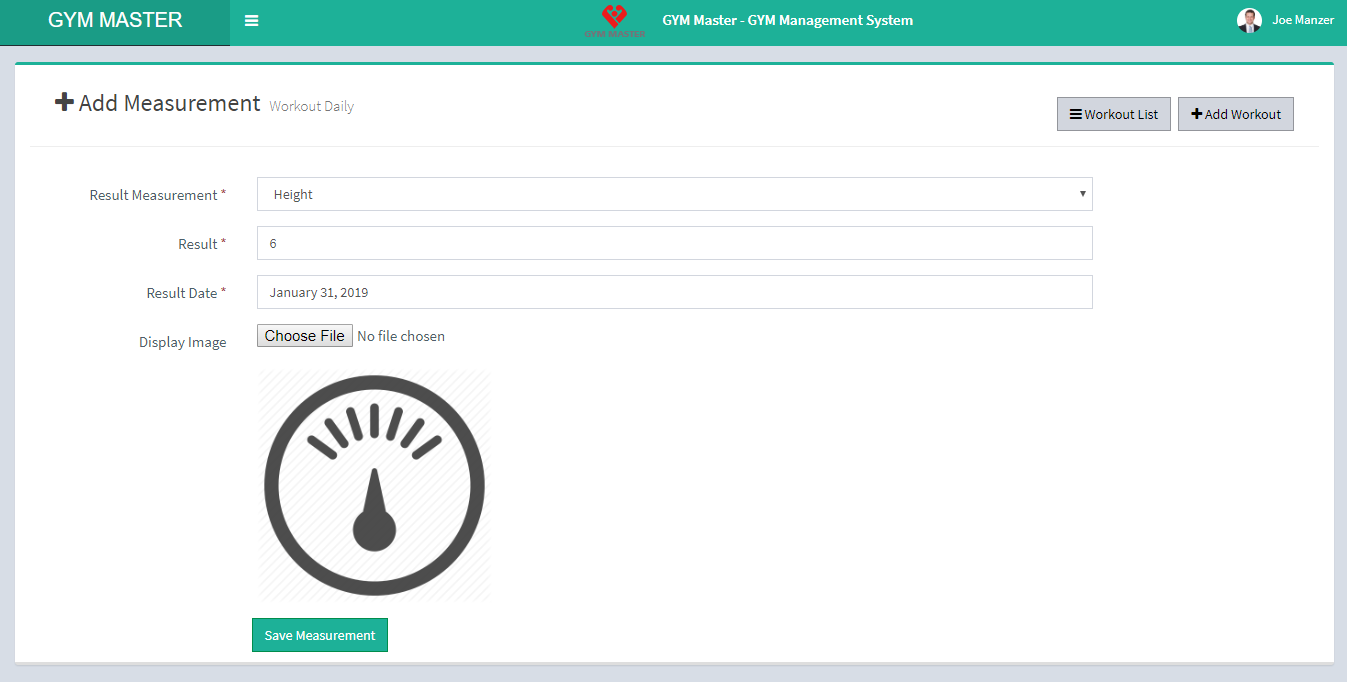
- Add Measurement:
- Member: Select member to log measurement record.
- Measurement Entity: Select what you are measuring
- Result : Enter measurement for selected member.
- Record Date: Enter measurement taken date.
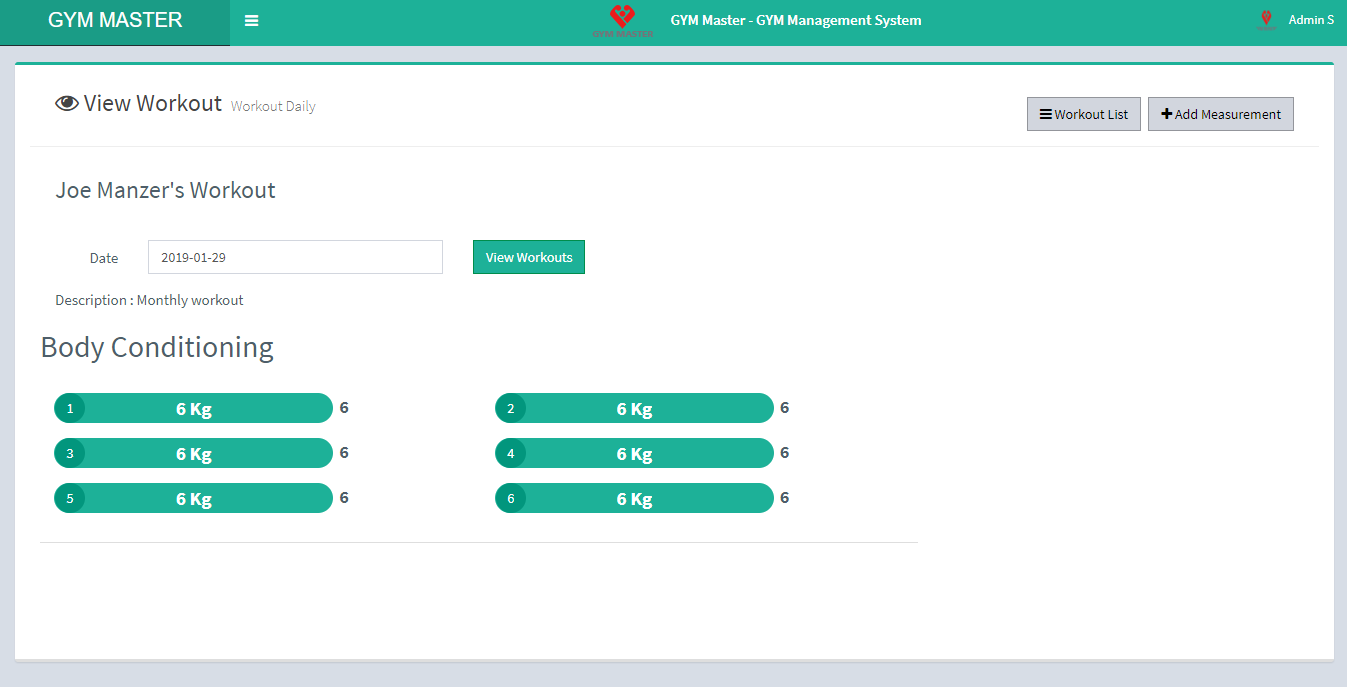
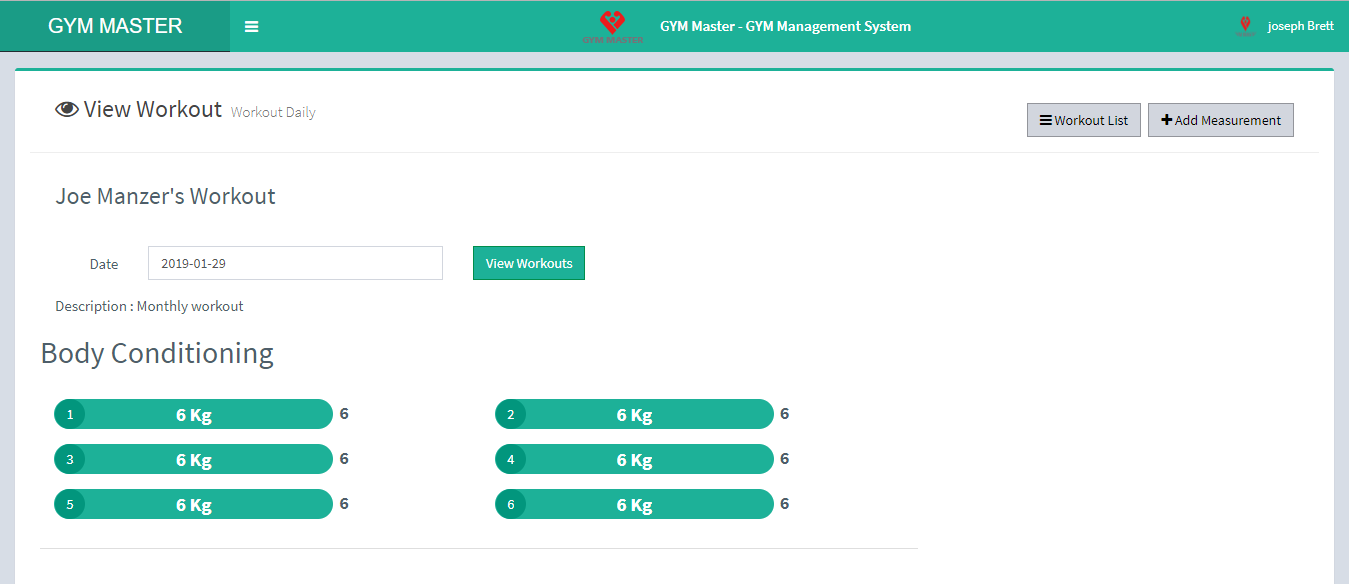
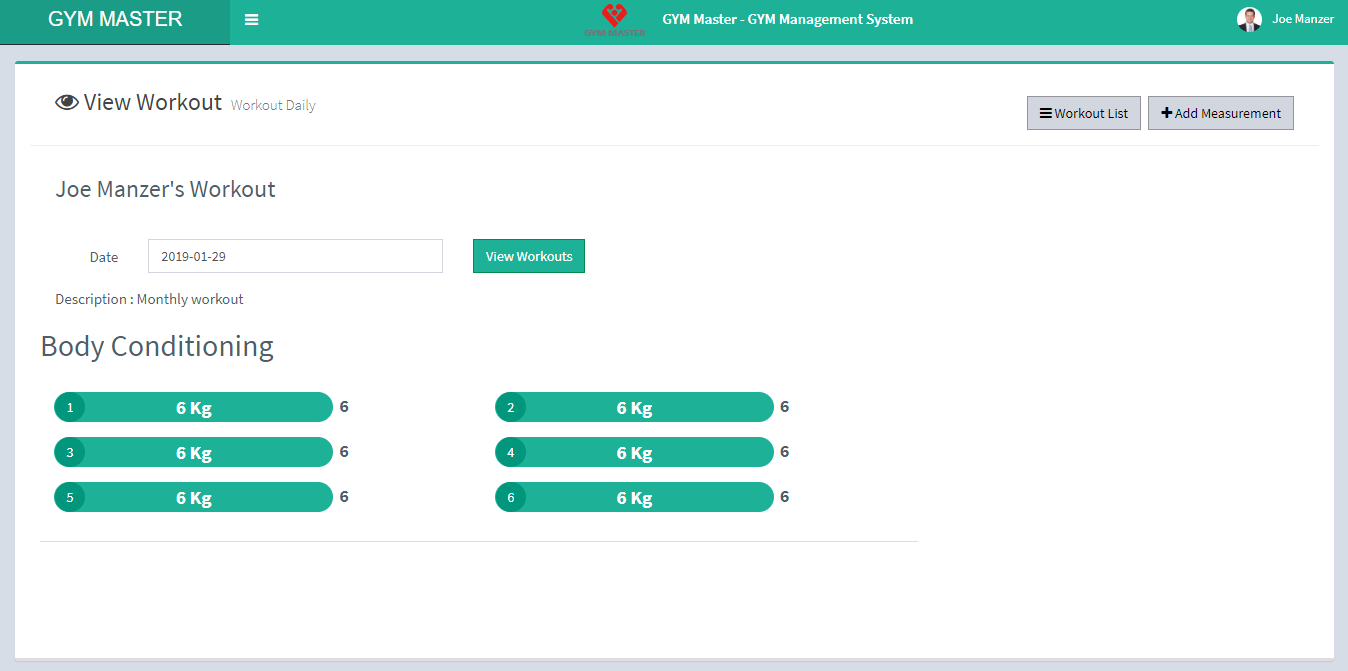
- View Workout:
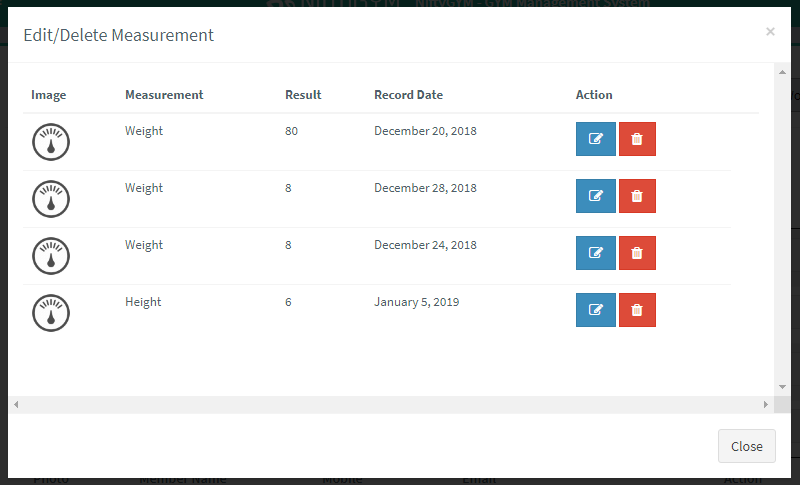
- View Measurement:
It Shows completed member workouts.
Shows member Measurement recors. You can also Edit/Delete that particular record.
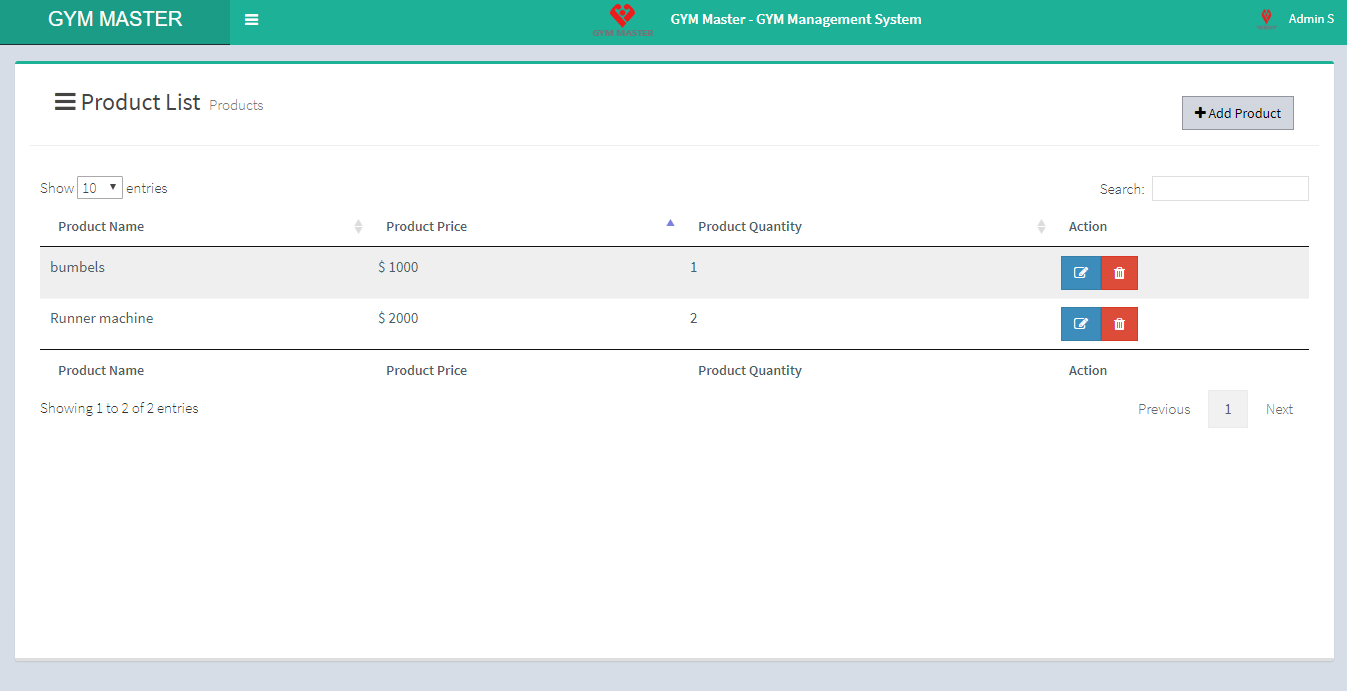
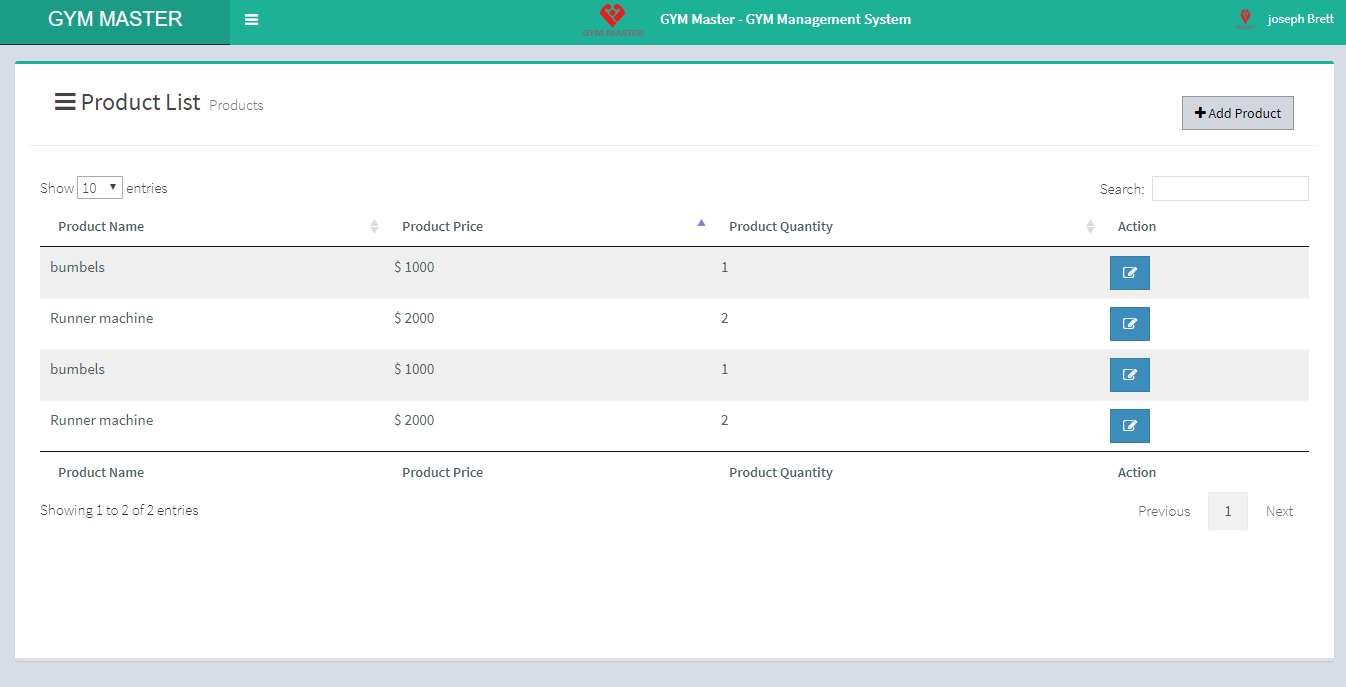
10) Product:
You can add new product, manage all products and view complete list of all products.
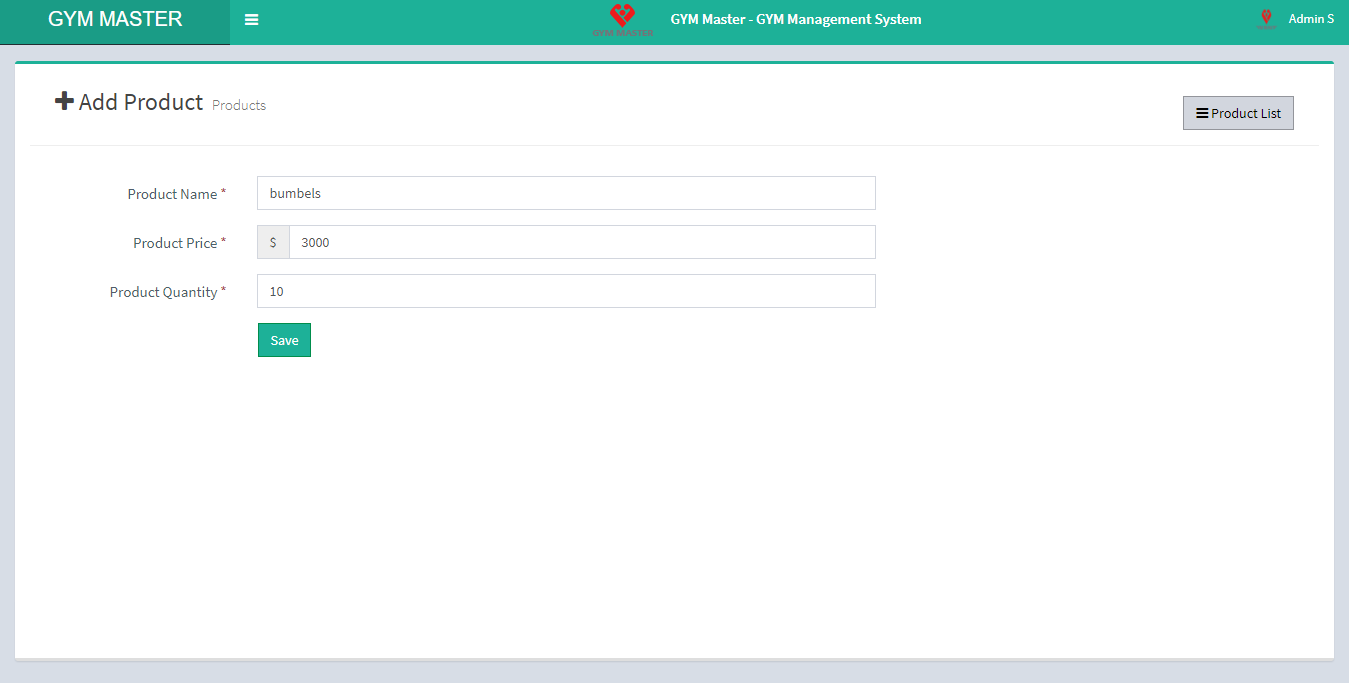
- Add Product:
- Product Name: Enter the product name.
- Product Price: Enter Product price.
- Product Quantity: Enter Product quantity.
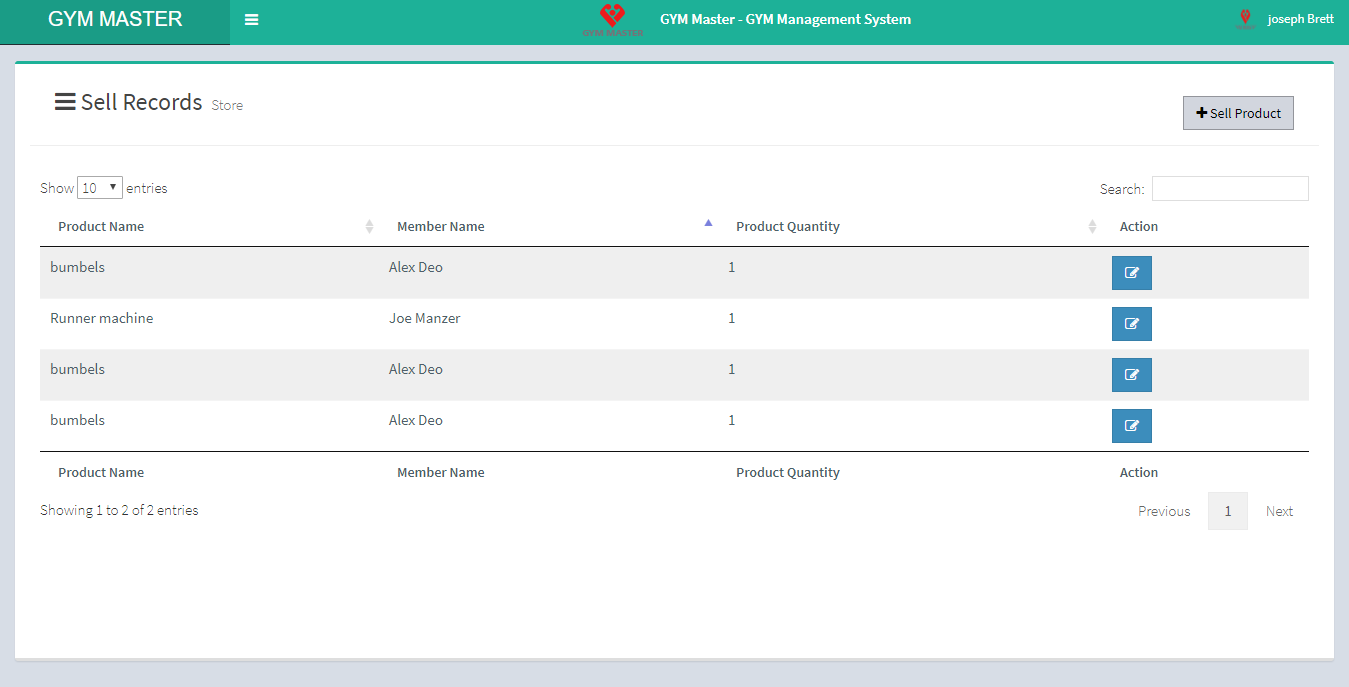
11) Store:
You can sell product, manage all products and view complete list of sold products.
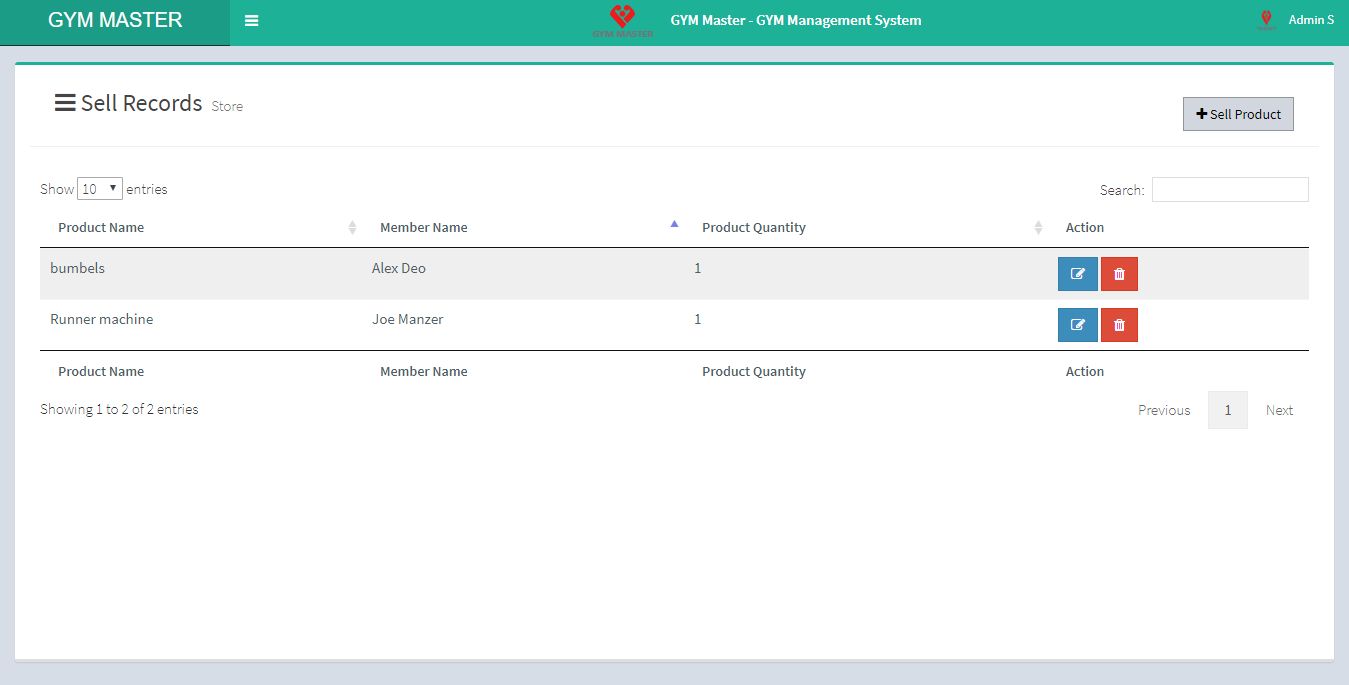
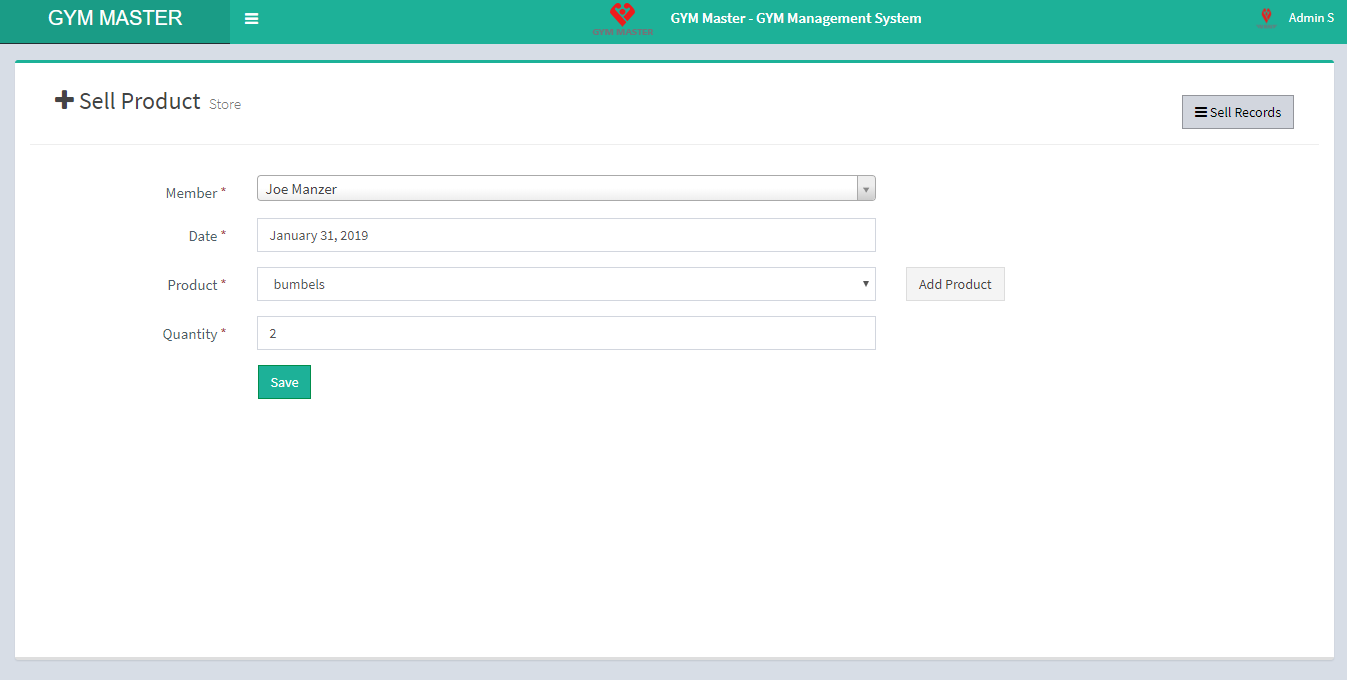
- Sell Product:
- Member: Select purchasing member
- Date: Enter sales date
- Product: Select Product
- Product Quantity: Enter Product quantity.
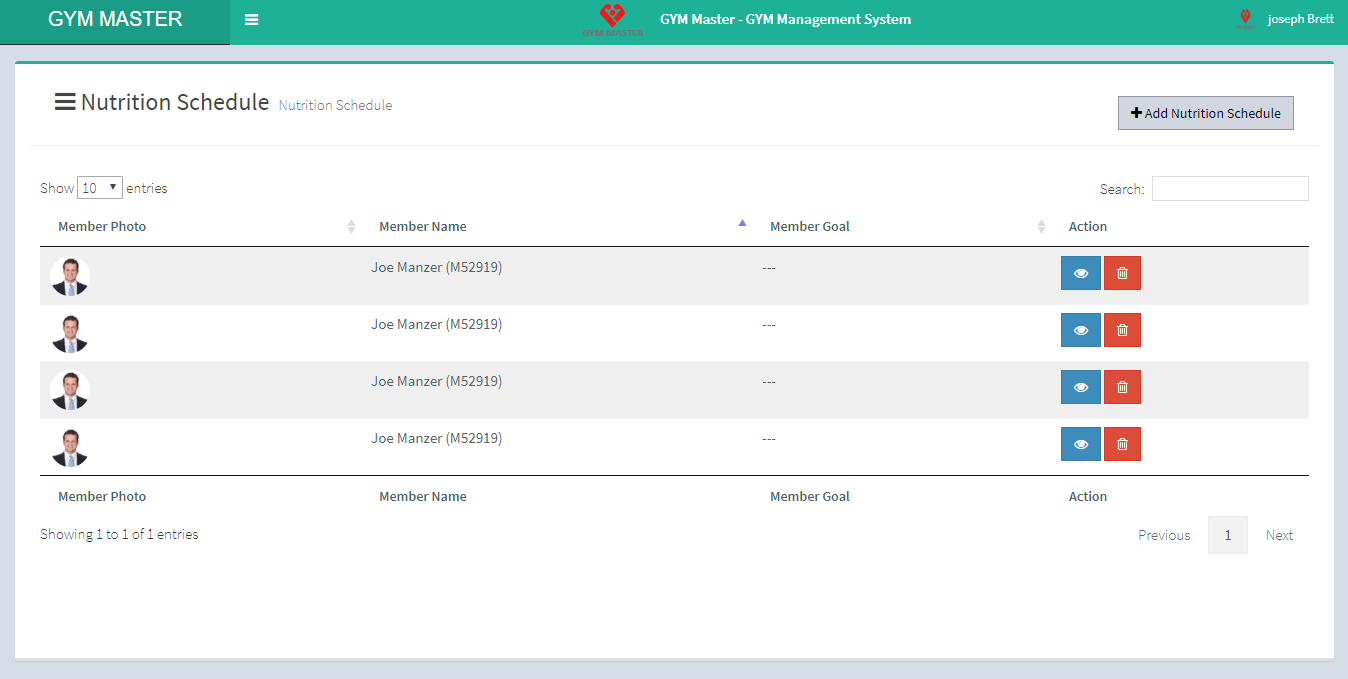
12) Nutrition Schedule:
You can view nutrition Schedule, manage all Schedules and view complete list of all Nutrition Schedules.
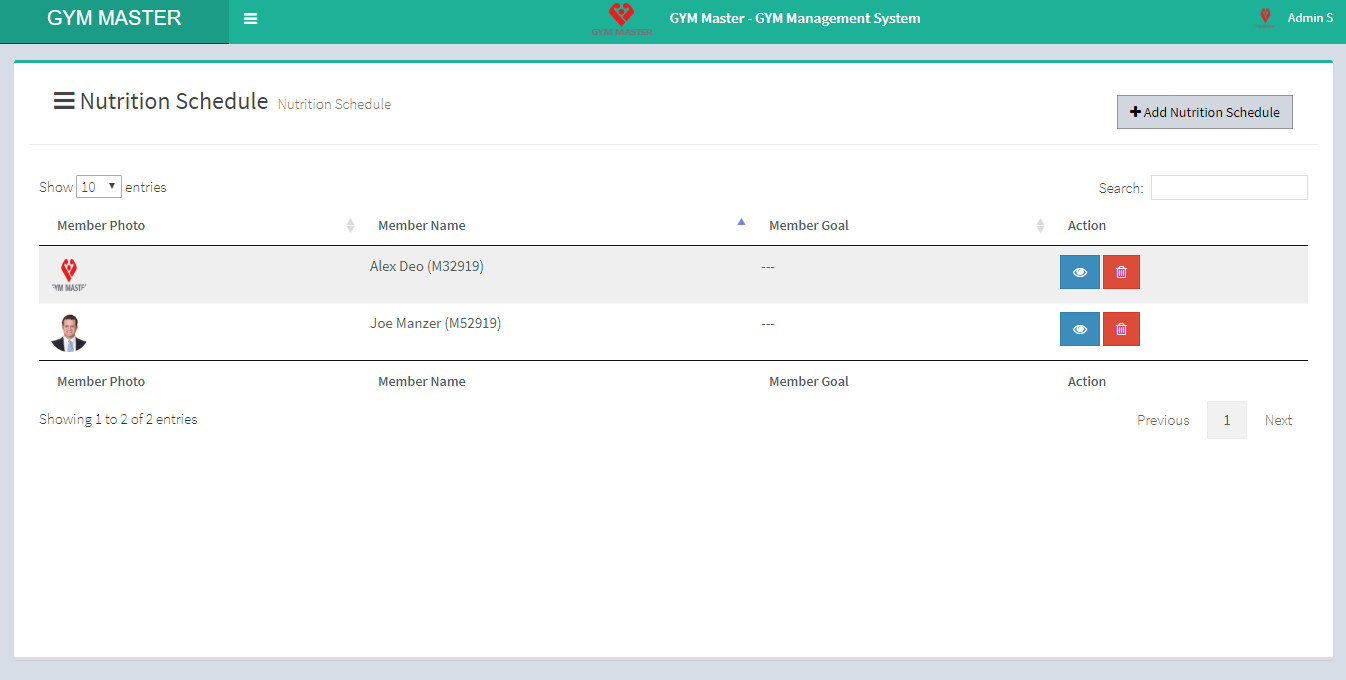
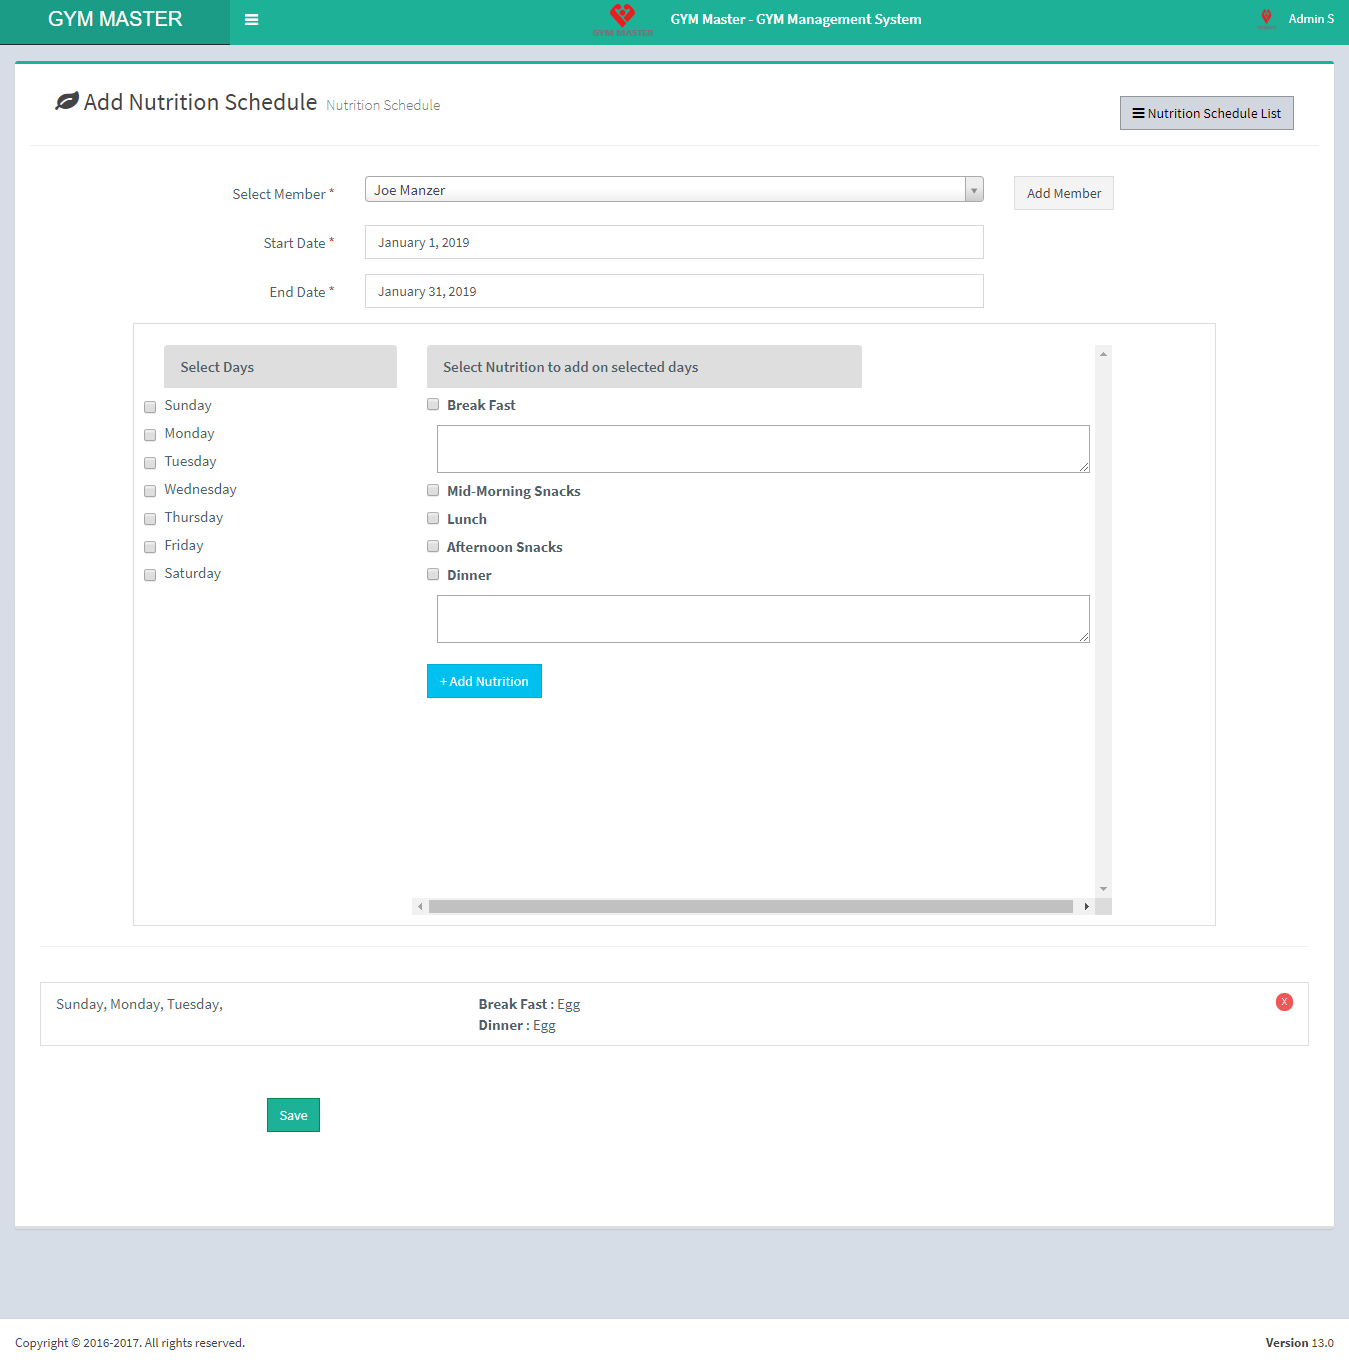
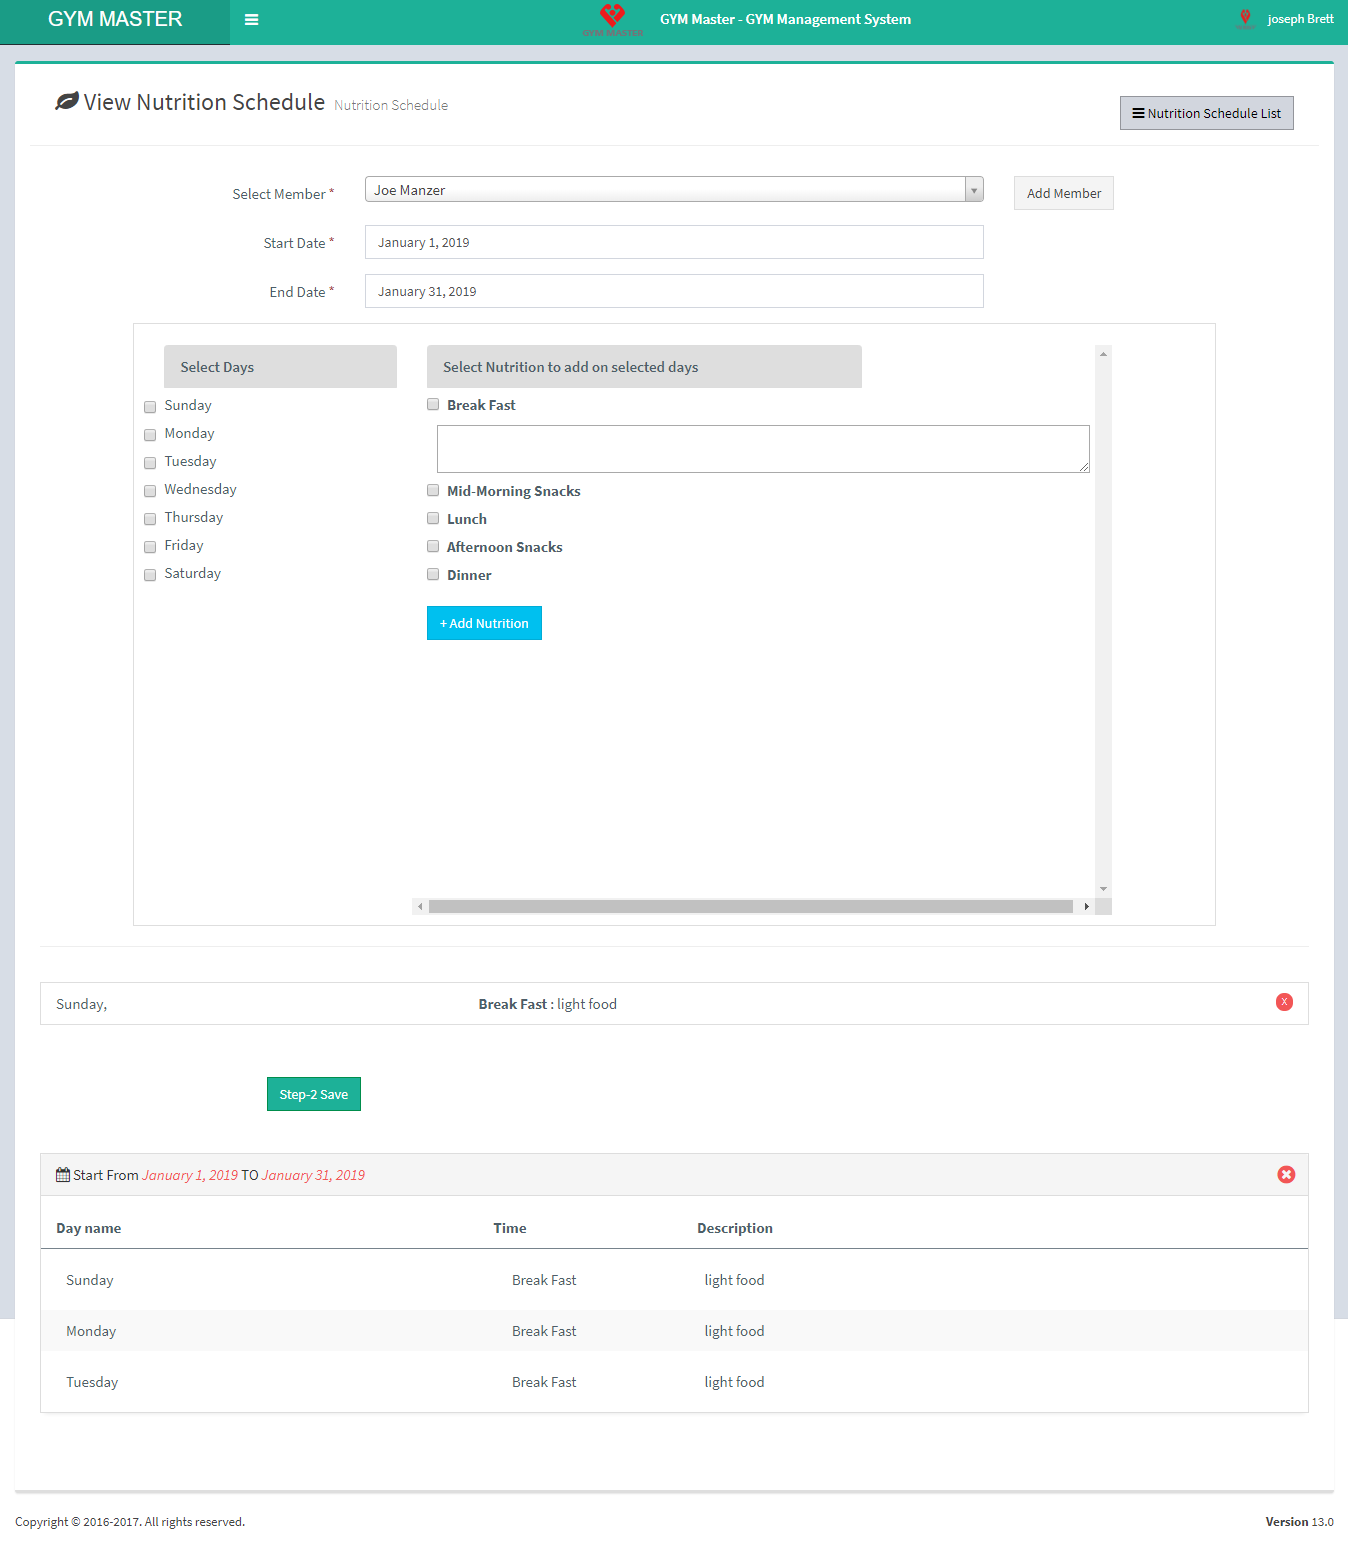
- Add Nutrition Schedule:
- Member: Select member to assign this nutrition schedule.
- Start Date: Enter start date for this nutrition schedule.
- End Date: Enter end date for this nutrition schedule.
- Step 1:Select weekdays for the schedule
- Step 2: After slecting weekdays you must select the time available in the rightside box. Repeat step 2 as per your choice.
- Step 3: After setting up nutrition taking time click on step-1 add Nutrition button to review this nutrition Schedule.
- Step 4: If you are happy with schedule, save this nutrition schedule. Click on Save button.
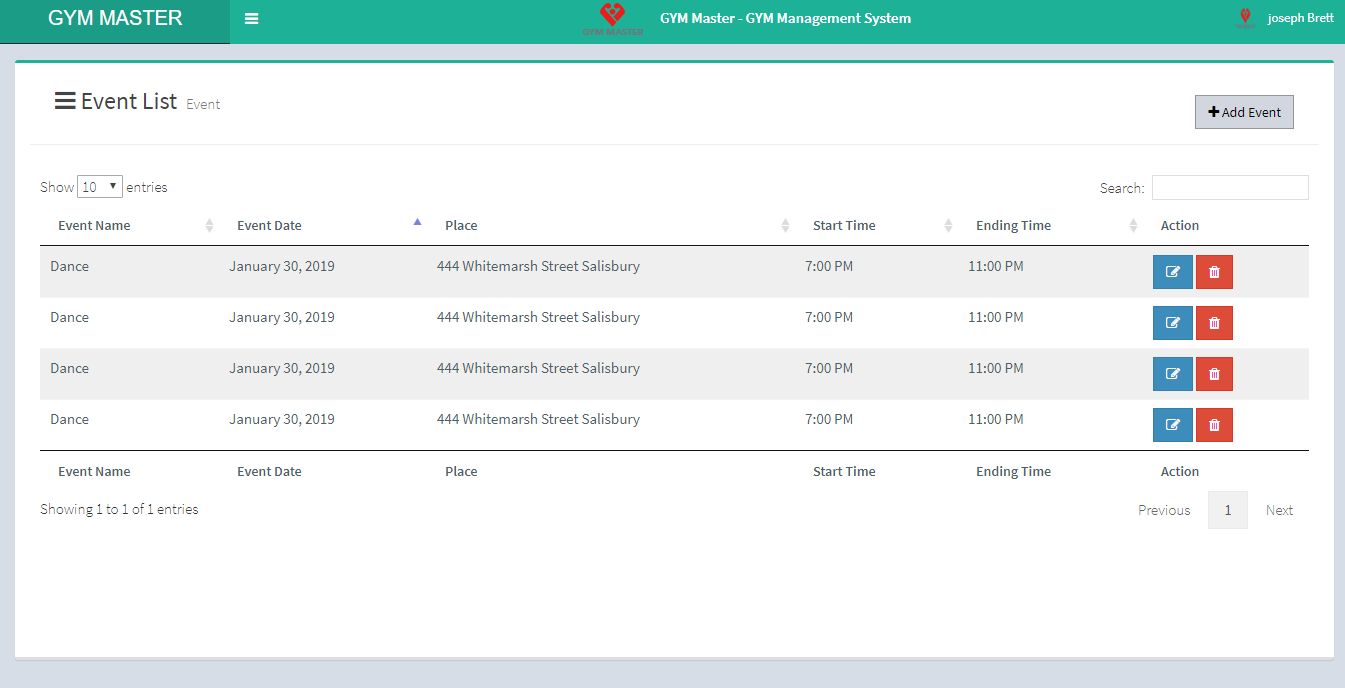
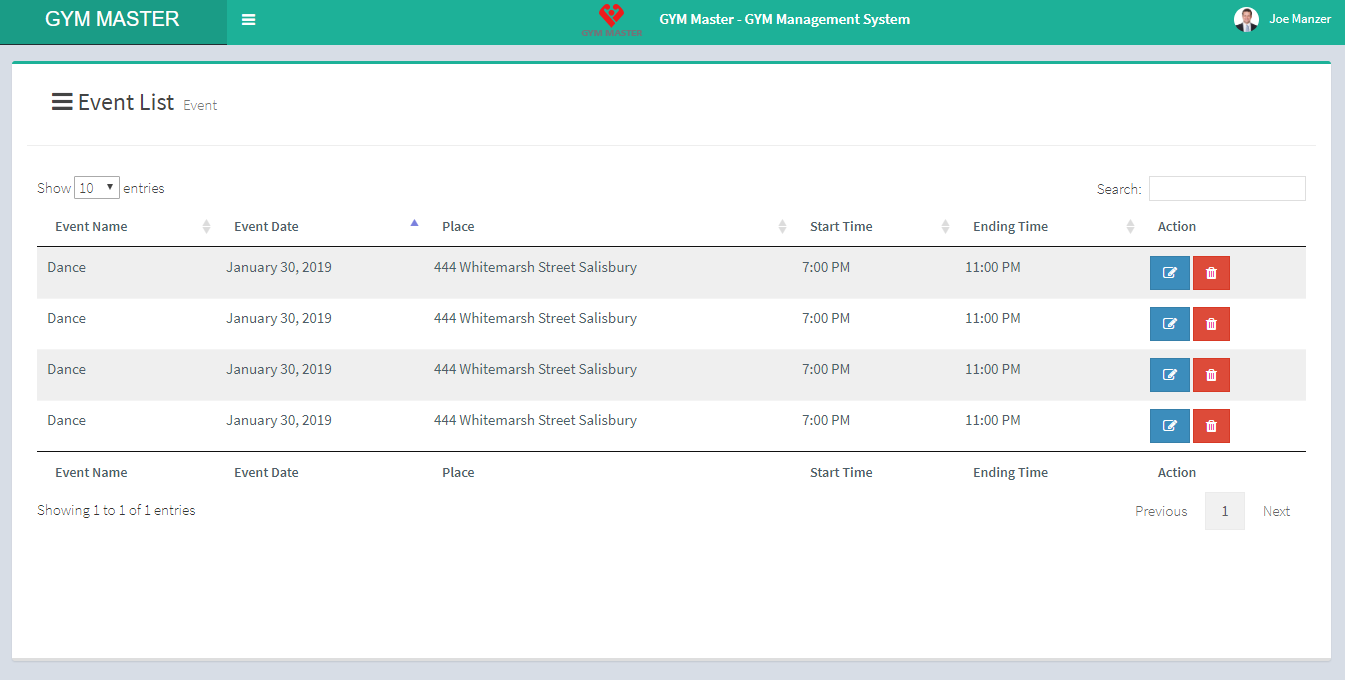
13) Event:
You can event place, manage all event and view complete list of all events.
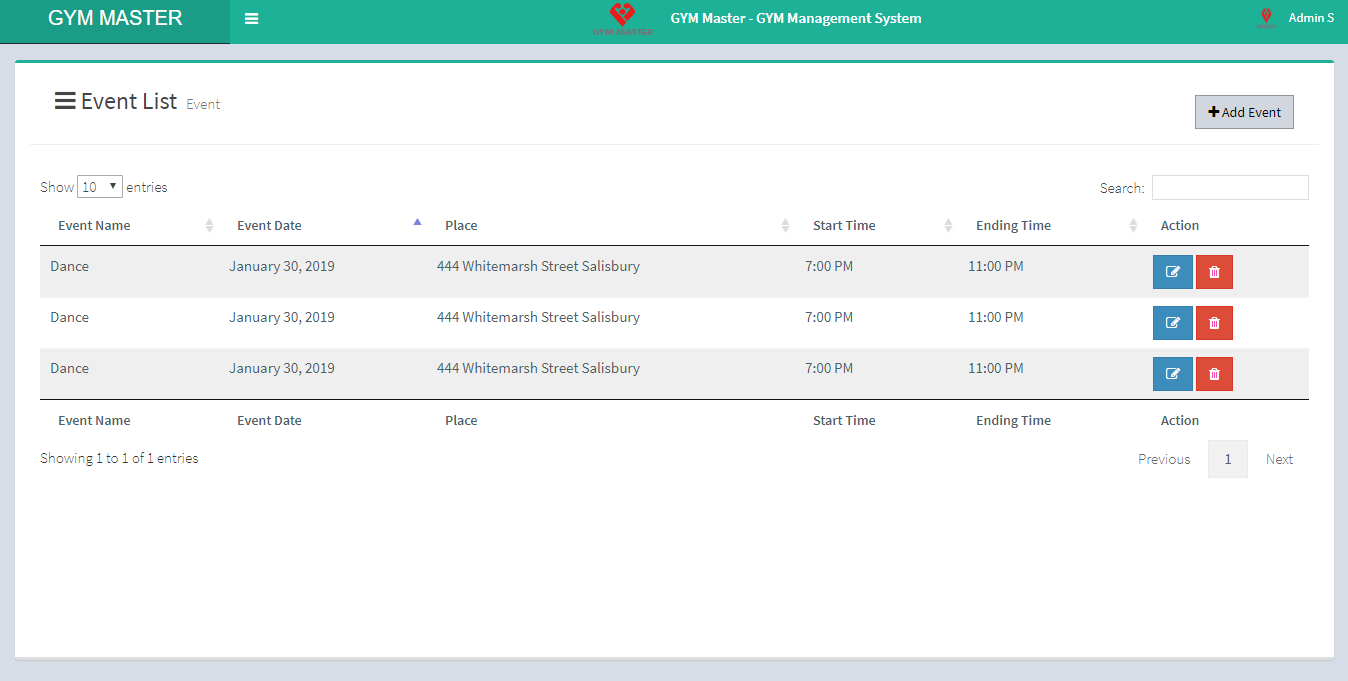
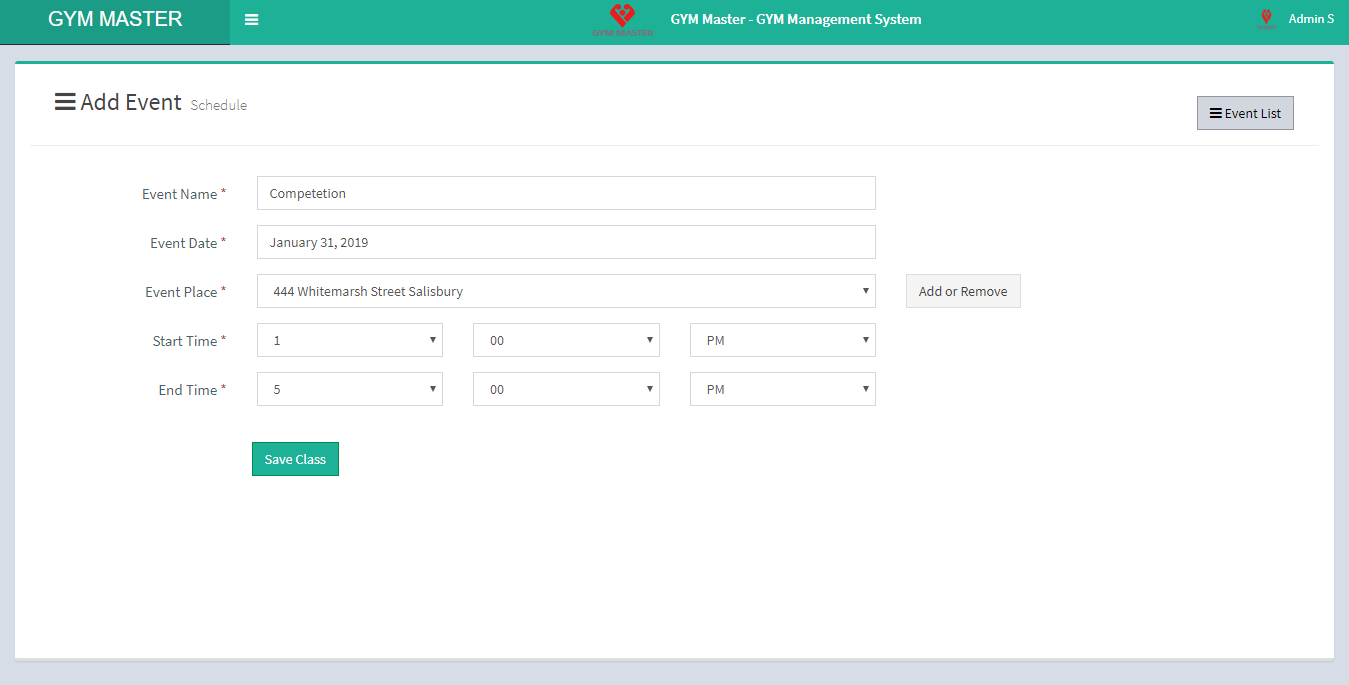
- Add Event:
- Event Name: Enter event name for the events.
- Event Date: Enter date of event.
- Event Place: Select place for event.
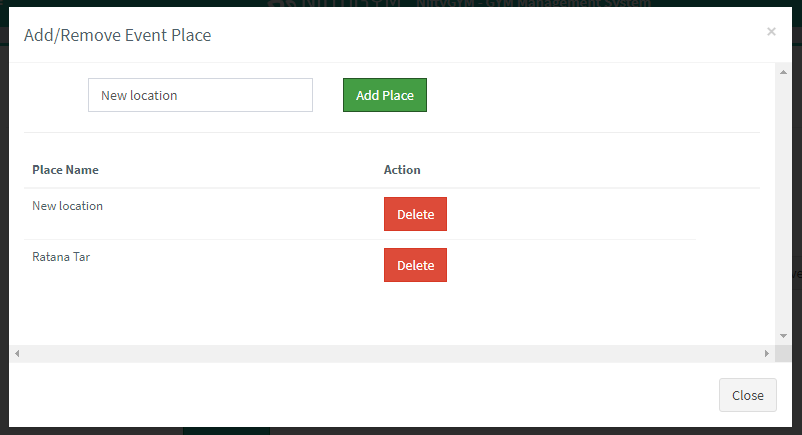
- Add Or Remove: If desired event place is not in list, you click on Add Or Remove button. you can add new place from here.
- Start Time: Select event start time.
- End Time: Select event completion time.
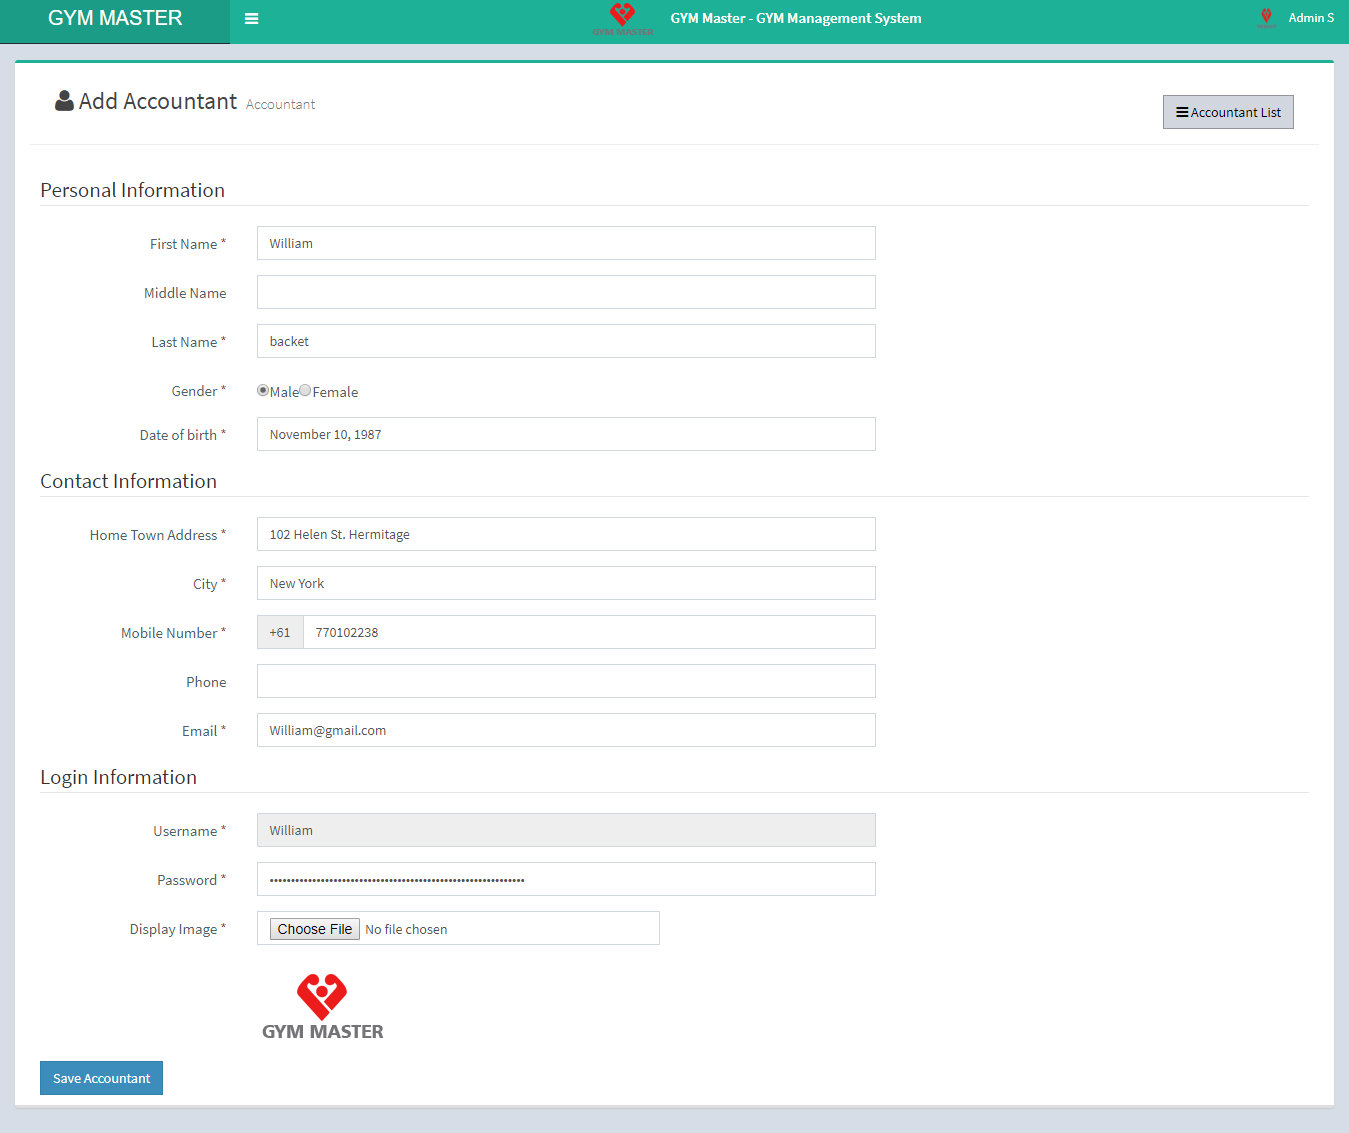
14) Accountant:
You can add accountant, manage all accountants and view complete list of all accountants.
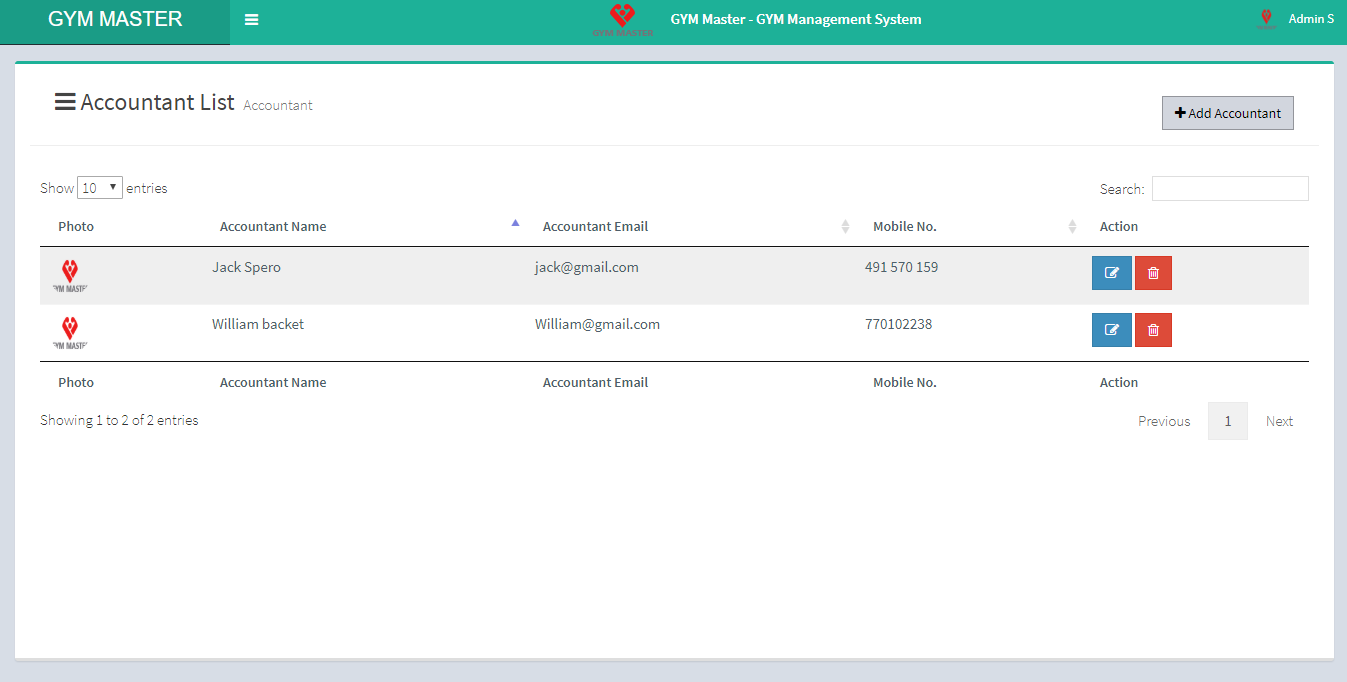
- Add Accountant:
- Name: Enter new accountant name.
- Gender: Select gender of accountant.
- Birth Date: Enter birth date of accountant.
- Home Town Address: Enter home town address of accountant.
- City: Enter city name of accountant.
- Mobile Number: Enter mobile number of accountant.
- Phone: Enter phone number of accountant.
- Email: Enter email id of accountant. Email ID must be unique.
- Username: Enter username to enable accountant login. Username must be unique.
- Password: Enter password for login.
- Image: Upload profile image of accountant.
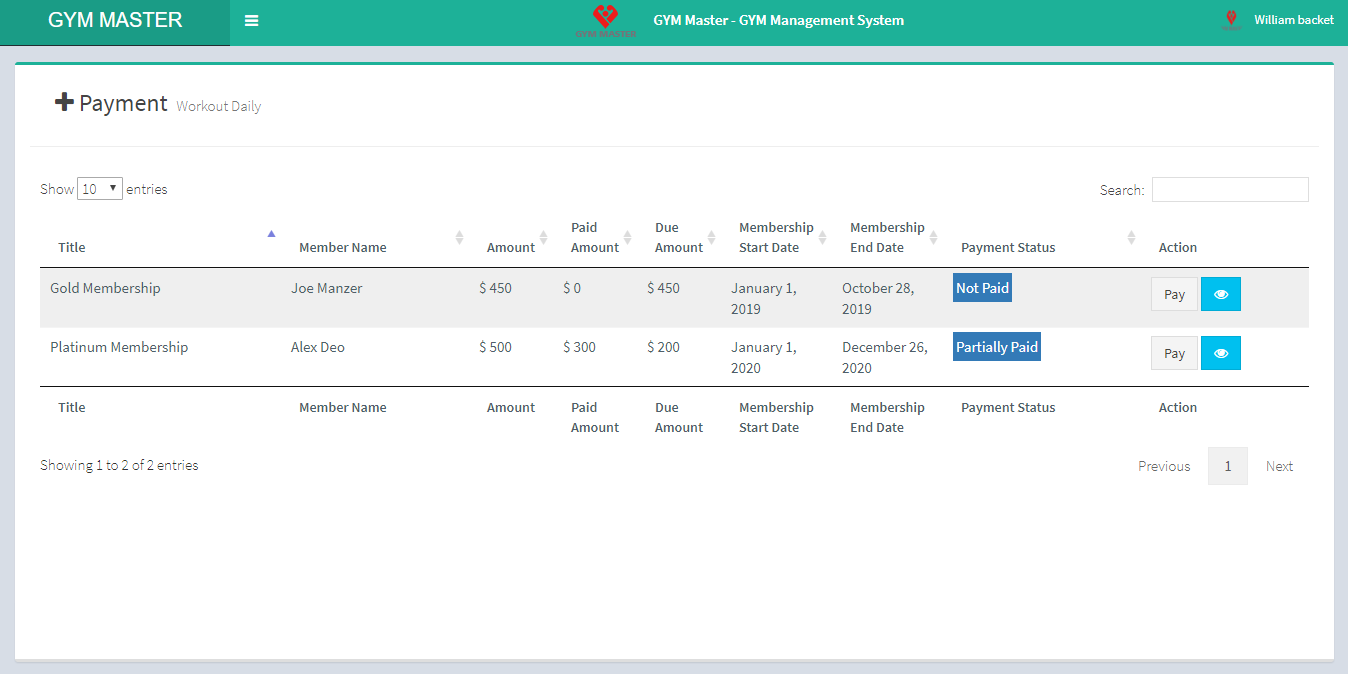
15) Payment :
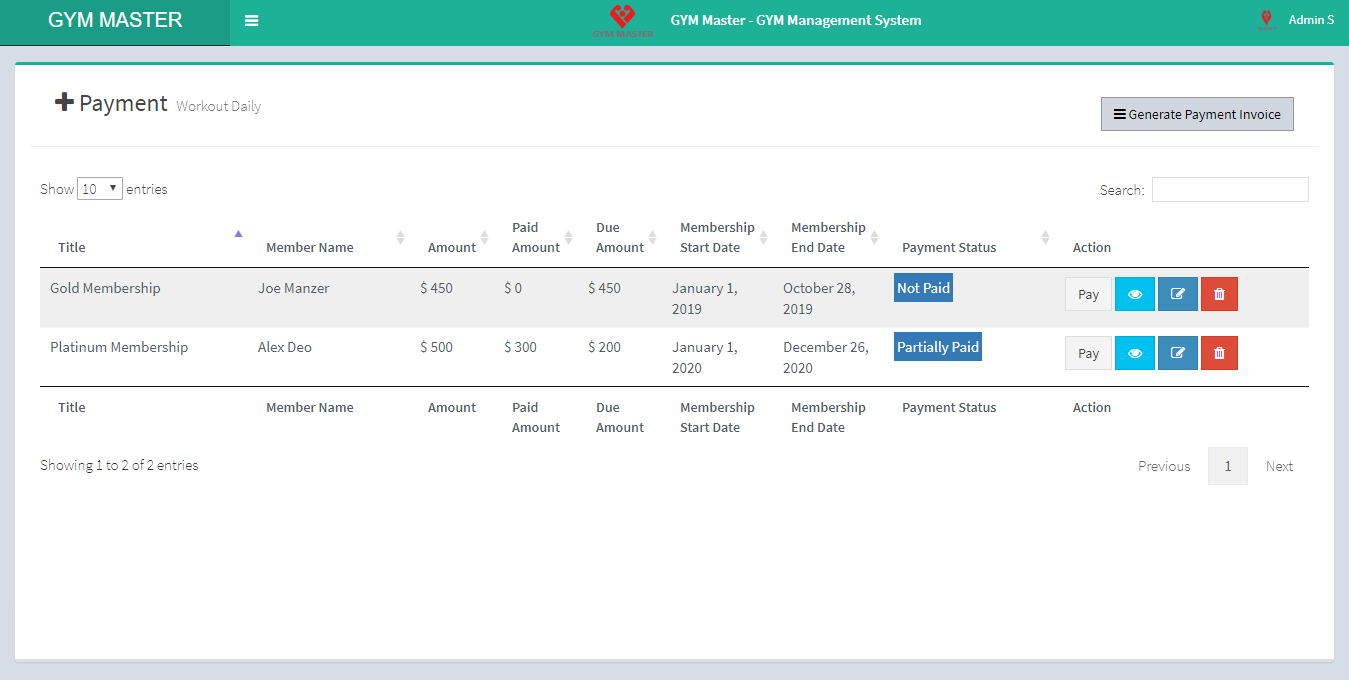
Here list out all member's free payment and you can also pay and view invoice.
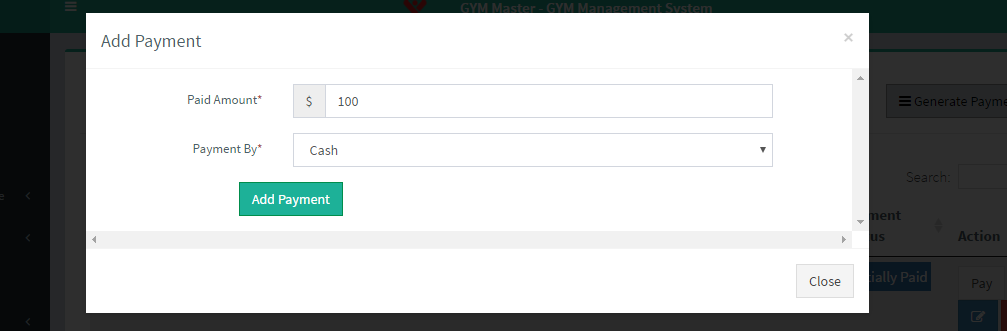
- Pay: admin can also pay fees. For that just click on Pay Button
- Paid Amount: Enter fees amount.
- Payment By: Select payment method.
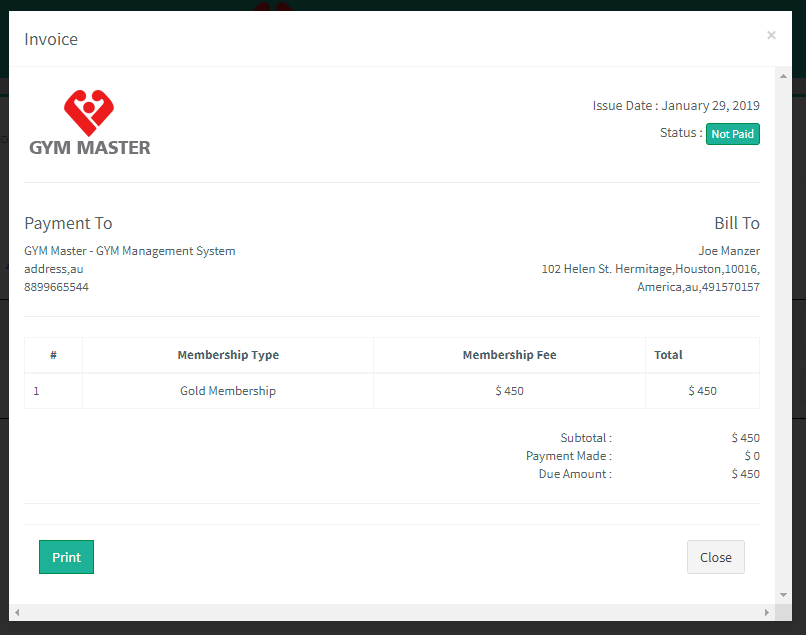
- View: admin can also view invoice of fees payment. For that just click on View Button.
2) Generate Invoice
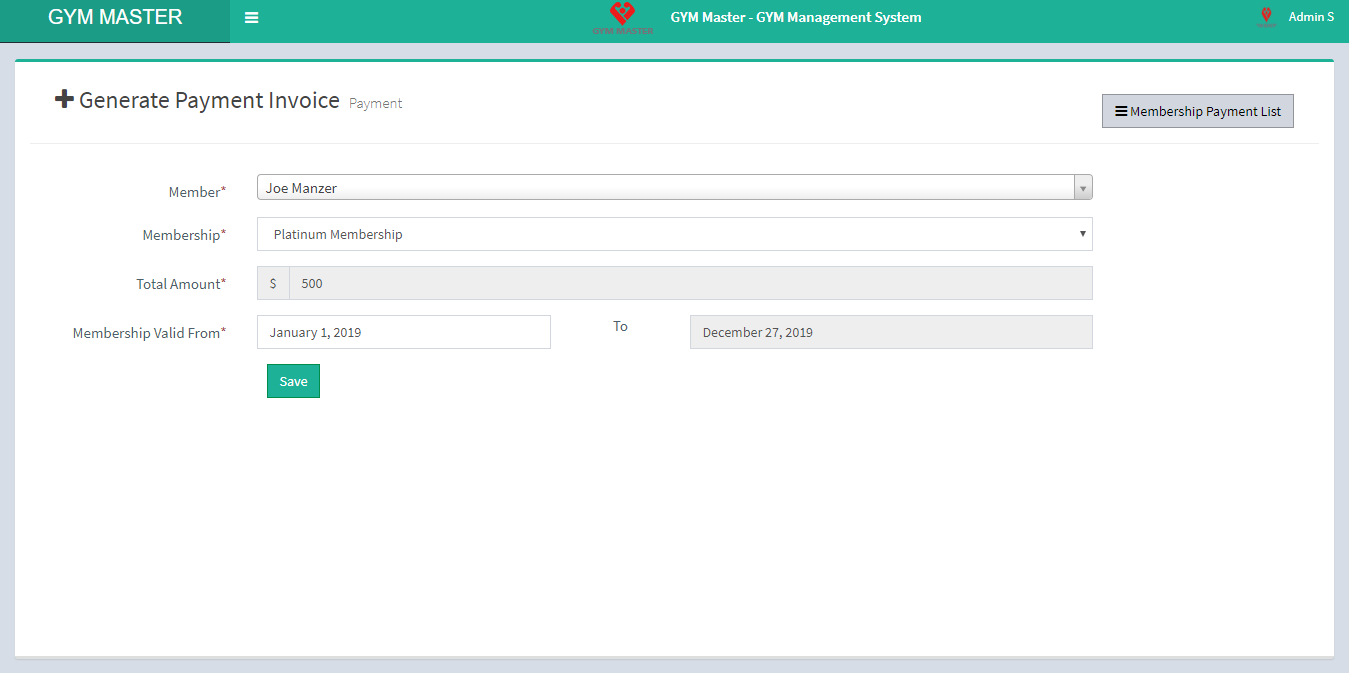
- Select Member: Select member.
- Select Membership: Select membership.
- Amount: Amount will appear automatically for selected membership.
- Total Membership Valid From: Enter membership period.
16) Payment:
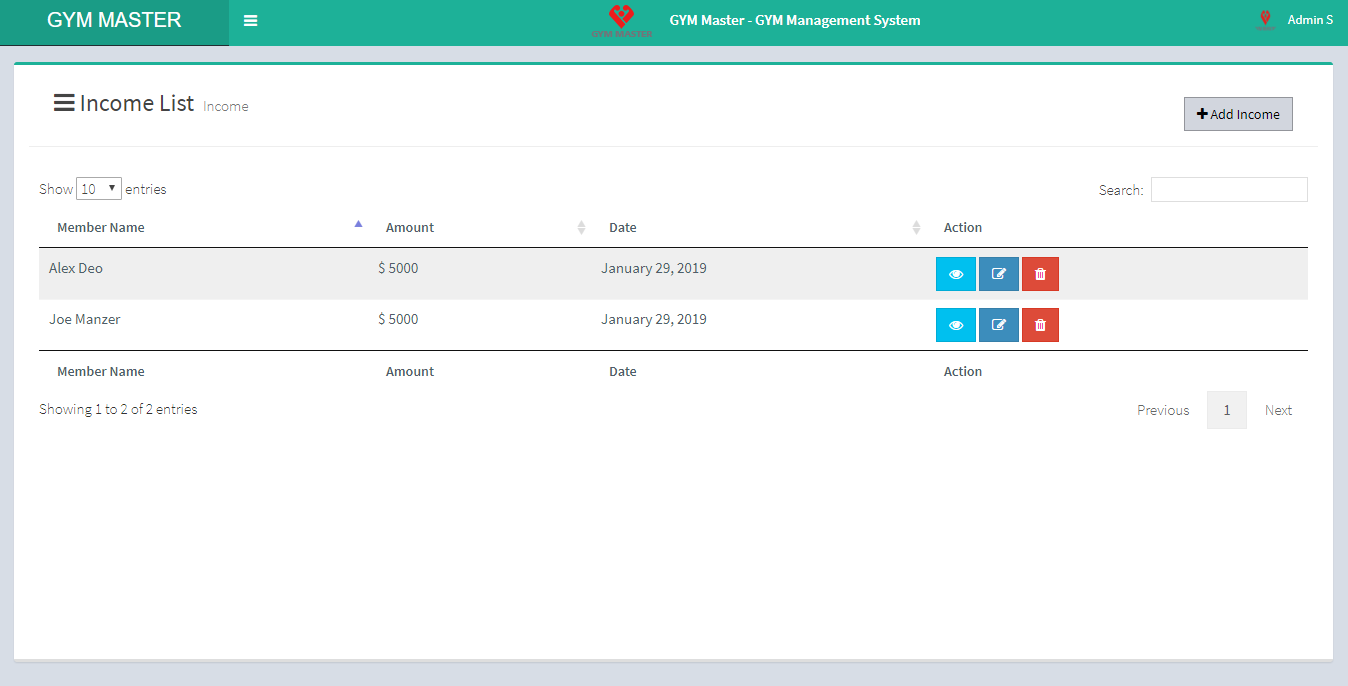
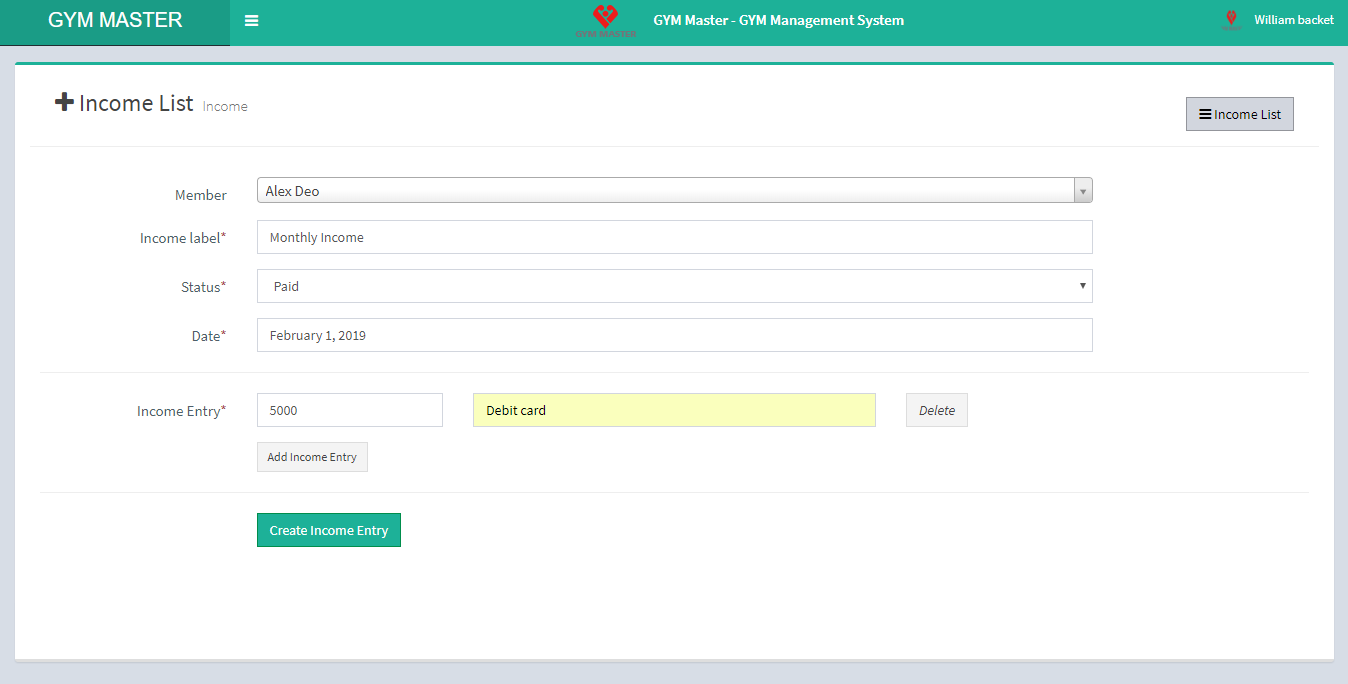
Income List:
You can add Income and view complete list of all Income.
- Add Income:
- Member: Select member for income.
- Income label: Enter income label for income.
- Status: select status of payment
- Date: Enter date of payment receipt.
- Income Entry: Enter details of payment.
- Add Income Entry: If you want to add another row click on Add Income Entry button.
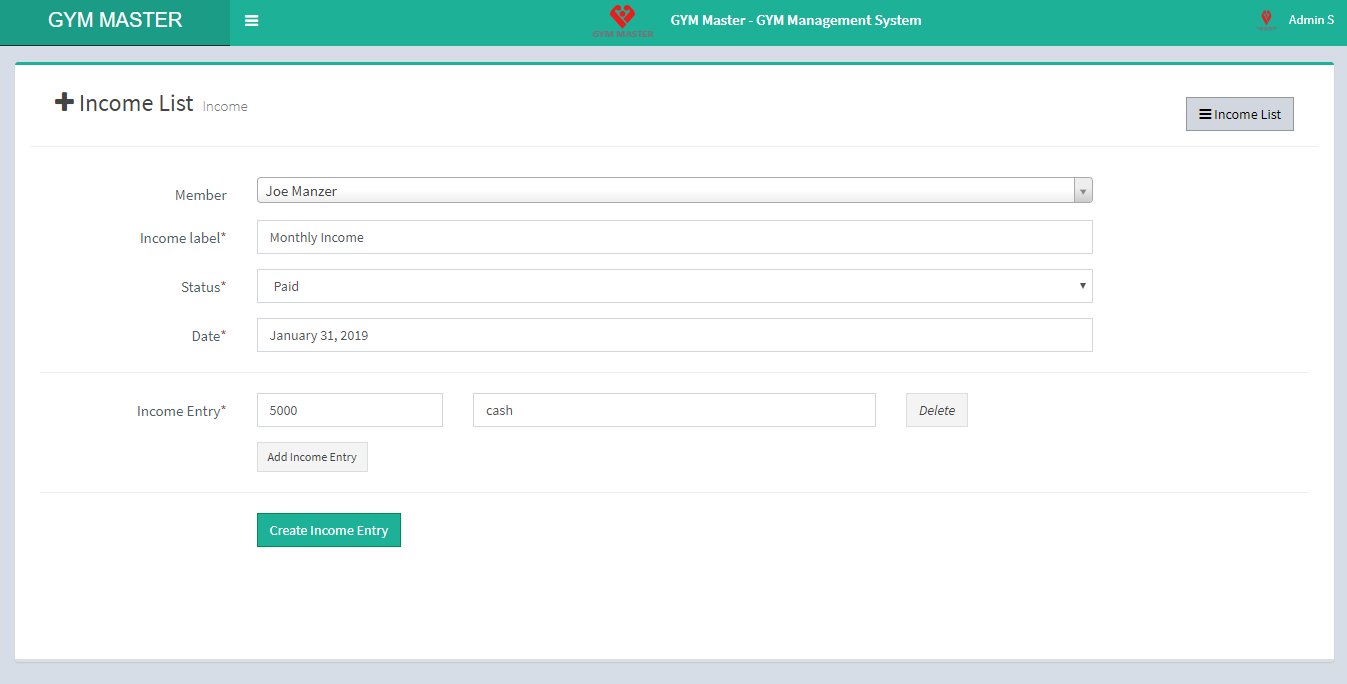
Must fill all required fields in "add Income form" to add Income.
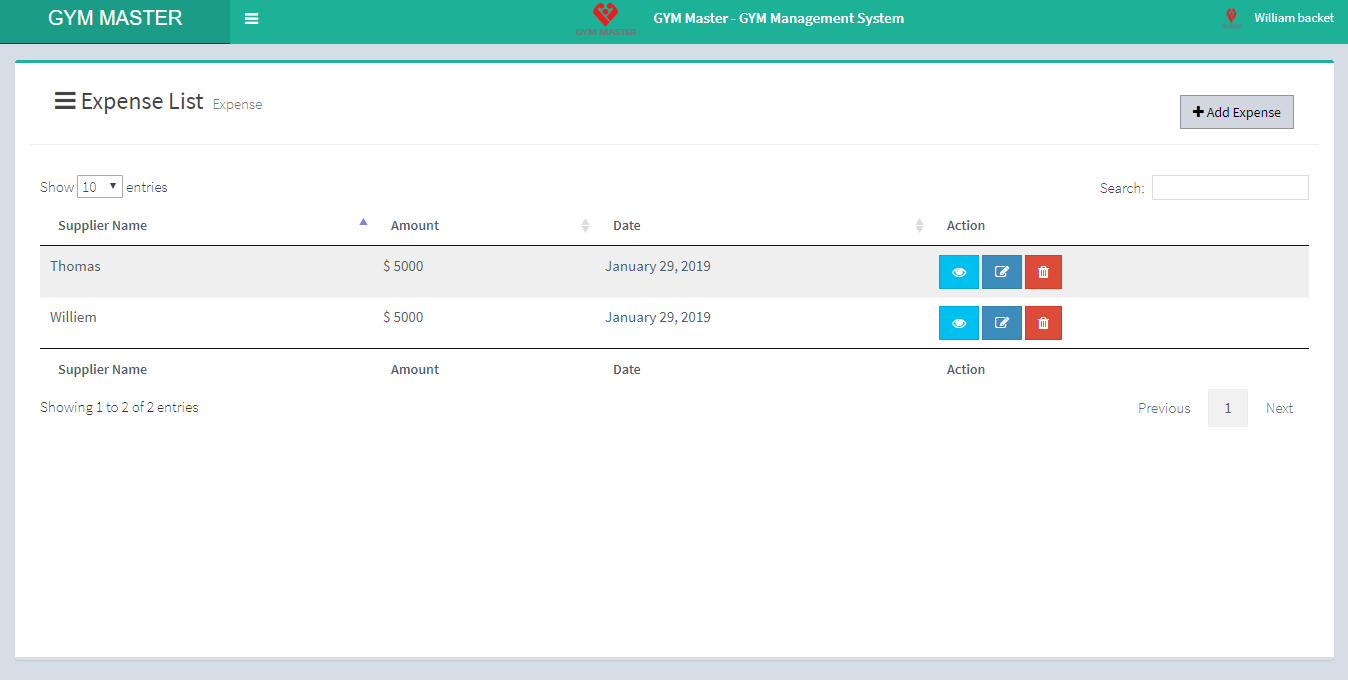
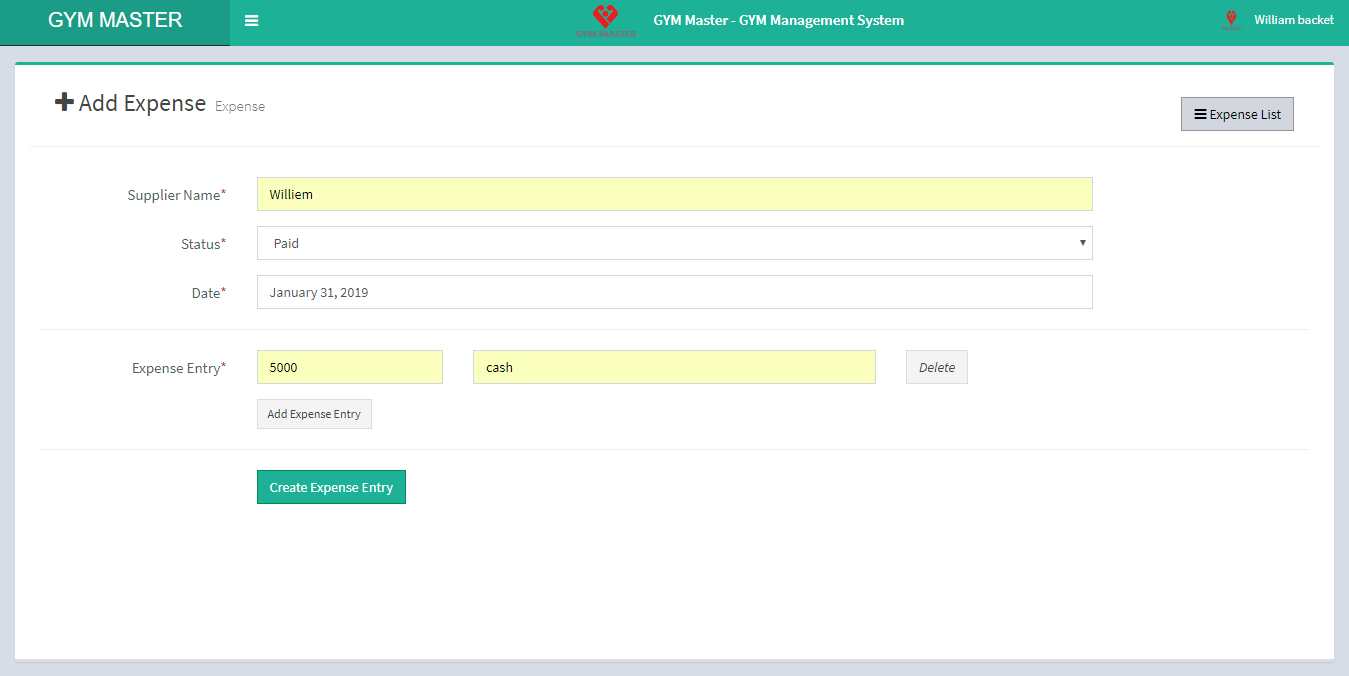
Expense List:
You can add a Expense and view complete list of all Expense.
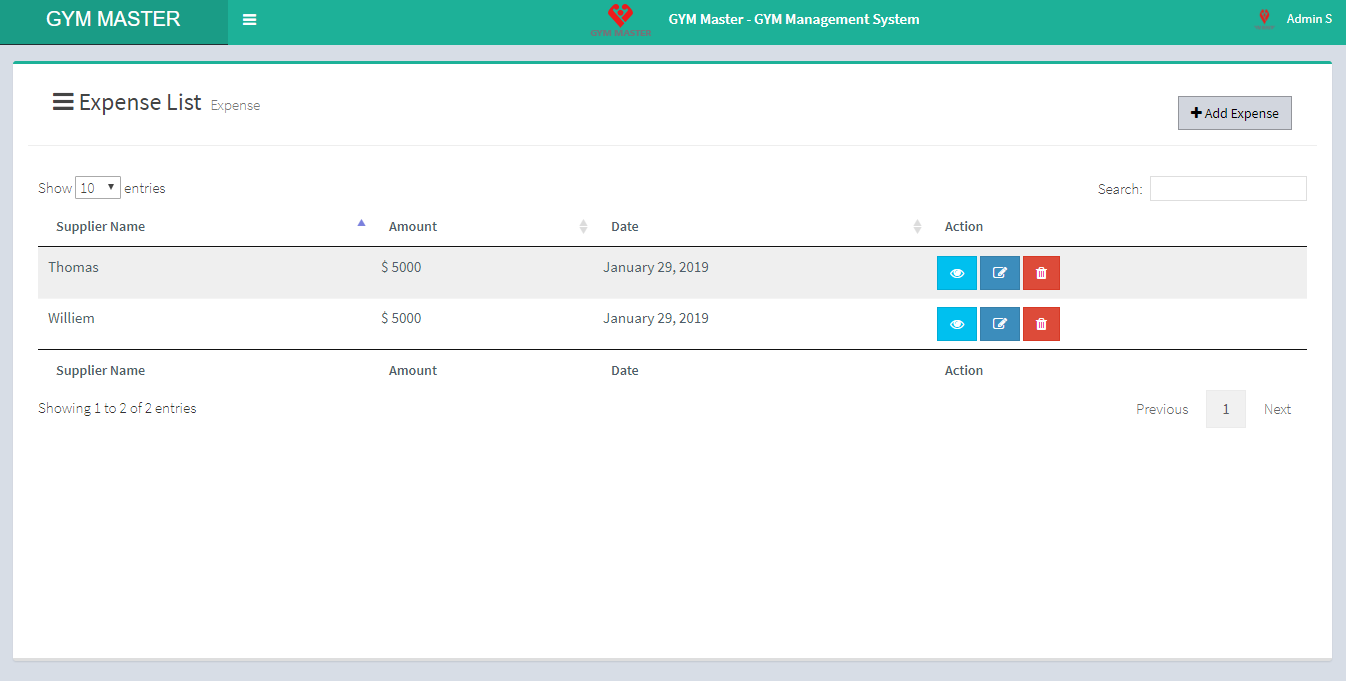
- Add Expense:
- Supplier Name: Select Supplier Name for expense.
- Status: Select status of expense.
- Date: Enter date of expense.
- Expense Entry: Enter Expense details.
- Add Expense Entry: If you want to add another row click on Add Expense Entry button.

Must complete all required fields.
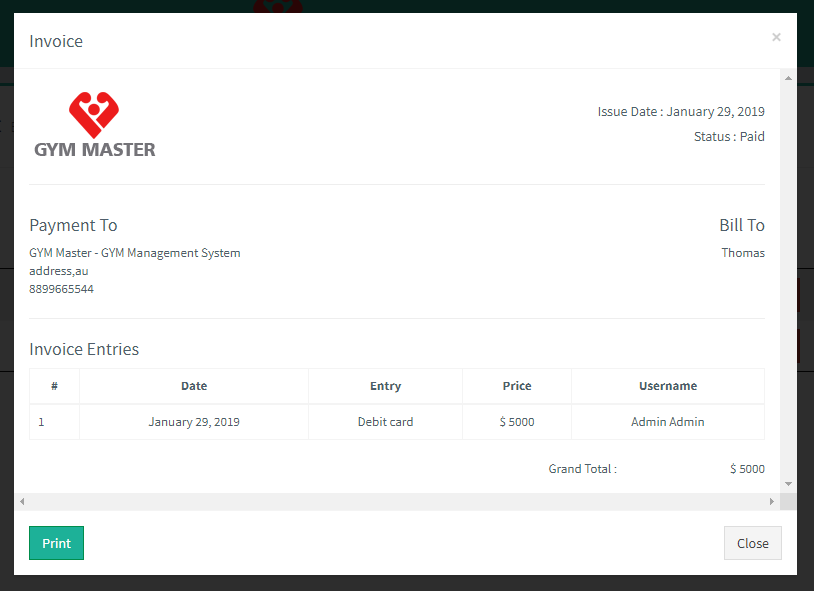
View Invoice:
You can also print invoice. For that just click on view invoice link of list invoice and pop-up will open then click on Print button from pop-up.
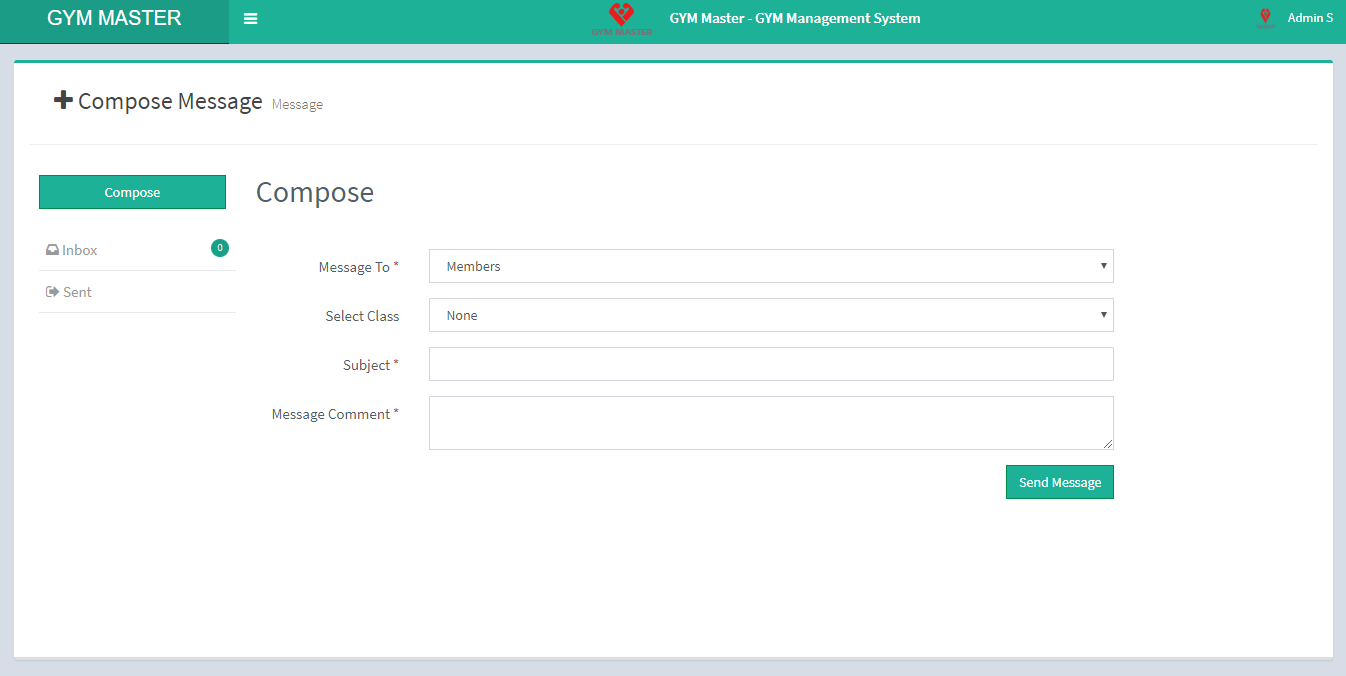
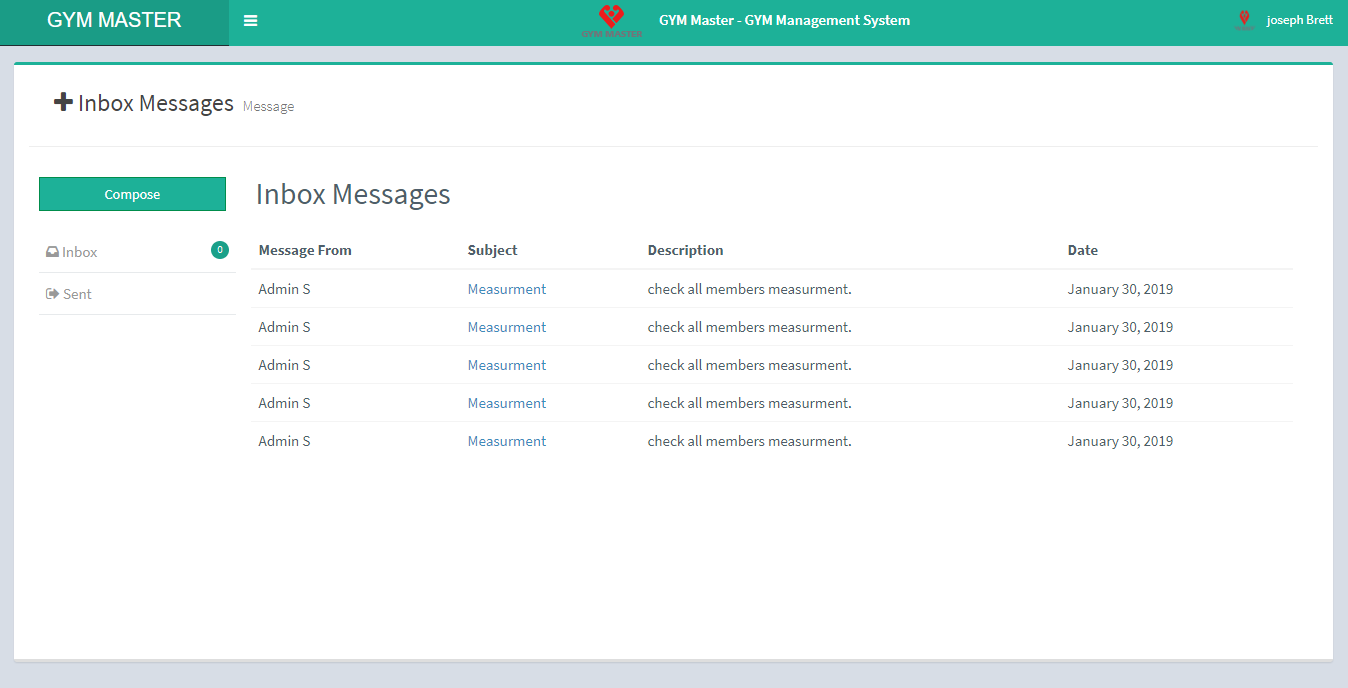
17) Message/Inbox:
You can compose a new Message and view list of all Messages.
- Compose:
- Message To: Choose recipient
- Subject: Enter Subject of message.
- Class: Select Class
- Message Comment: Enter Message Description.
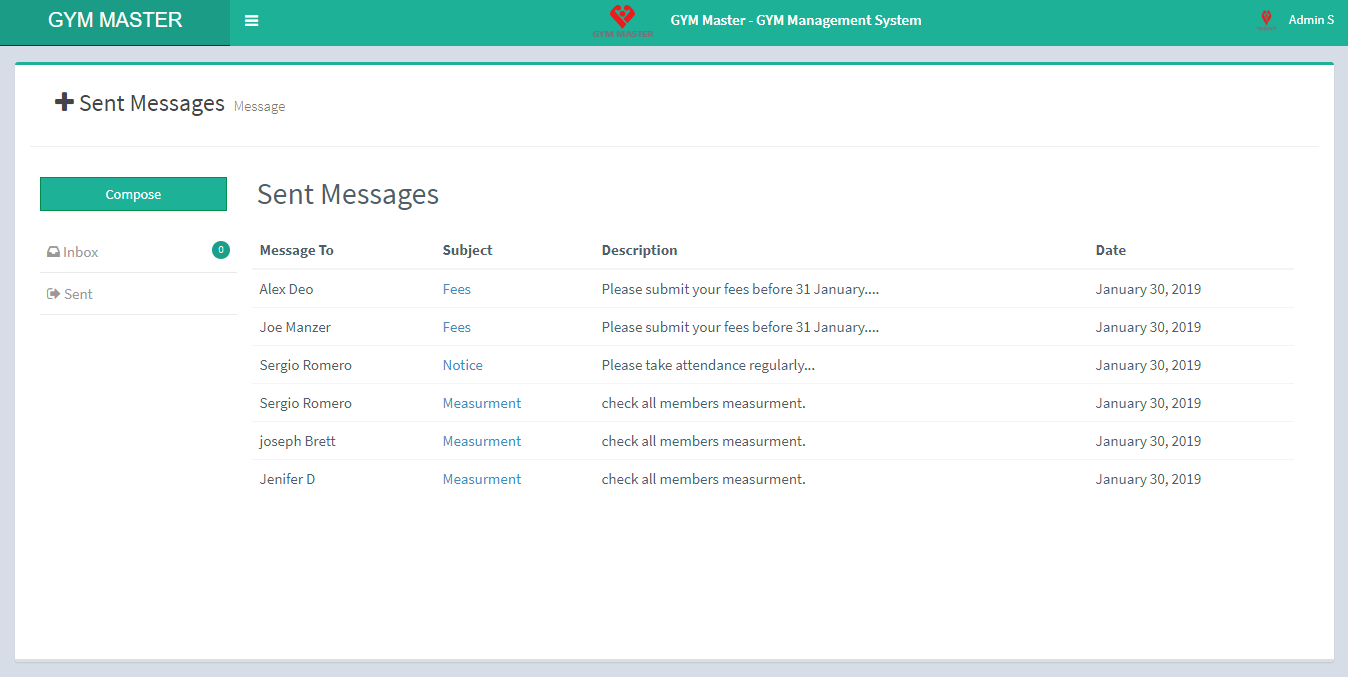
- Sent:
Must fill all required fields in Compose message.
view list of all sent Messages.
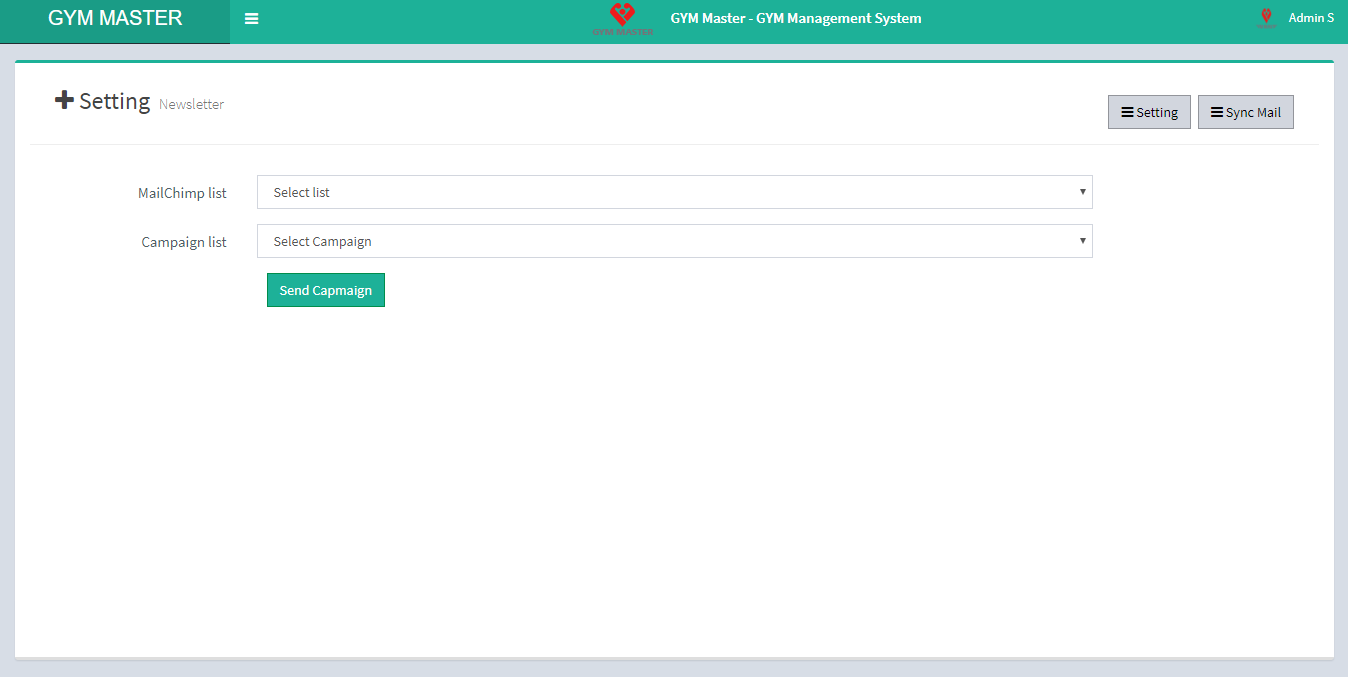
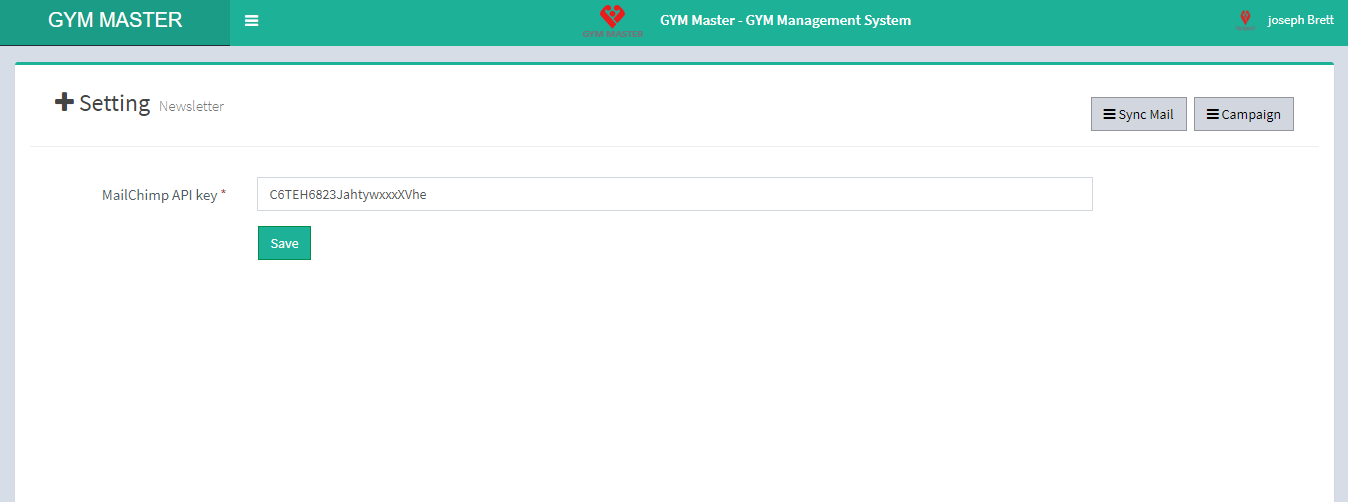
18) Mailchimp Newsletter:
Setup mailchimp from here by entering mailchimp key on this setting page.
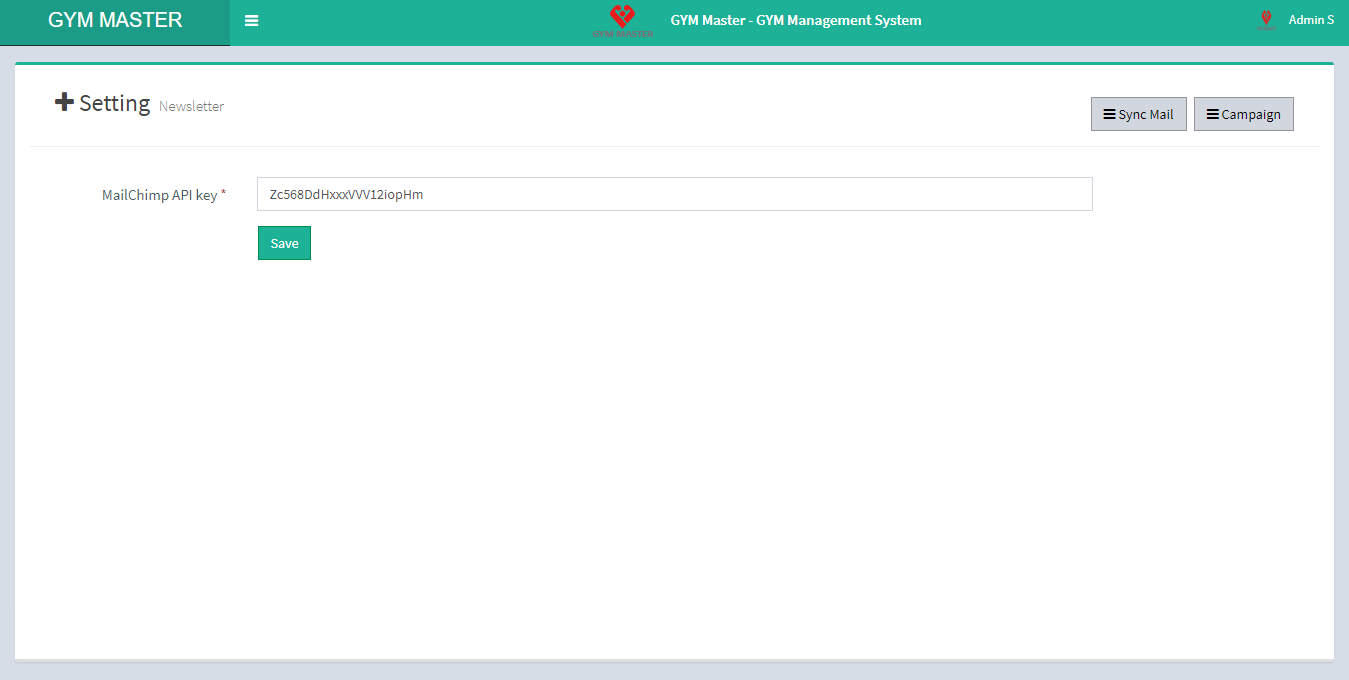
- Sync Mail:
- Class List: select all the classes you want to send newsletter to.
- Mailing list: You can also Select mailing list
- Campaign:
- MailChimp list: Select mailchimp list to send newsletter.
- Campaign list: You can also Select Campaign.

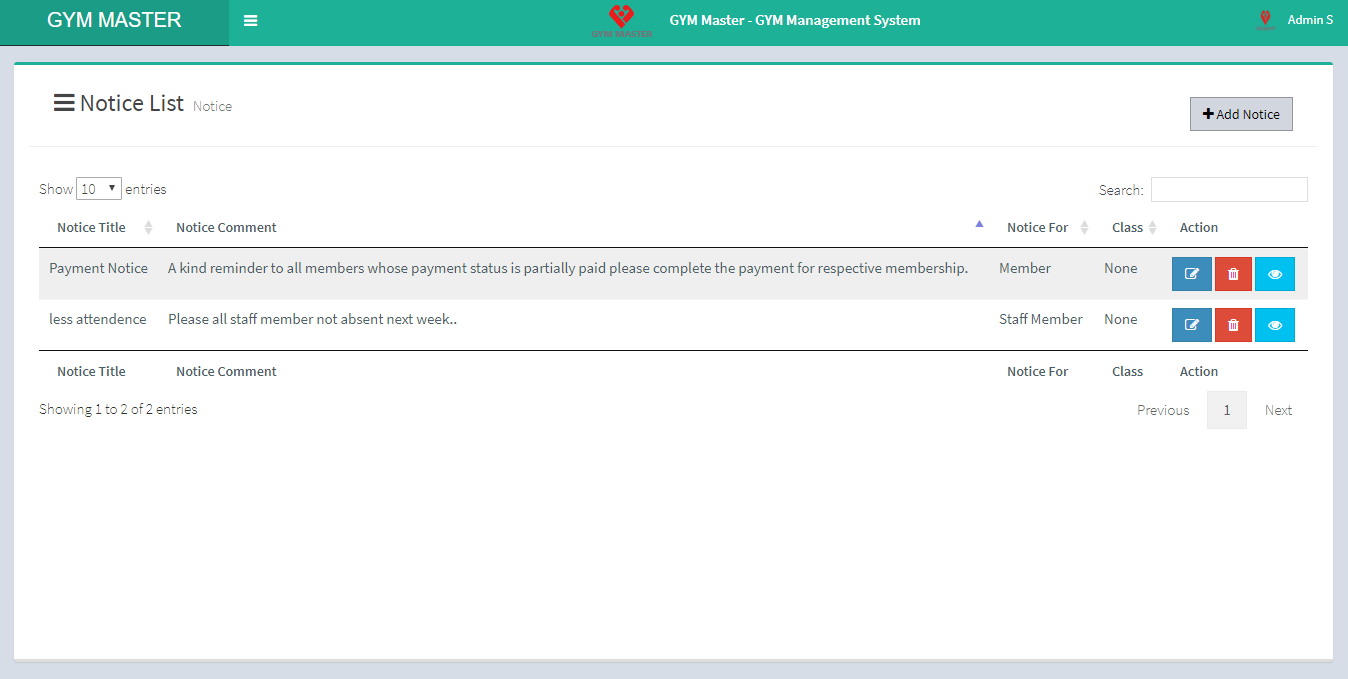
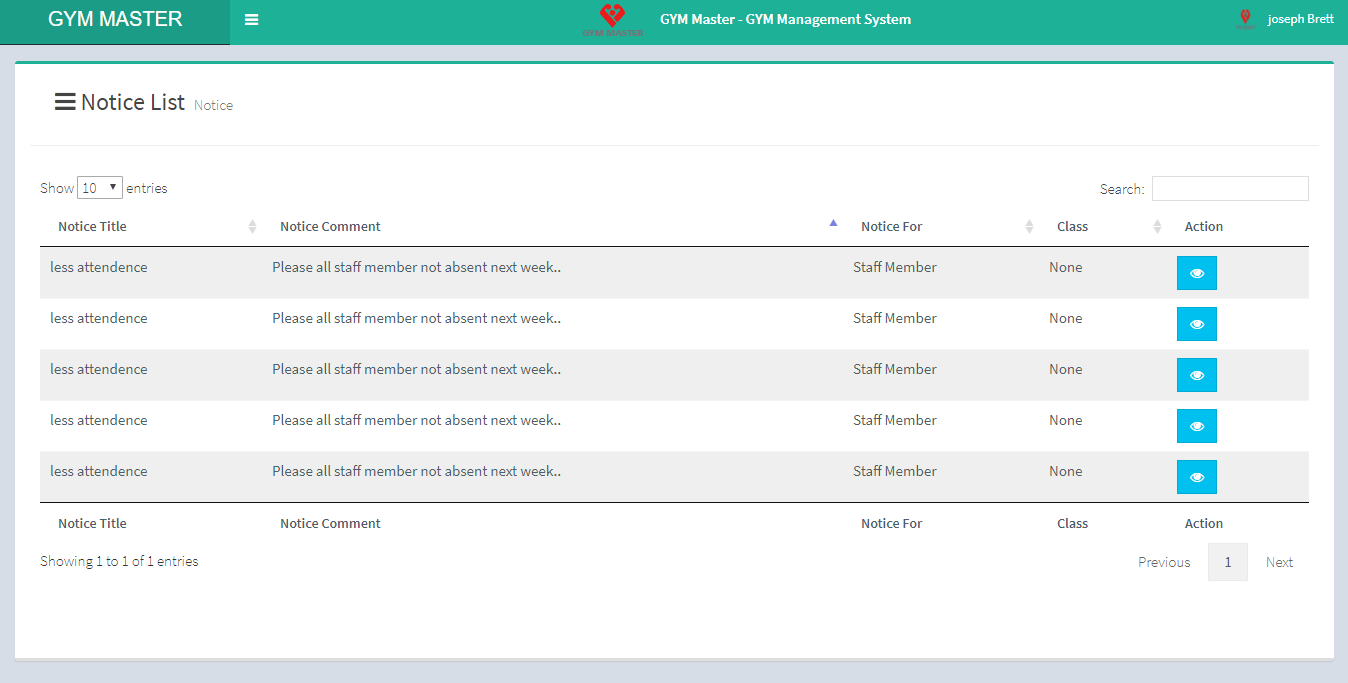
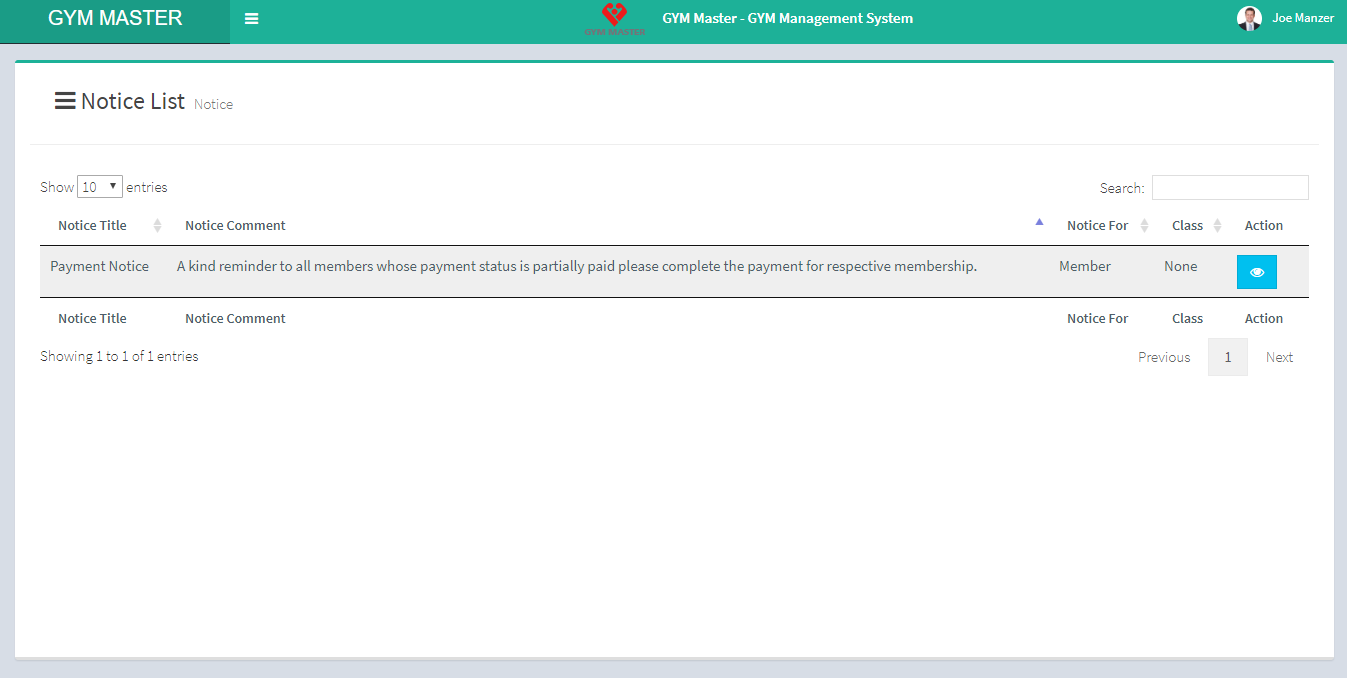
19) Notice:
Here You can see and manage list of notices for Staff, Gym Members and all. We have provided date range in notice segment, so this can also be used on event calendar
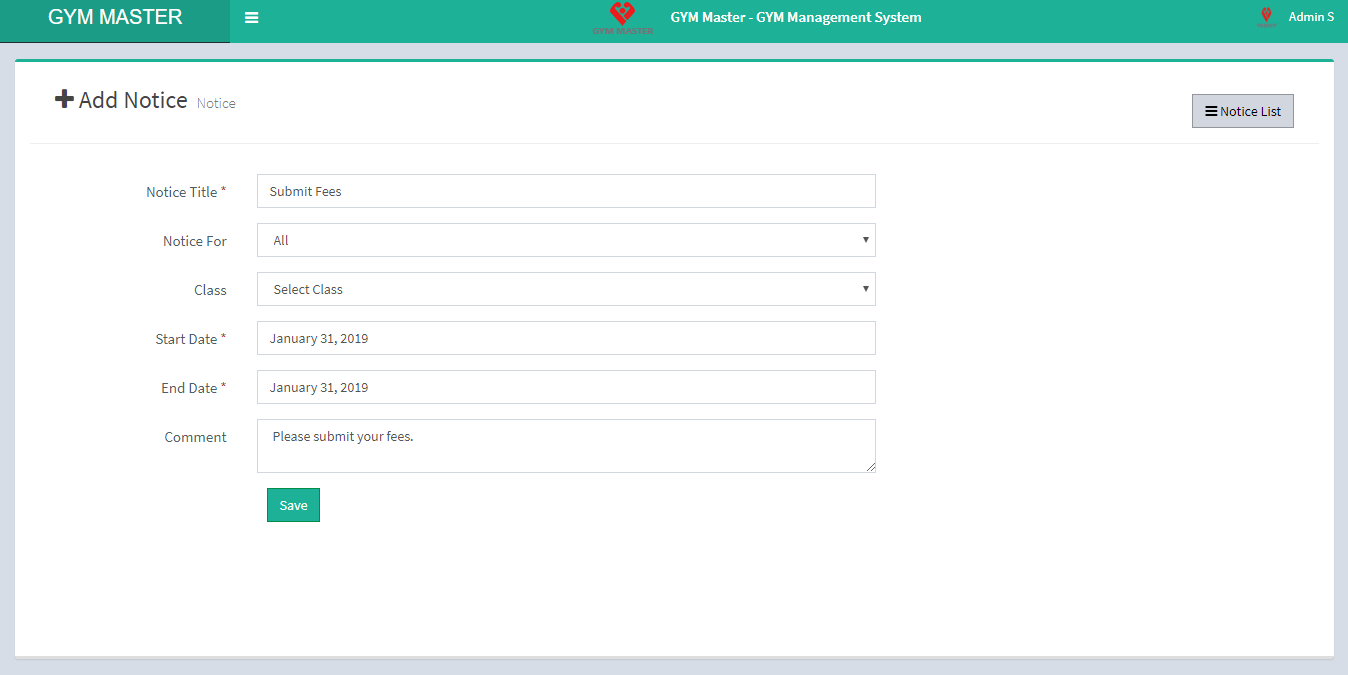
- Add Notice:
- Notice Title: Enter title for notice.
- Notice For: Select Intended audience for notice like General(All), members, staff-members or accountant.
- Class: Select Intended audience for notice like particular class members.
- Notice Start Date: Enter start Date for notice.
- Notice End date: Enter end Date for notice.
- Notice Comment: Enter comments for this notice.
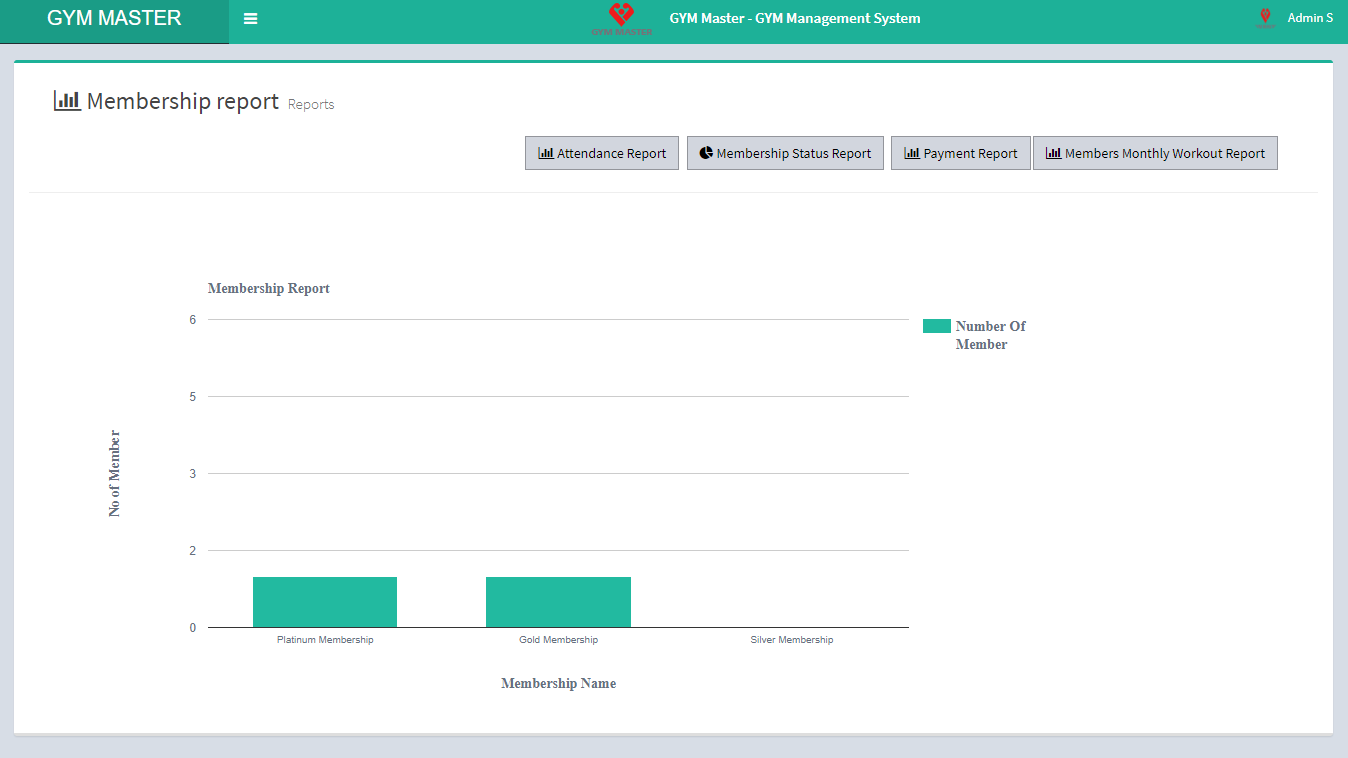
20) Report:
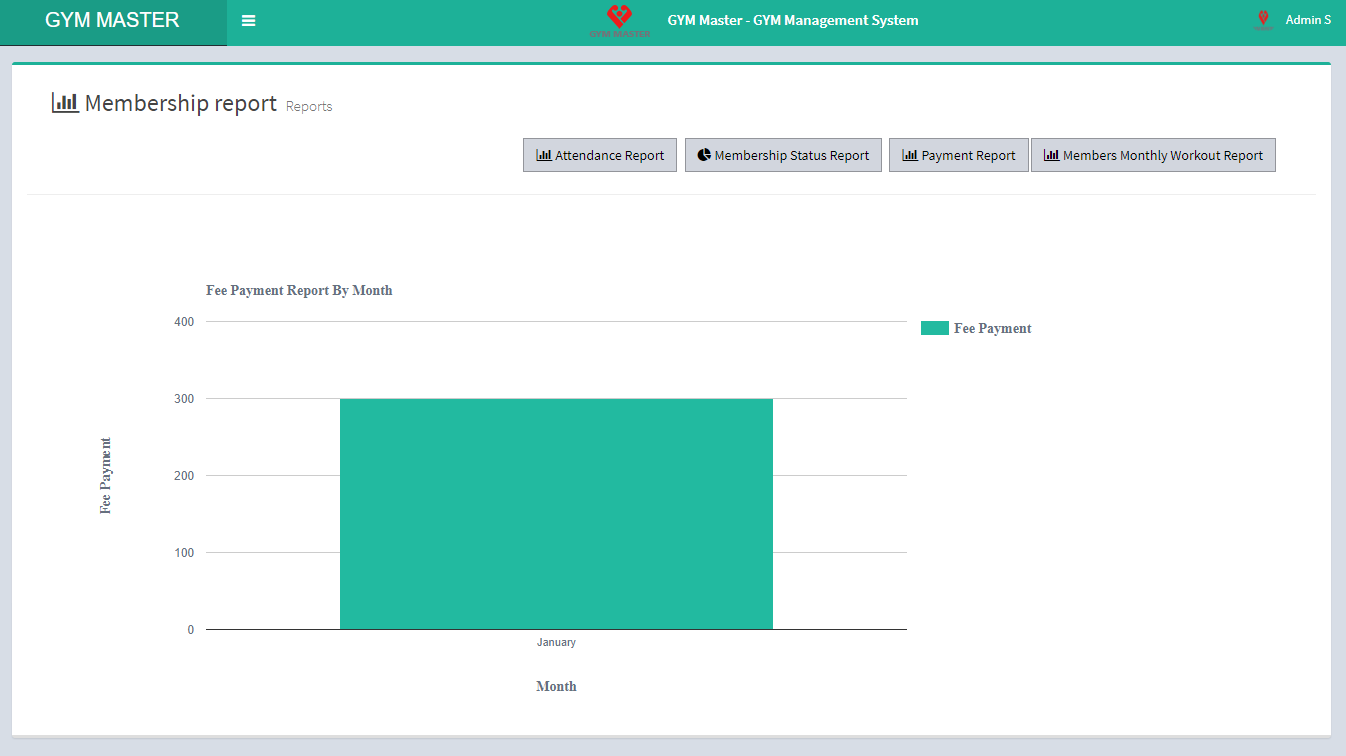
- Membership Report:
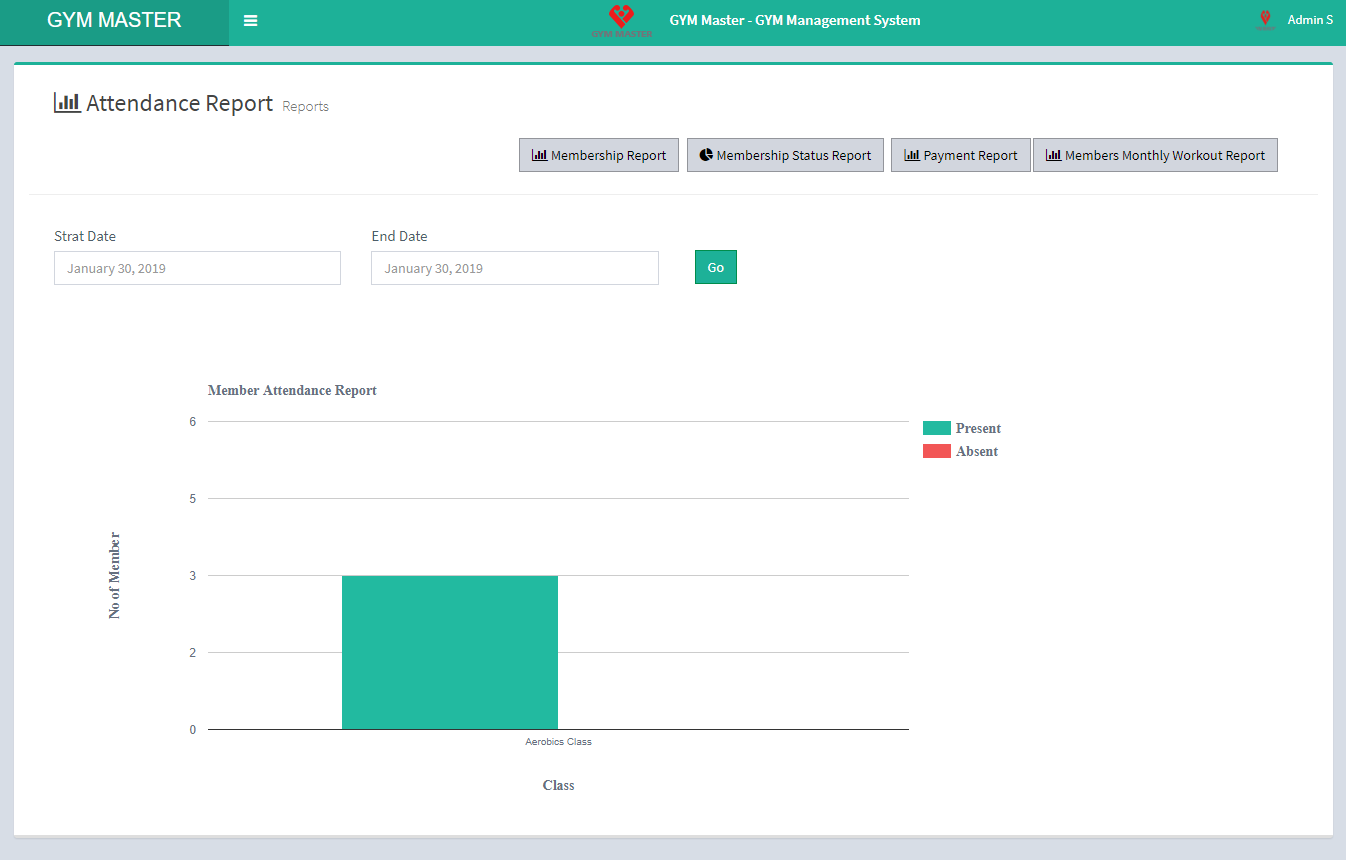
- Attendance Report:
- Start Date: Select start date.
- End Date: Select End date.
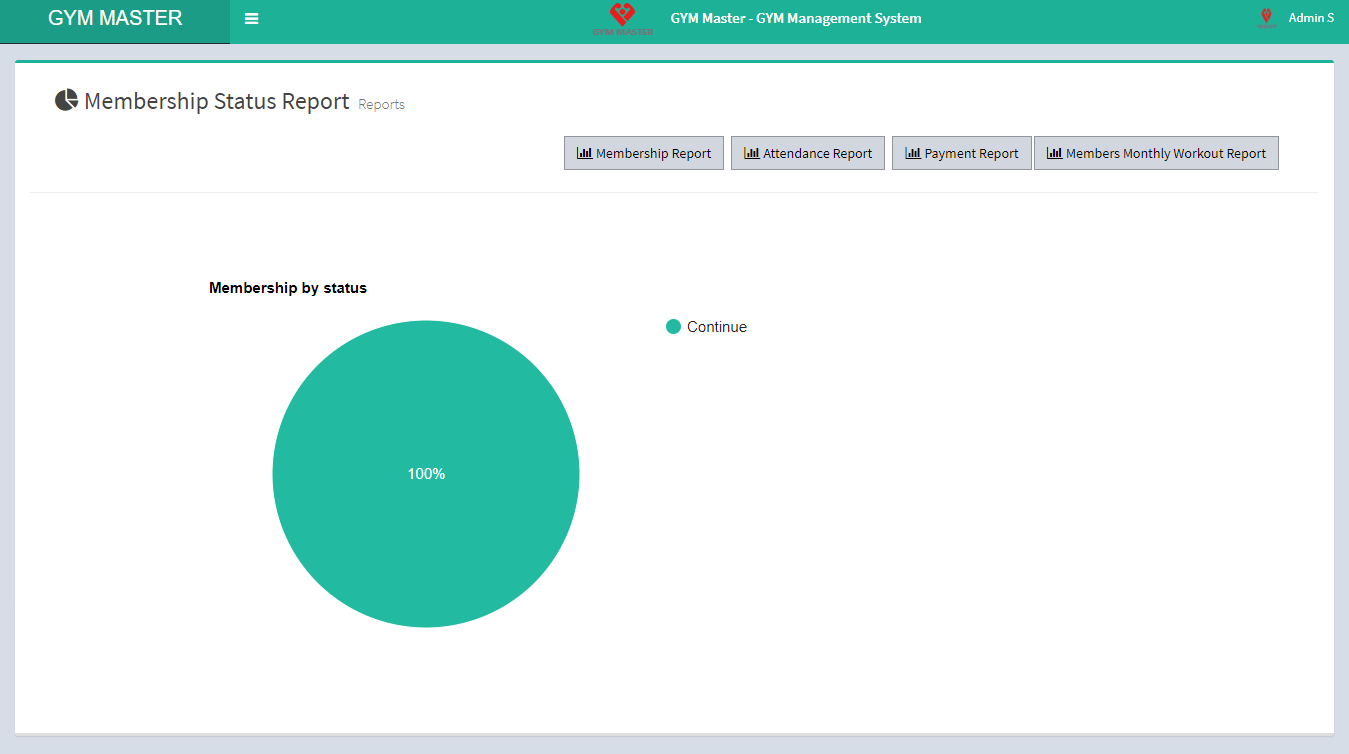
- Membership Status Report:
- Payment Report:
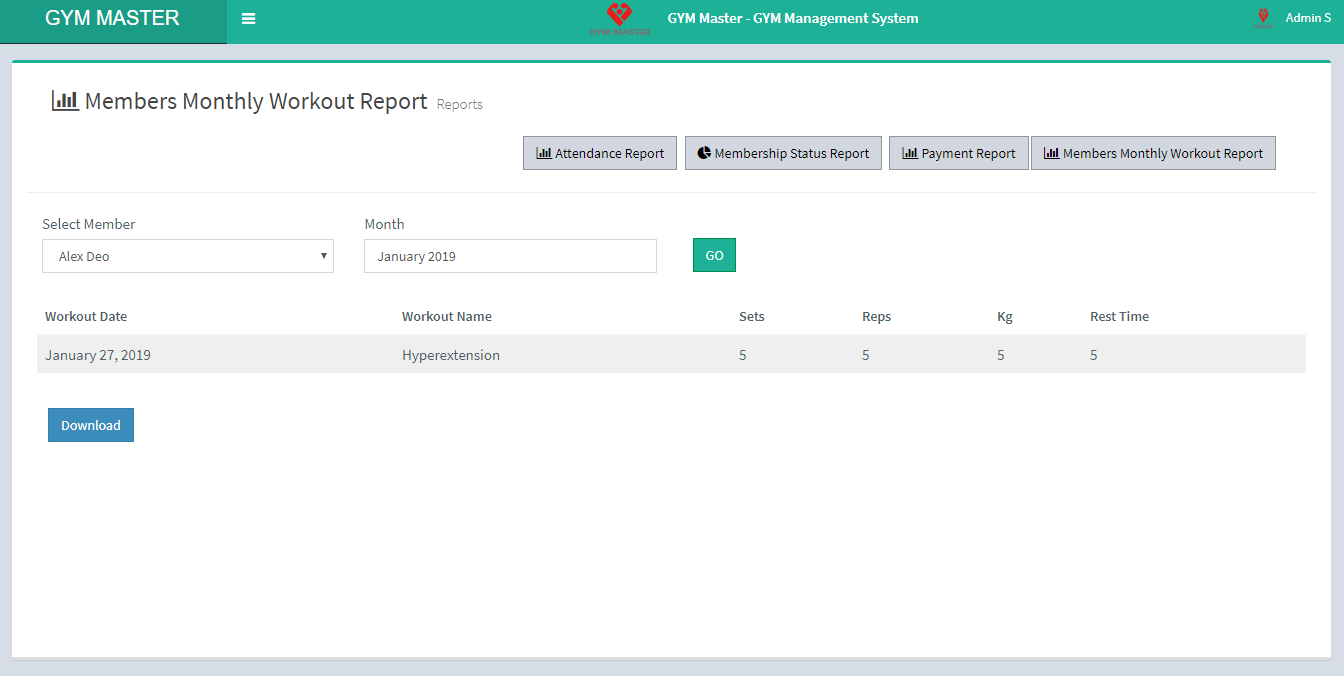
- Members Monthly Workout Report:
You can view Membership Report.
You can view attendance Report by selecting time period.
Must fill both required fields to view this report.
You can view Membership Status Report.
You can view payment Report of gym.
You can view Monthly Workout Report of gym.
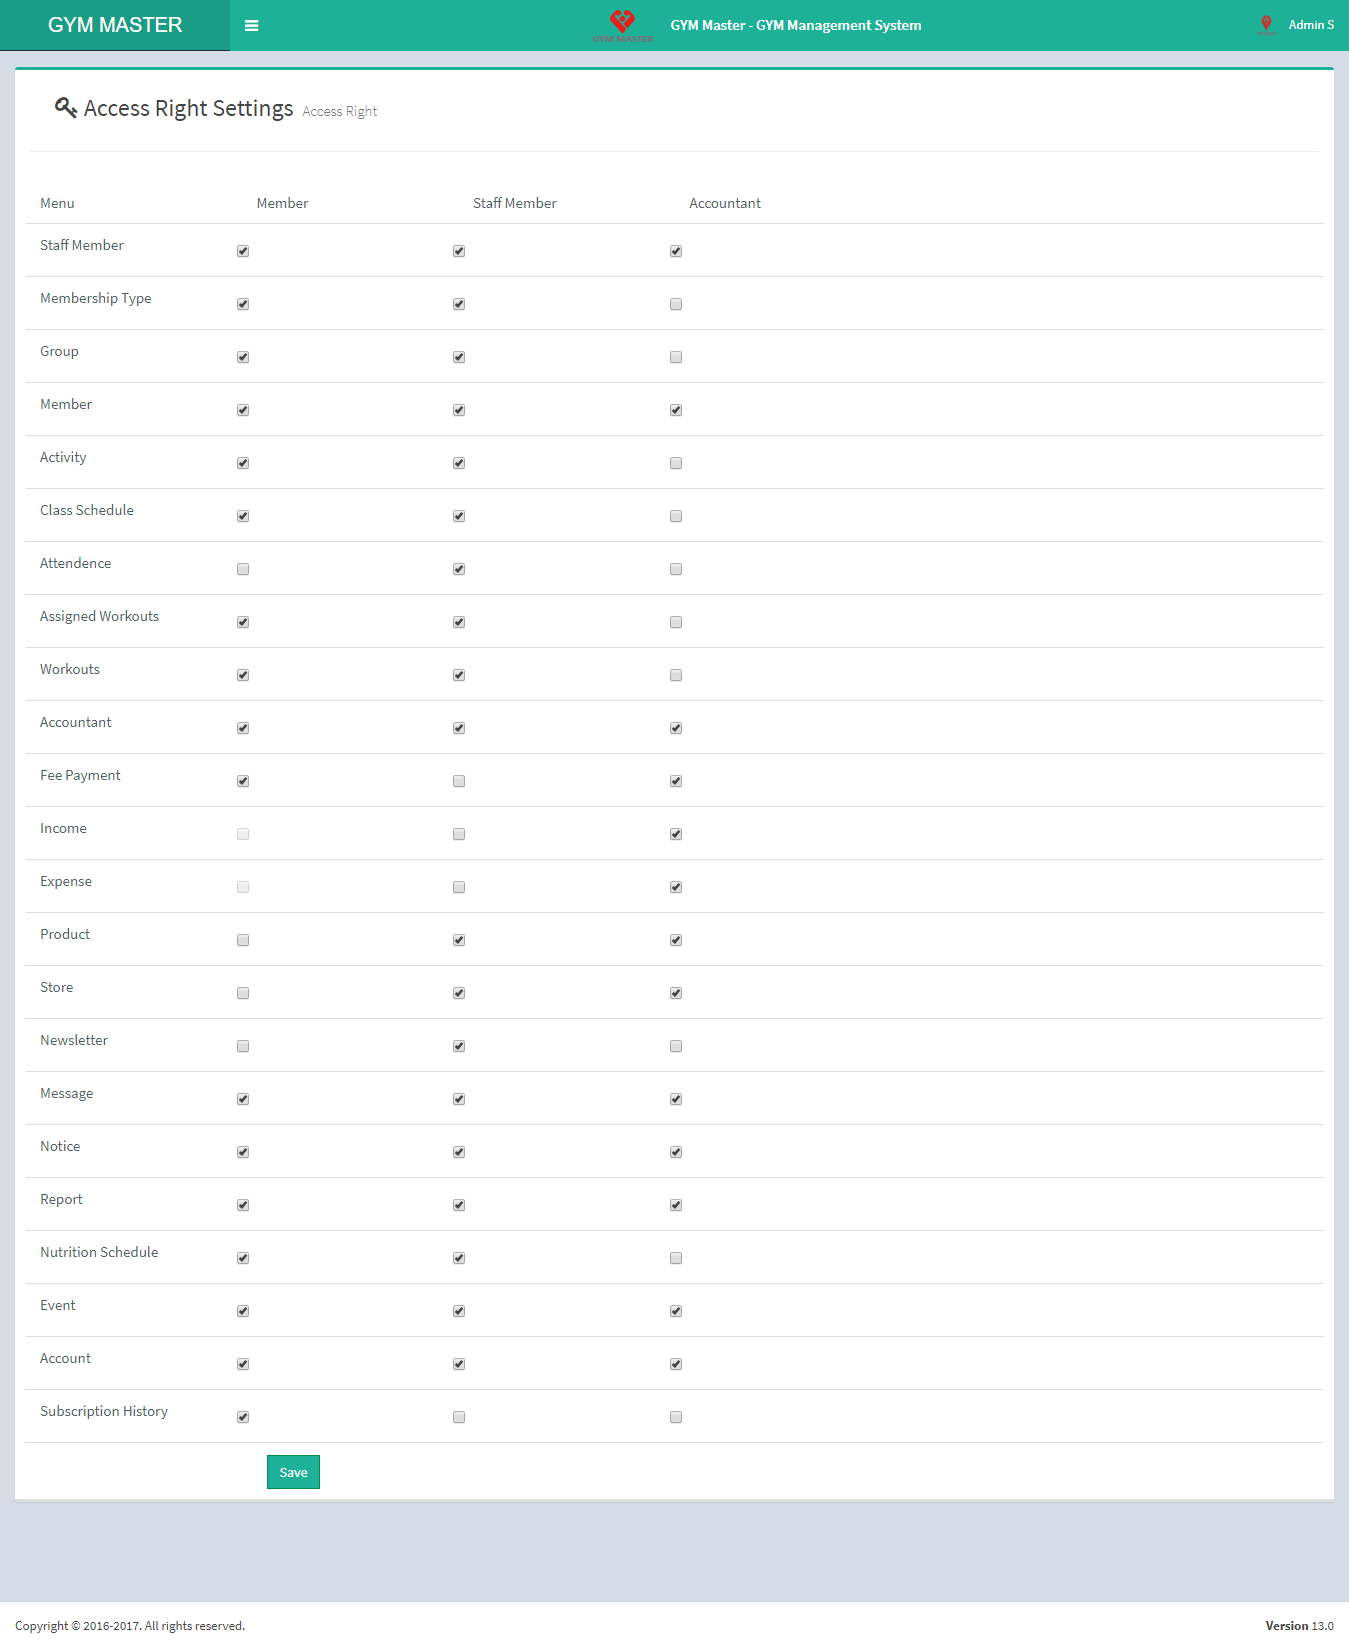
21) Access Rights:
Admin can set access rights from here. So that you can easily set access rights to each user role.
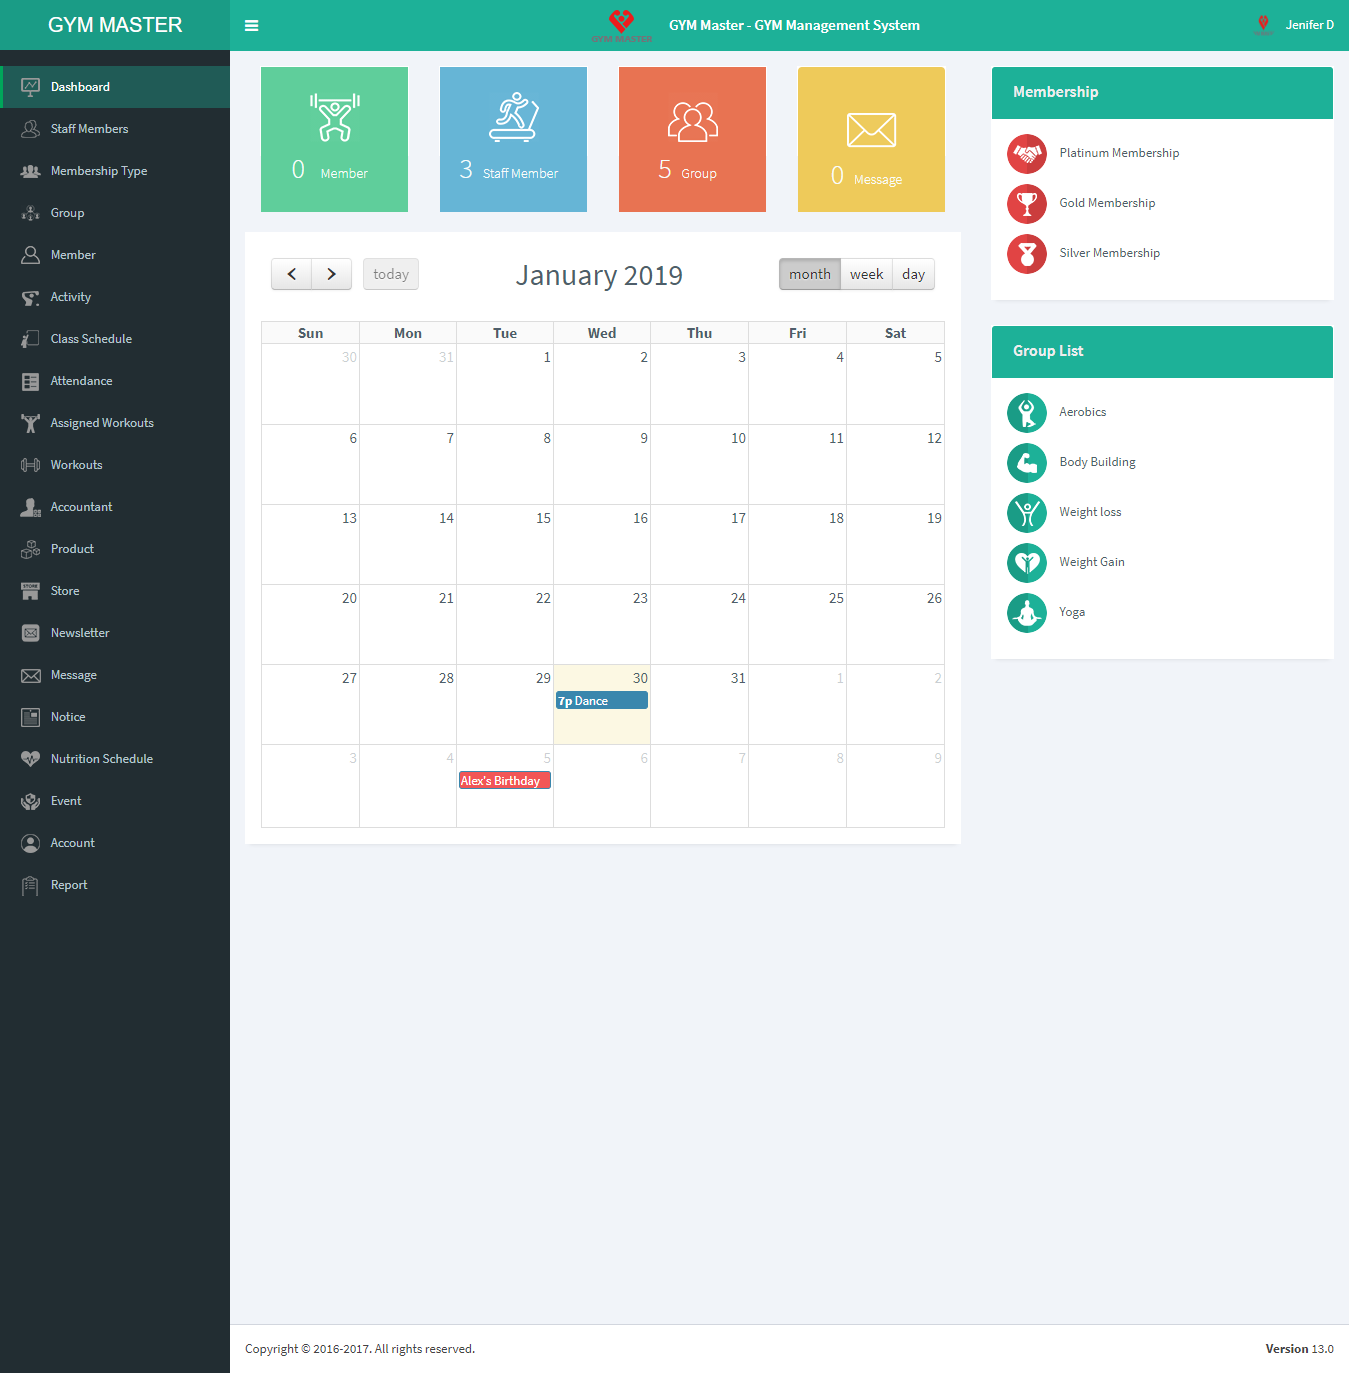
D) Staff Member view:
Click on Dashboard staff member view.
1) Staff Member List:
Click on Staff Member to view complete list of all staff members.
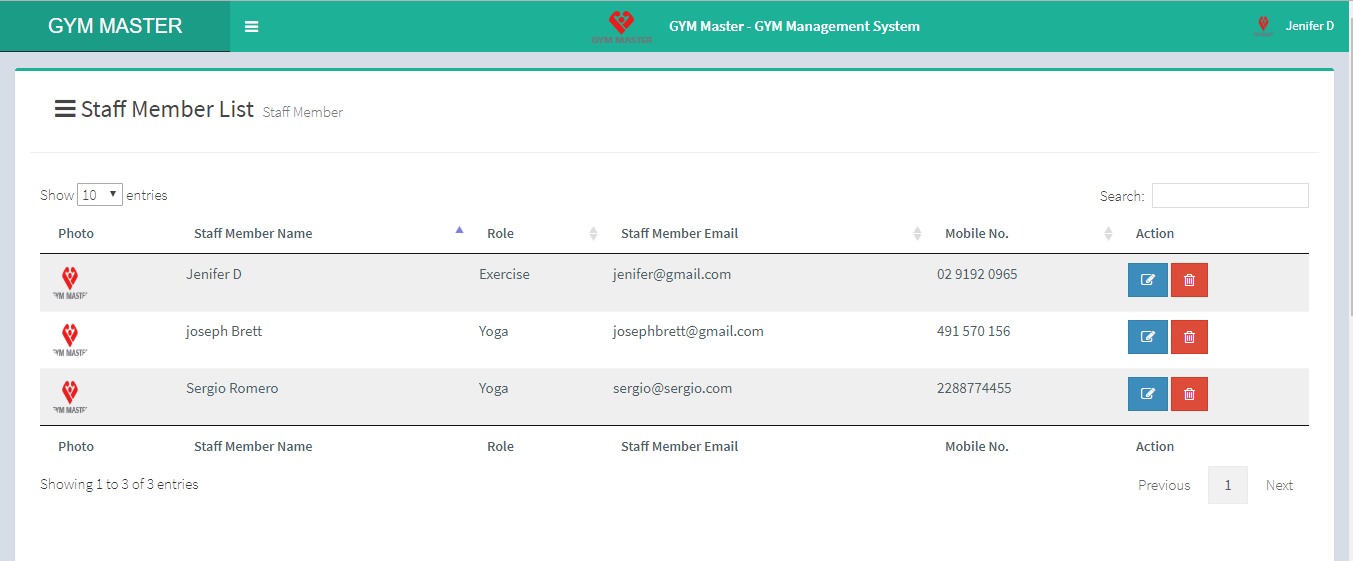
Here staff member can see list of all staff members in gym.
2) Membership List:
Click on Membership Type to view complete list all Membership Types in gym.
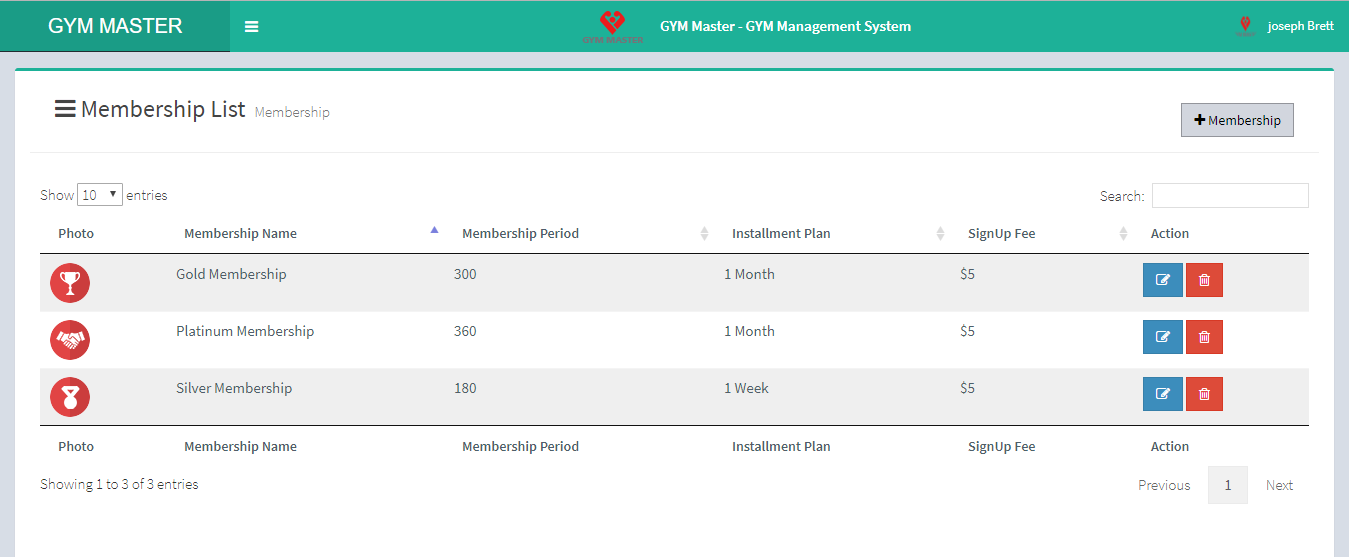
Here staff member can see list of membership types. Staff member can also manage membership types.
3) Group :
Here you can also create new group and staff member can also manage all groups.
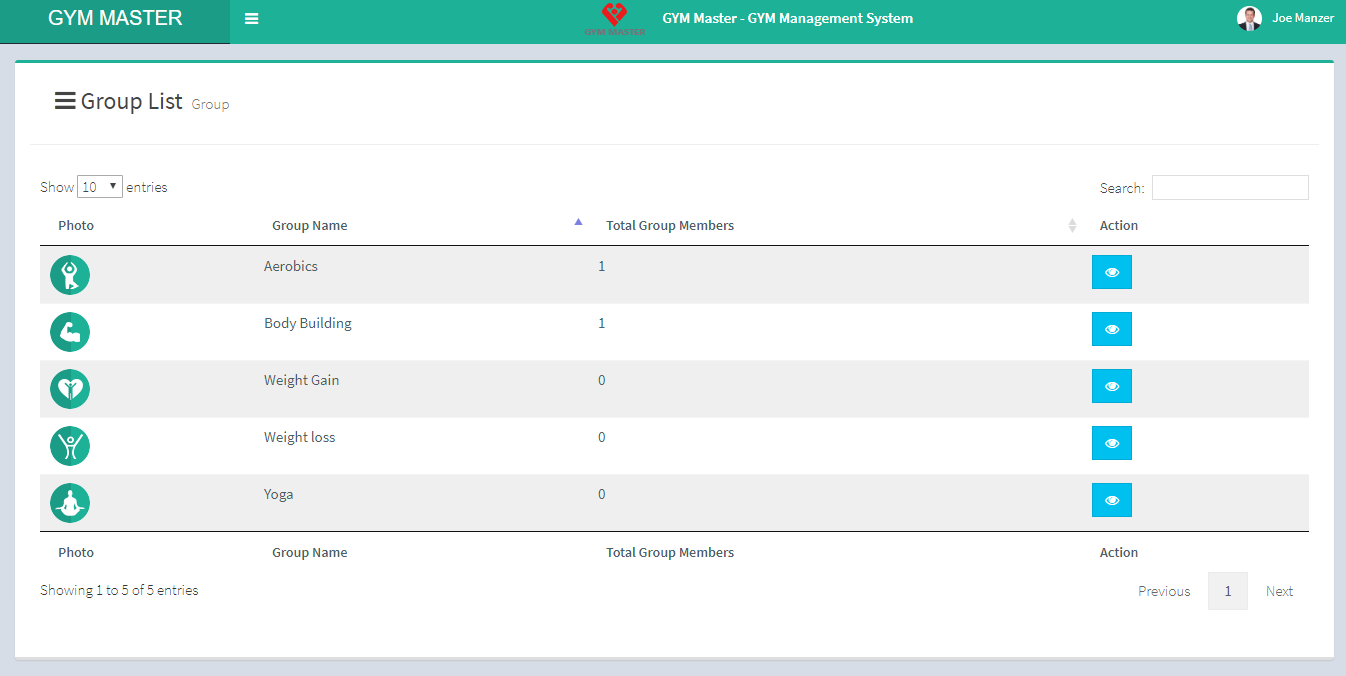
Group List:
Click on Group to view complete list all Groups in gym.
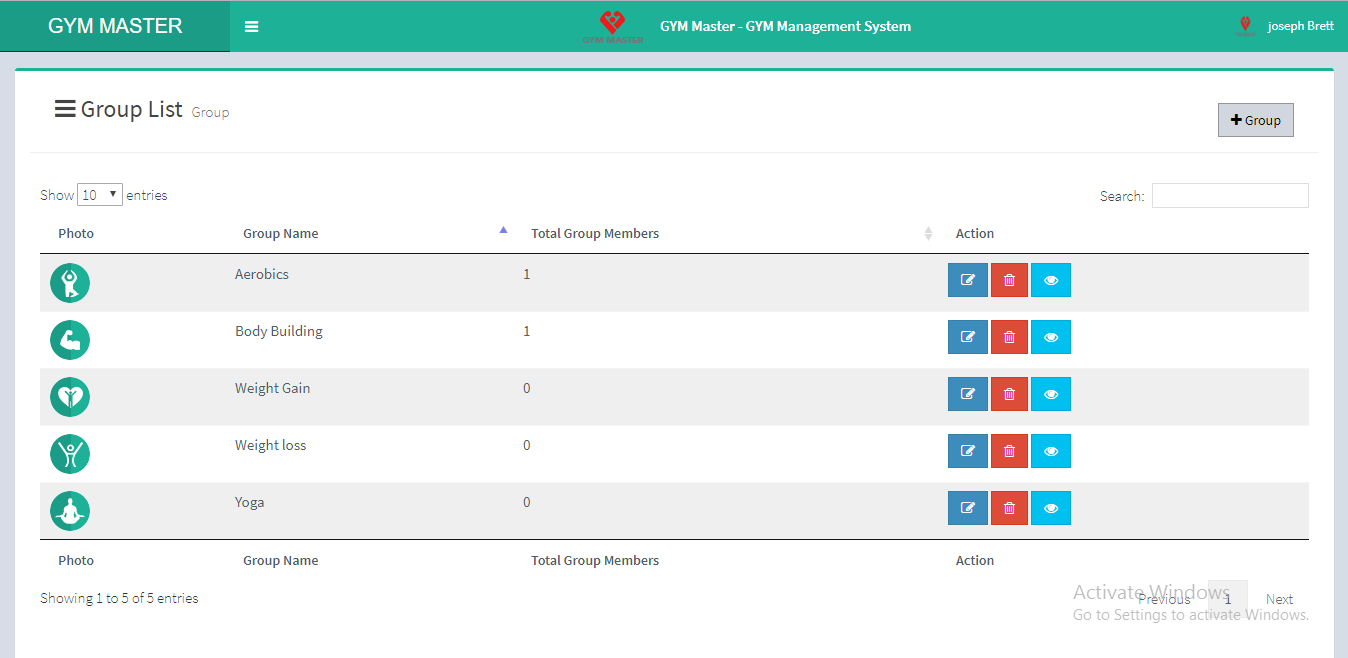
Here staff member can see list of groups. Staff member can also manage group.
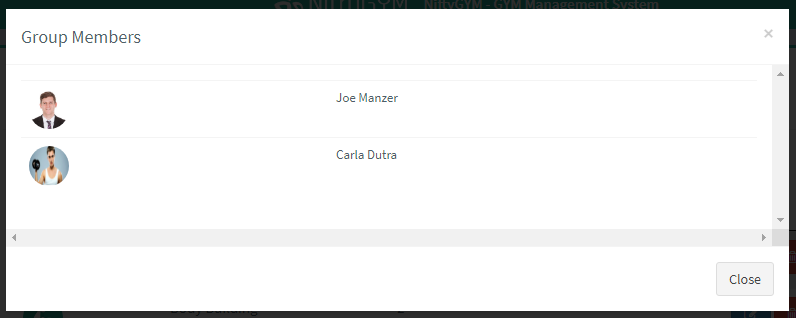
View:
Shows group member list
Here staff member can view all groups in list.
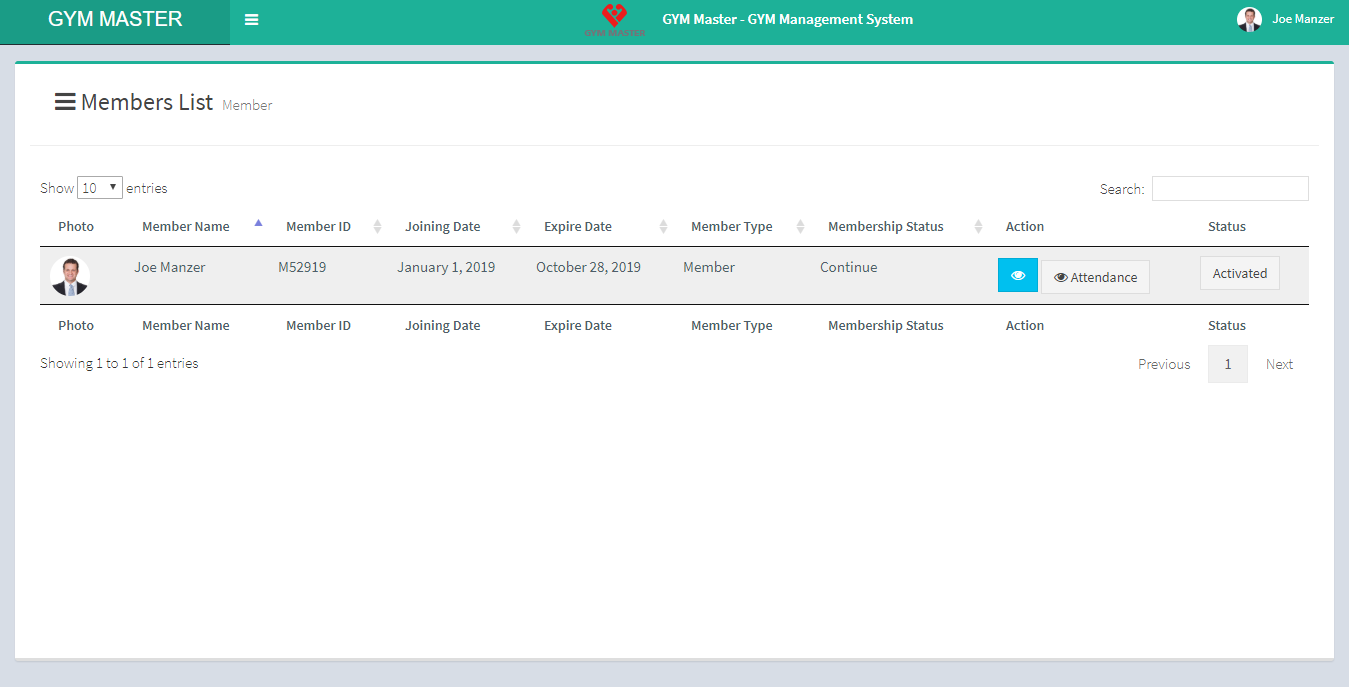
4) Member:
Click on Member to view Member list.
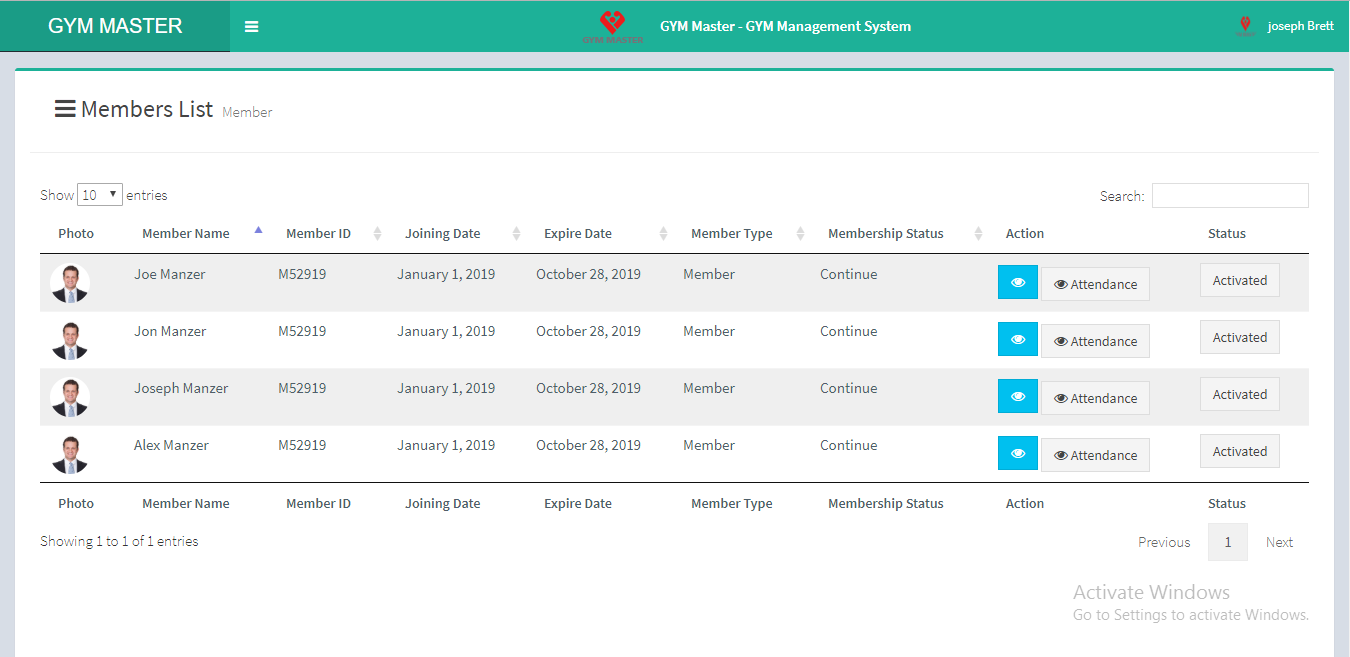
To view member detail click on View button.
View Detail:
Staff Member can view detail of particular gym member by clicking on view button.
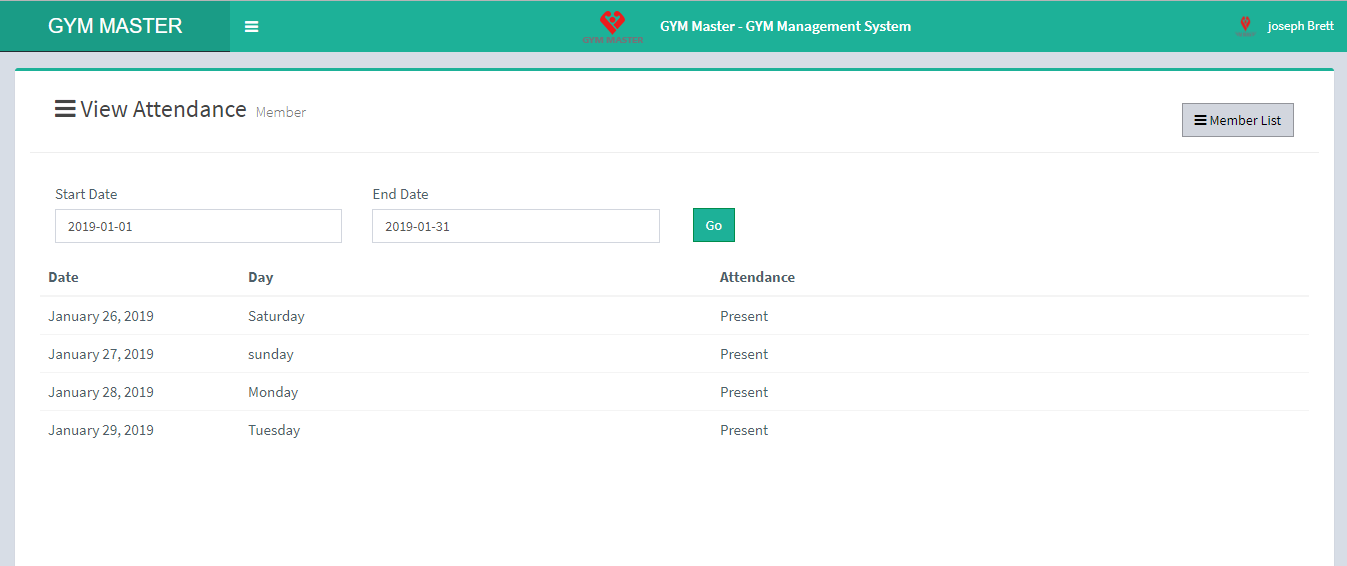
View Attendance:
Staff member can also view attendance of particular member by clicking on View Attendance button.
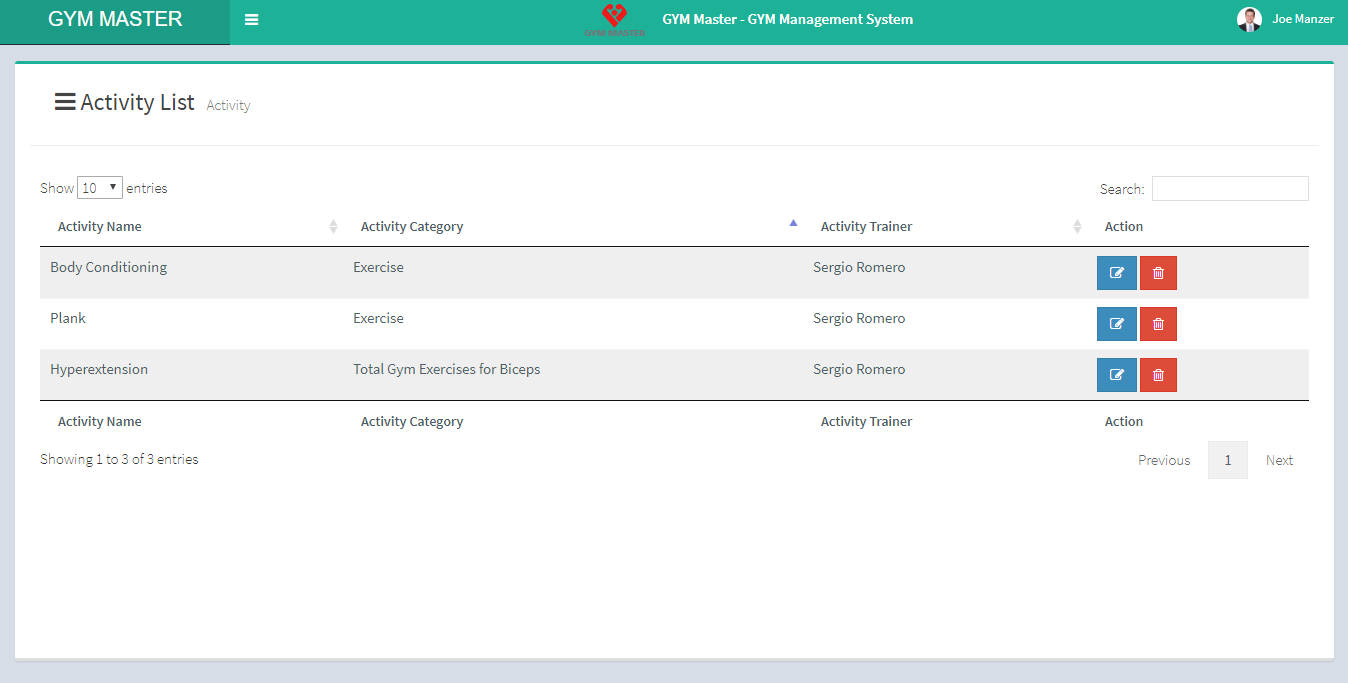
5) Activity:
Click on Activity to view activity list.
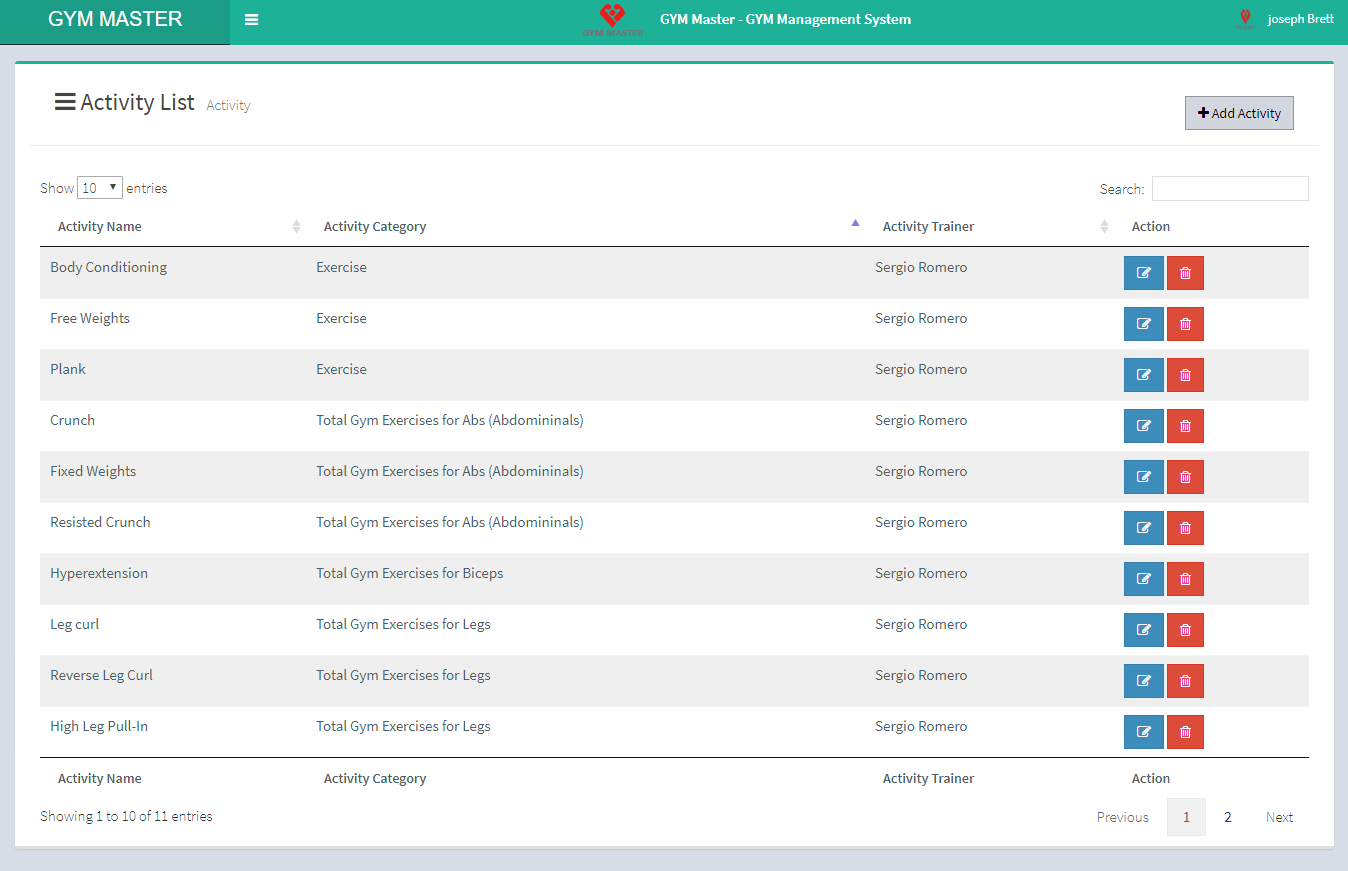
Here Staff member can also manage activity.
Add activity:
Sraff member can also add new activity. To add activity click on Add Activity
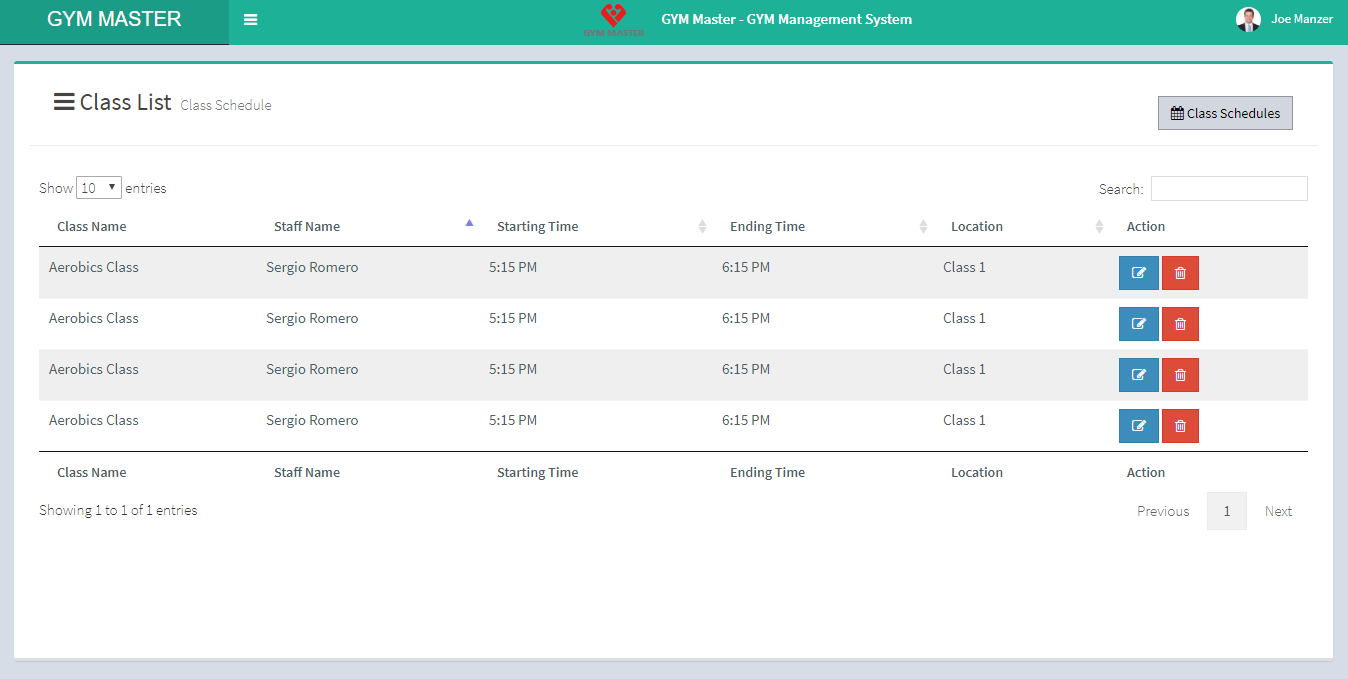
6) Class Schedule:
Click on Class Schedule to view Class list of gym.
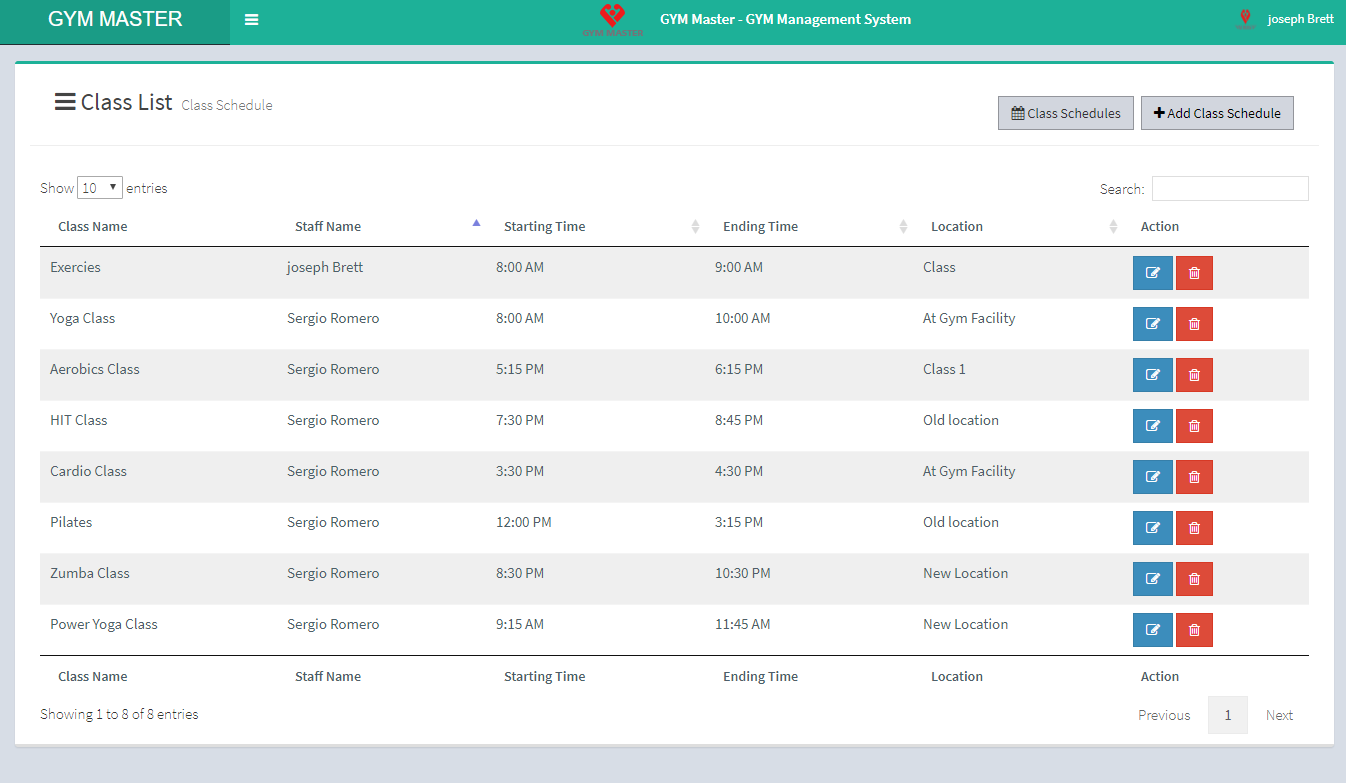
Here Staff member can see list of all class and also manage class schedules.
To add new class Schedule just click on Add Class Tab. Then same like that form will be open for add class schedule.
To view class Schedule just click on Schedule List Tab.
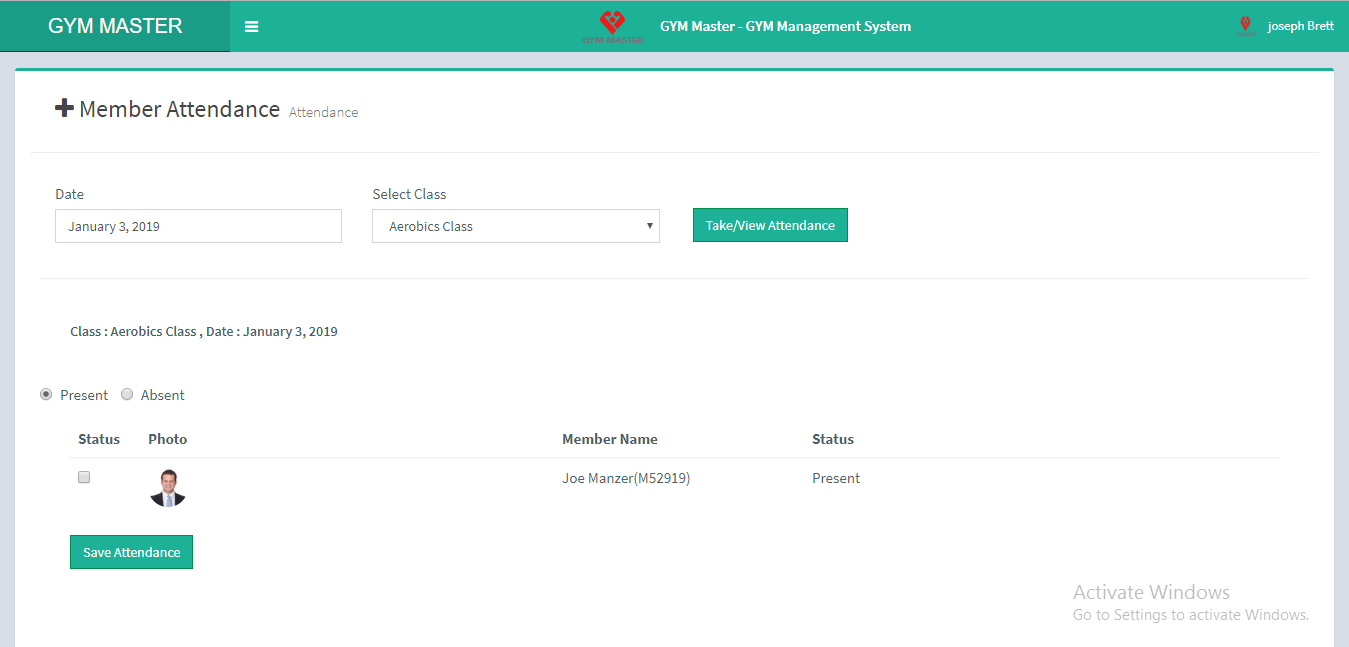
7) Attendence
Click on Attendence to take and view attendence of member of selected class.
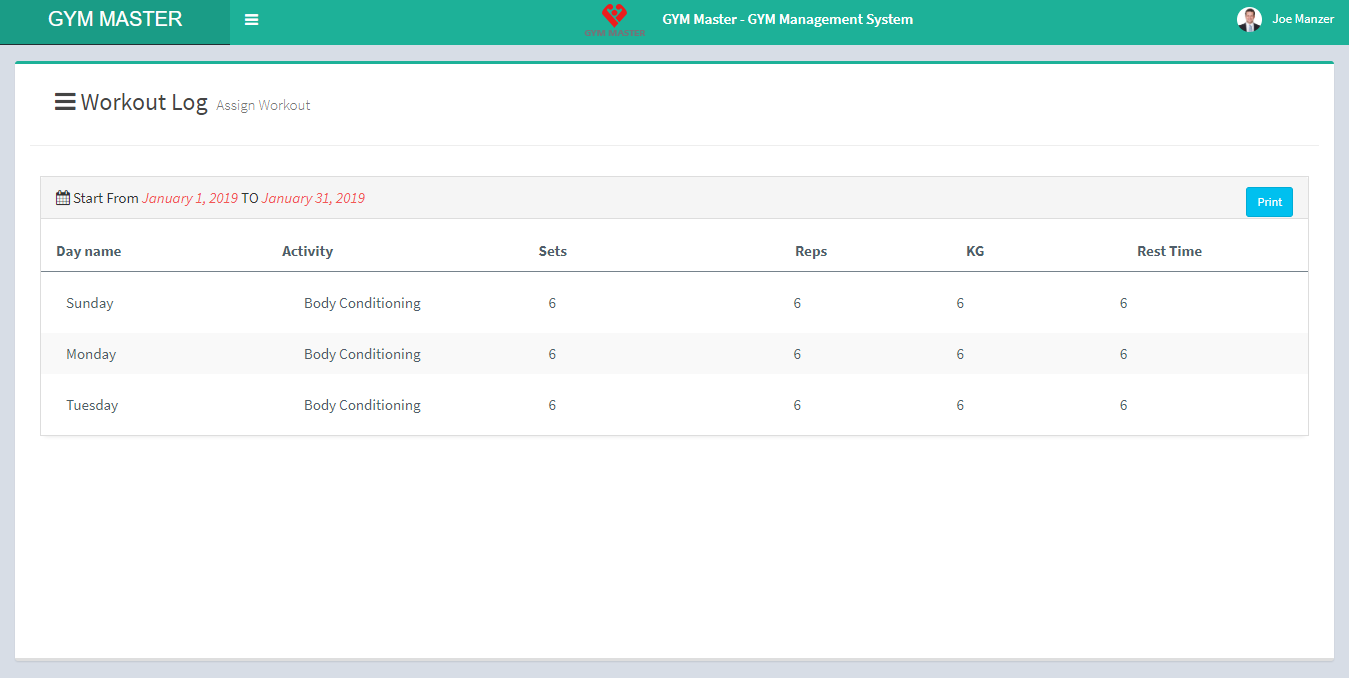
8) Assign Workouts:
Click on Assign Workouts to view and assign workout to list of members.

Here Staff member can see Workout Log. Staff member can also assign workout to member by Click on Assign workout Tab.
Here Staff member can see Workout. Staff member can also view perticular member's assigned workout by Click on View workout button.
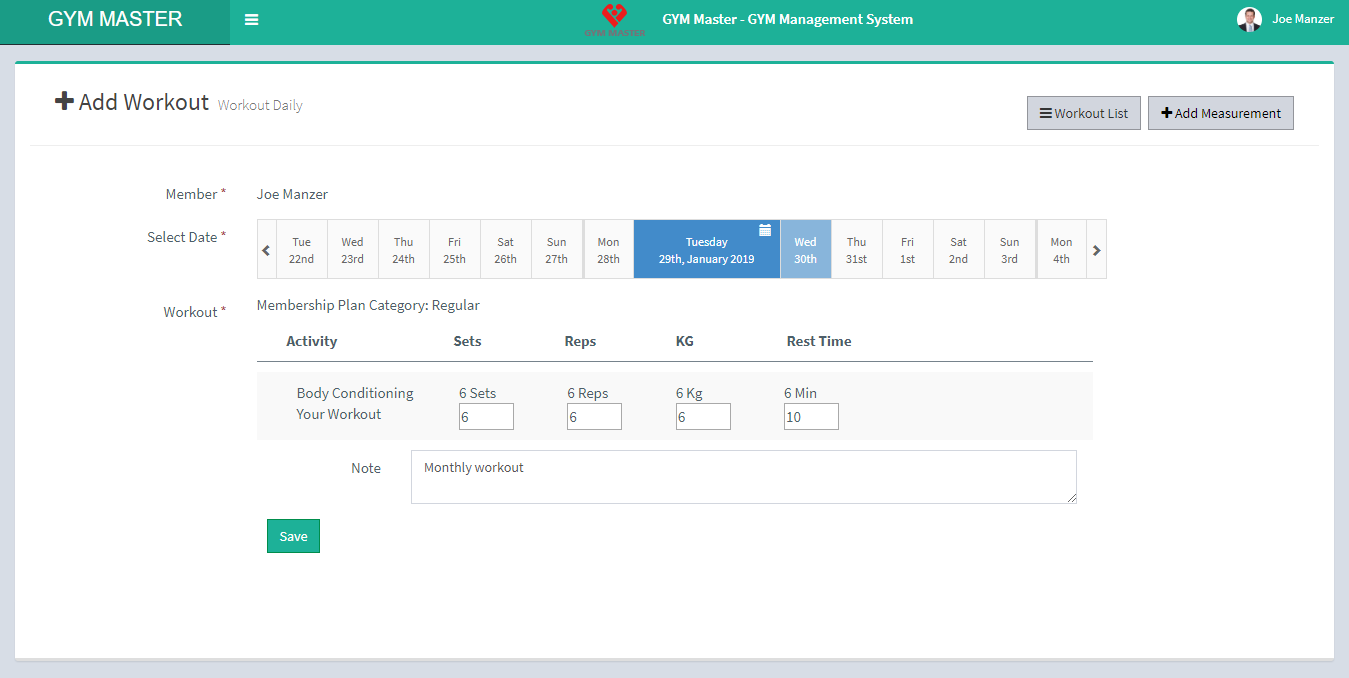
9) Daily Workouts:
Click on Workouts To view members list. staff member can also manage daily workouts. To add new workout of member click on Add Workout Tab.
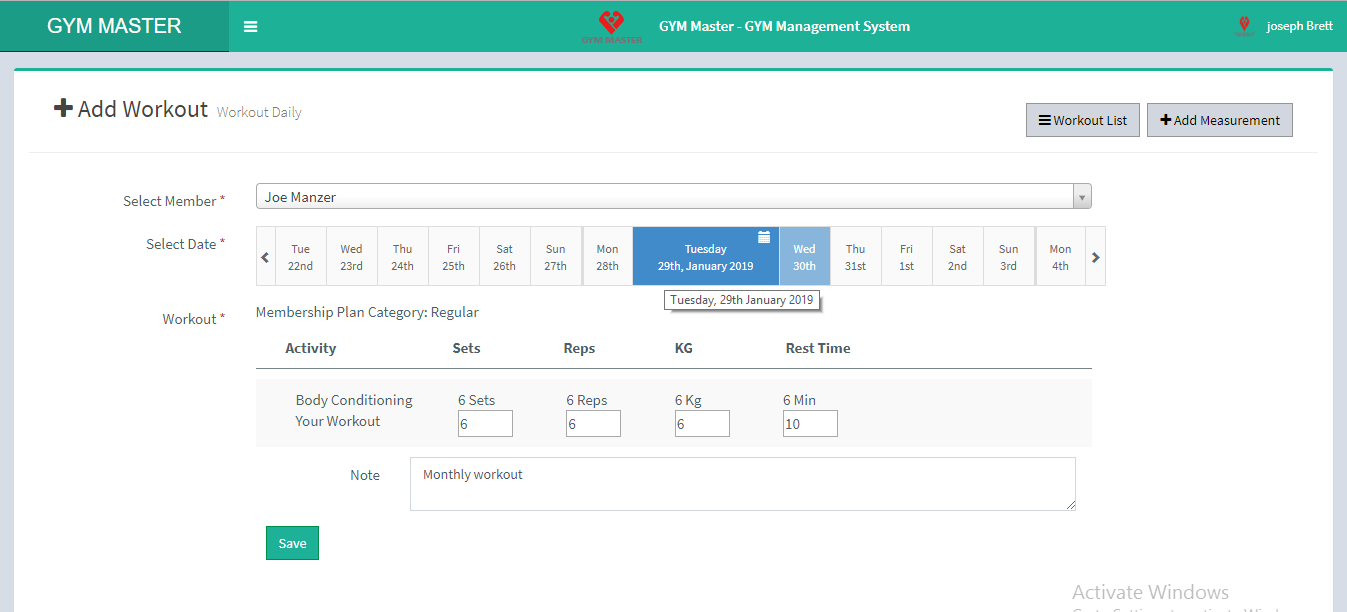
1) Add Workout
First Select Member
Then select date in which you want to add workout data.Workout assigned date will be marked as a green color.
You can also assign workout from here by selecting un-assigned date and you can select Level,Add activity and Note and save.
Here staff member can see completed workouts of particular member.
Here staff member can also add measurement of member workouts result. Add measurement click Add Measurement Tab.
Staff member can also view particular member's measurement result by Click on View Measurement button.
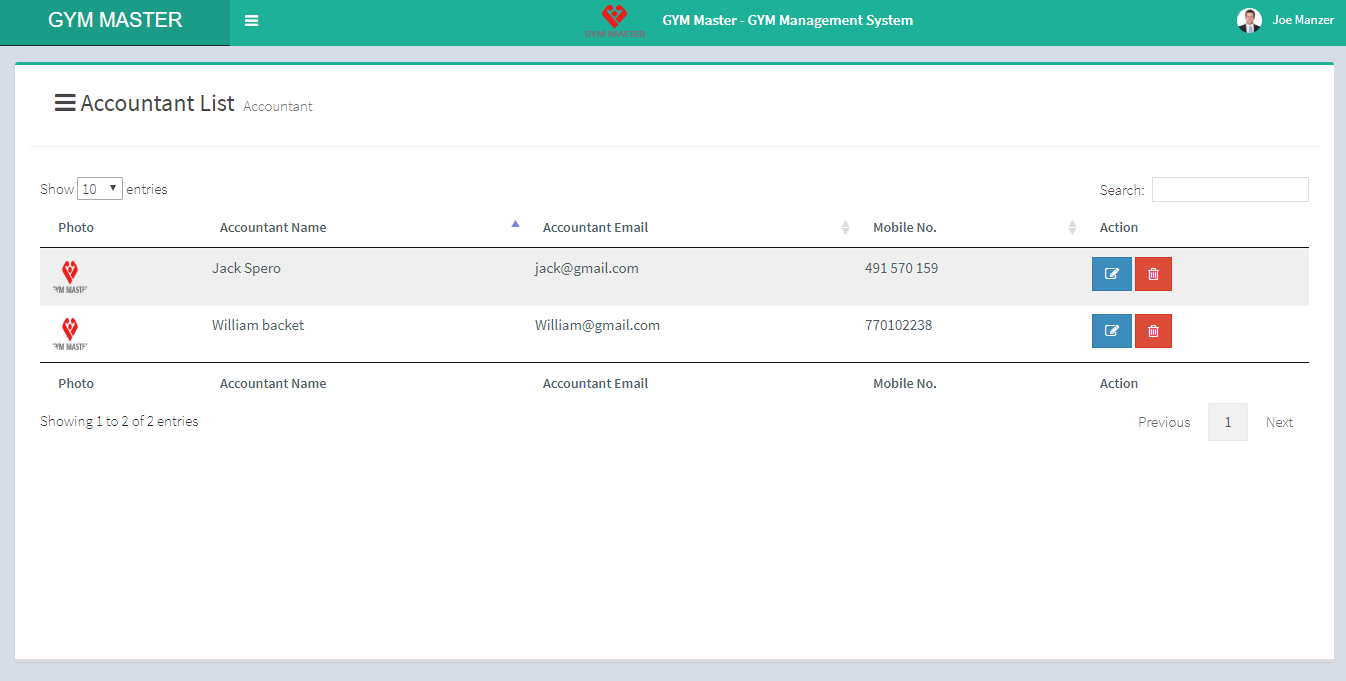
10) Accountant:
Click on Accountant To view Accountant list of gym.

Here Staff member can see just list of all Staff Member in gym.
11) Product:
Click on Product To view product list.
Here staff member can also add new product To that just click on Add Product Tab.
12) Store:
Click on store To view sells record list.
Here staff member can also sell product to member for that just click on Sell Product Tab.
13) Newsletter:
Click on News Letter To send newsletter to member.
Here staff member can send newsletter to many members at ones. To syncronise new member list with mailchimp list click on Sync Mail Tab.
To select campaign which you want to send click Campaign
14) Message:
Click on message To view all your message in inbox.
Here staff member can also send message to the members; for that just click on Compose button.
Staff member can also see sent messages; for that just click on Sent button.
15) Notice:
Click on Notice To view notice list.
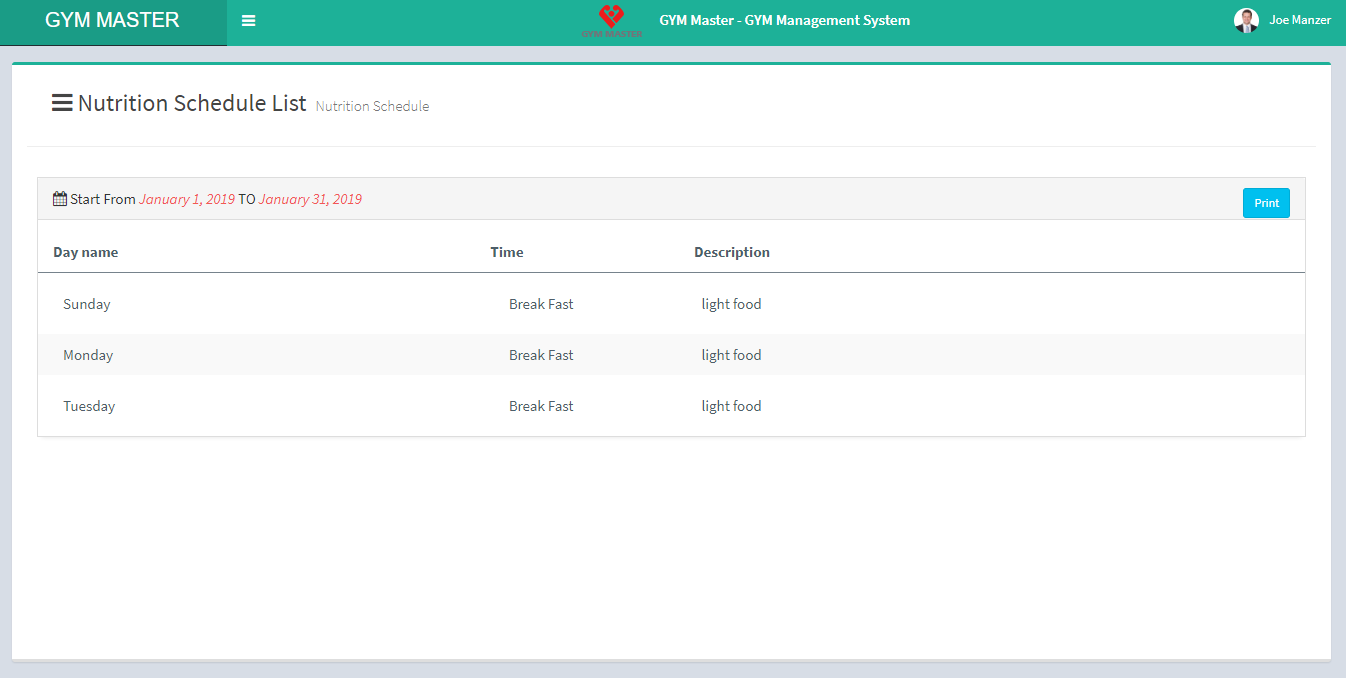
16) Nutrition Schedule:
Click on Nutrition Schedule To view nutrition schedule list of all members.
Here staff member can also view the particular member's nutrition schedule by clicking on View Nutrition button.
View Nutrition :
17) Event:
Click on Event To view list of all event.
Here staff member can also add new event; for that just click on Add event Tab.
18) Account:
Click on Account To view own profile page.
Here staff member can also edit own profile.
E) Member View:
Click on Dashboard to view member side dashboard.
1) Staff Member List:
Click on Staff Member to view complete list of all staff members in gym.
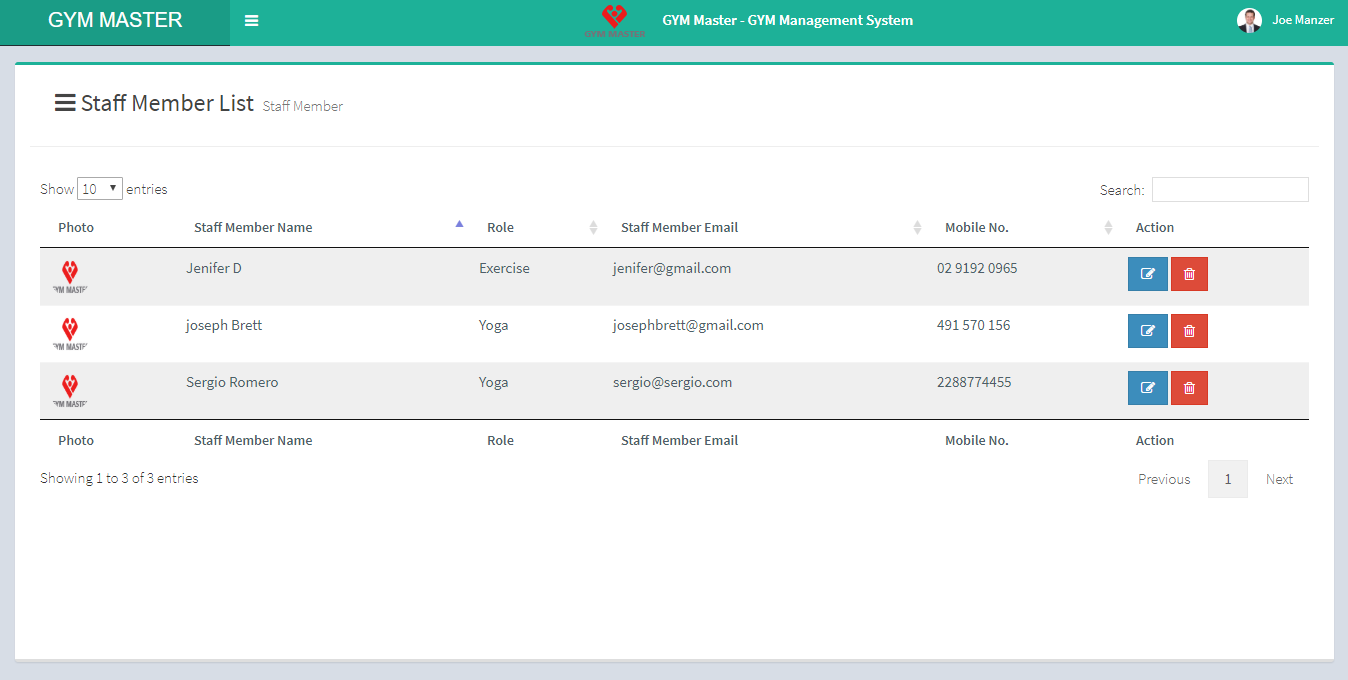
Here member can see list of staff members in gym.
2) Membership Type:
Click on Membership Type to view complete list of all Membership Types in gym.
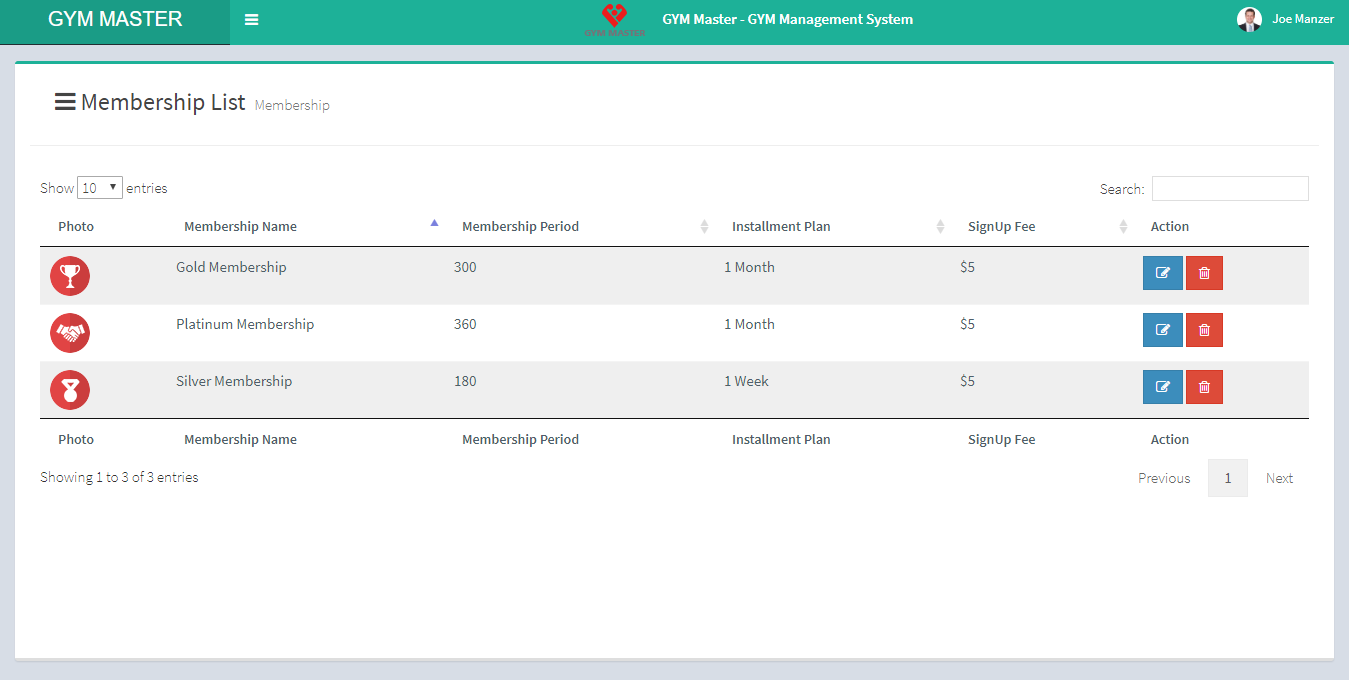
Here member can see list of membership types.
3) Group :
Here member can view all groups in list.
Group List:
Click on Group to view complete list of all Groups in gym.
View:
Click on View for member list
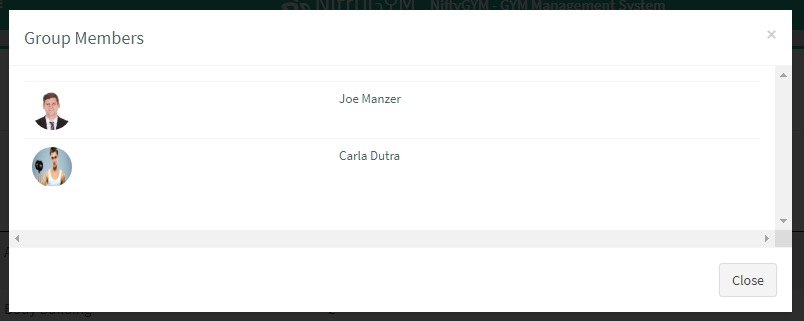
Here member can view all groups in list.
4) Member:
Click on Member to view Member list. But member can view their own details page only.
To view own detail click on View button.
View Detail:
View Attendance:
Staff member can also view attendance of particular member by clicking on View Attendance button.
5) Activity:
Click on Activity to view activity list.
6) Class Schedule:
Click on Class Schedule To view Class list of gym.
To view own class Schedule just click on Schedule List Tab.
7) Assign Workouts:
Click on Assign Workouts to view own assigned workout list.
8)Daily Workouts:
Click on Workouts to view your own workout and add new workout. Member can also manage daily workouts. To add new workout of member click on Add Workout Tab.
Here member can see their own completed workouts.
View Workout:
Here member can also add their own measurement result. To Add measurement click on Add Measurement Tab.
Add Measurement
Member can also view their own measurement result by Clicking on View Measurement button.
9) Accountant:
Click on Accountant to view Accountant list of gym.
Here member can see just list of all Accountant in gym.
10) Fee Payment:
Click on Fee Payment to view just own membership payment list.
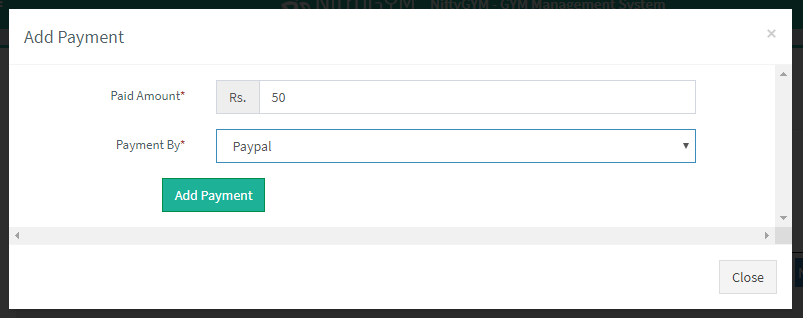
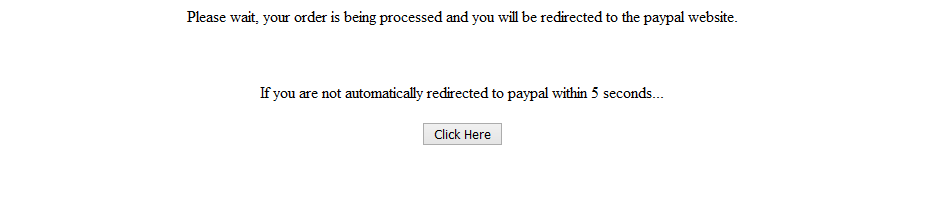
Enter the paid amount and click on add payment.It will redirect you to paypal page and after you can pay via paypal.
12) Message:
Click on message to view all your message in inbox.
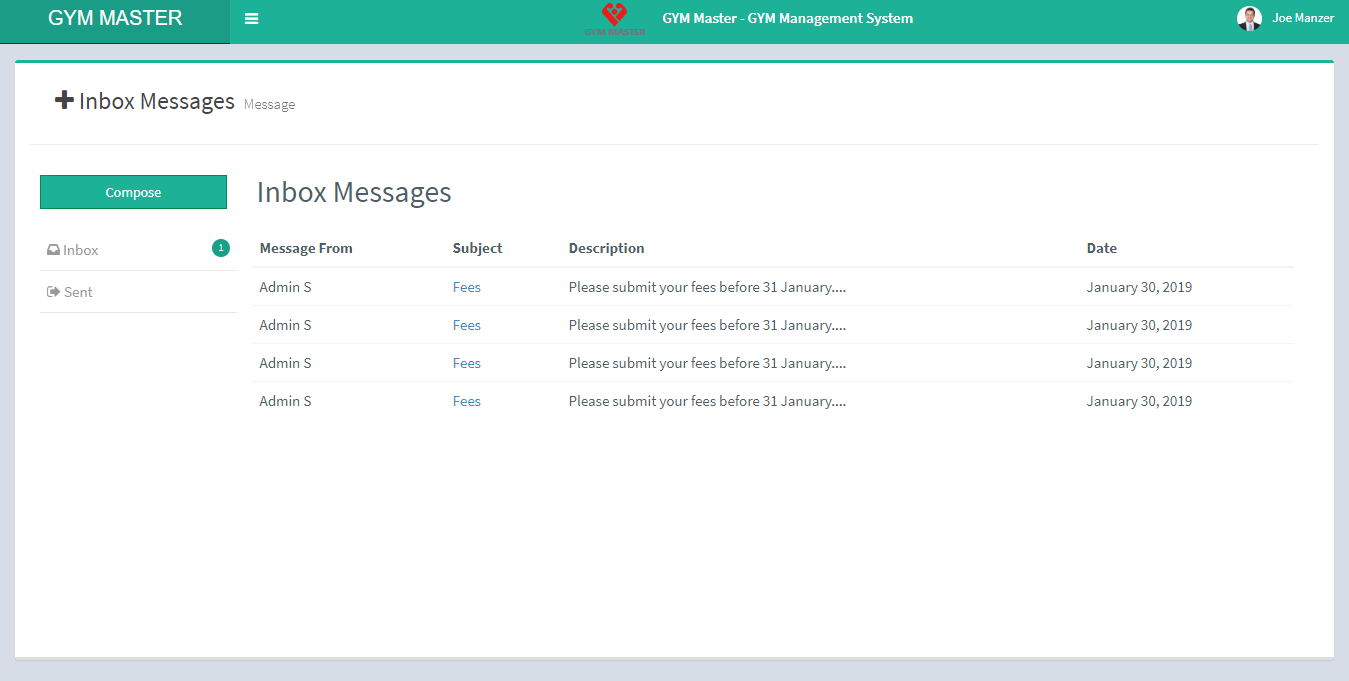
Here member can't send message to the other member and staff member.
13) Notice:
Click on Notice to view notice list
14) Nutrition Schedule:
Click on Nutrition Schedule to view your nutrition schedule
Here member can just view their own nutrition schedule.
15) Event:
Click on Event To view list of all event.
Here member can just view the list of all event.
16) Account:
Click on Account to view own profile page.
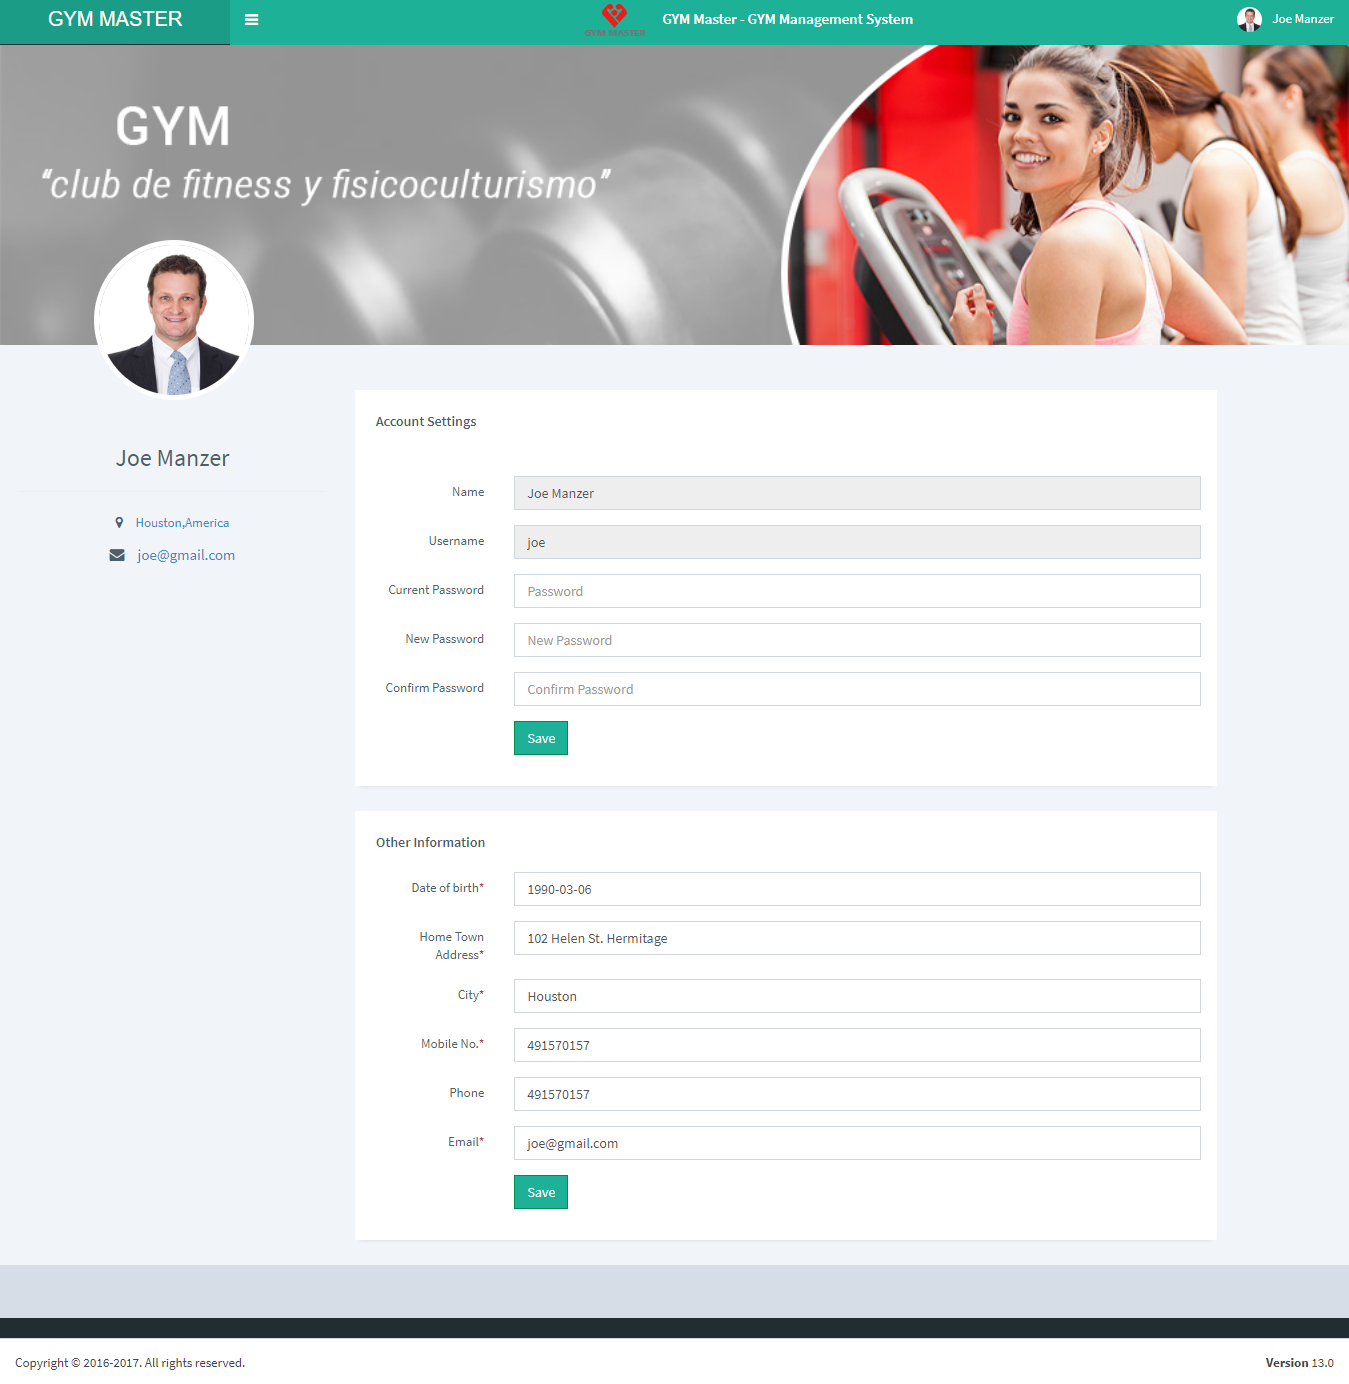
Here member can also edit own profile.
17) Subscription History:
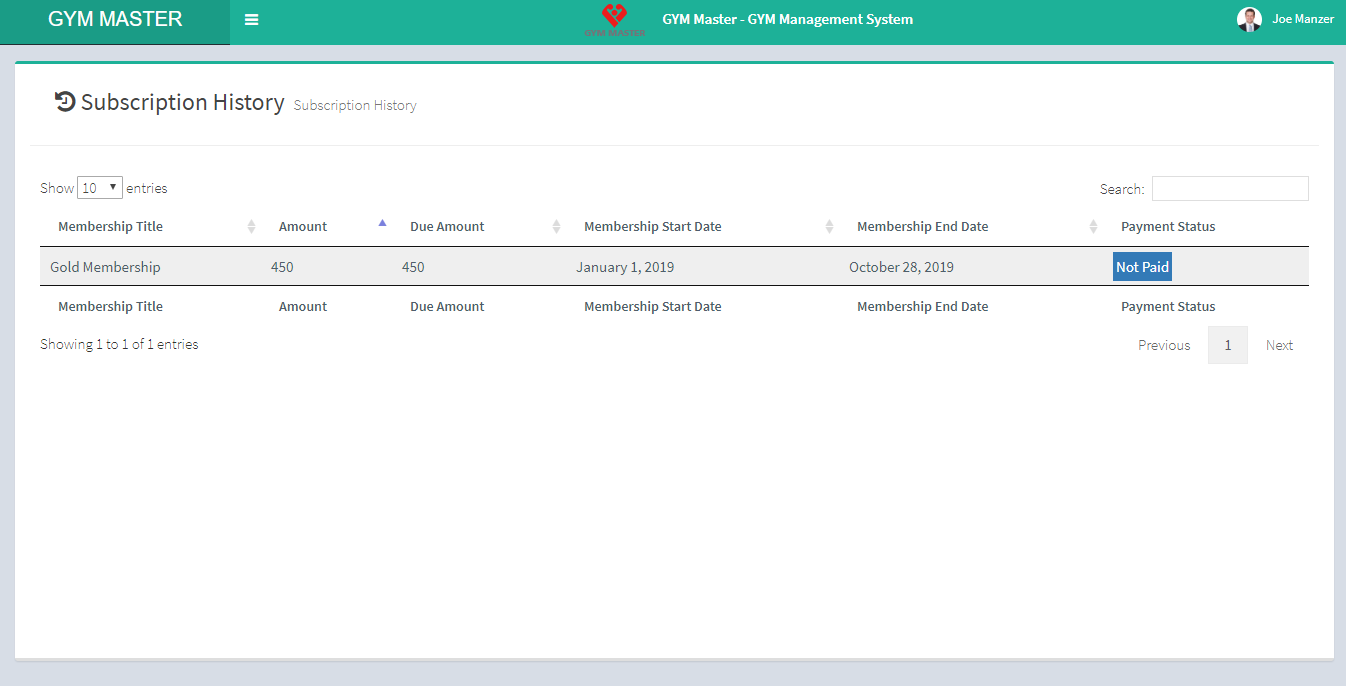
Here member can view their subscription history.
F) Accountant View:
Click on Dashboard to view accountant dashboard.
We have already defined some menus in accountant view. The menus are restricted to accountants work area.
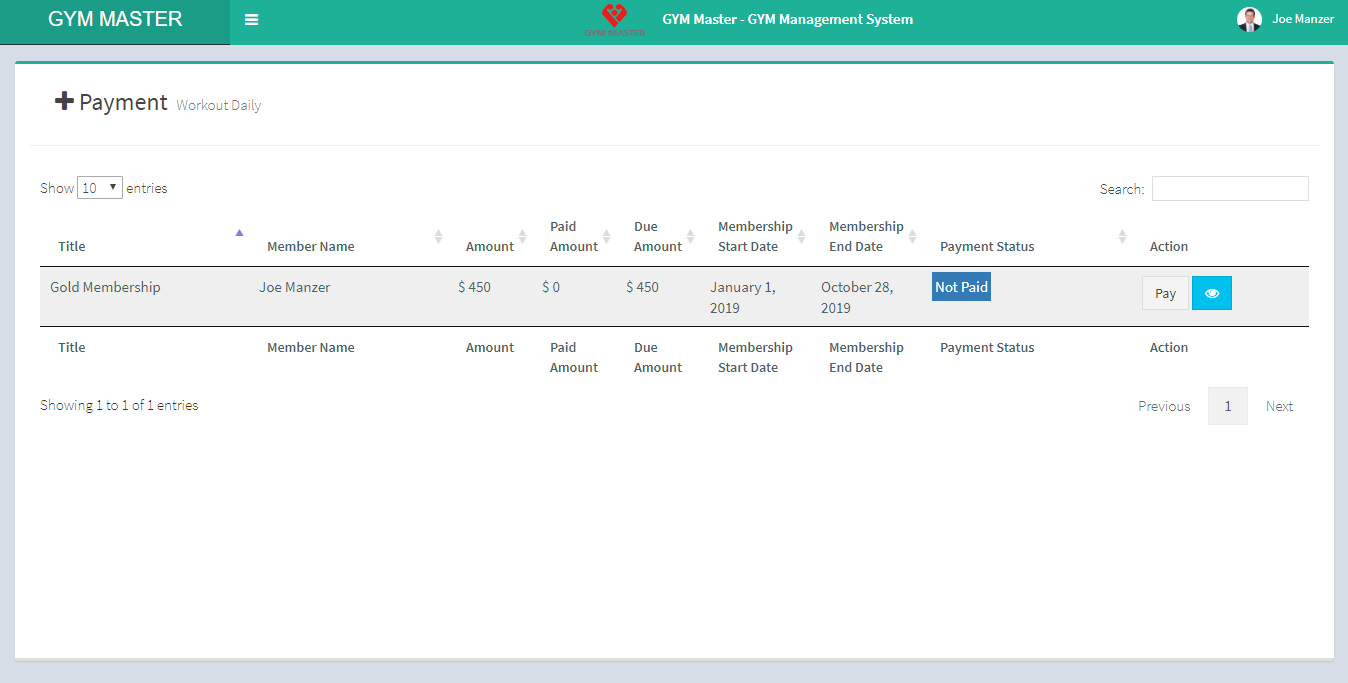
1) Payment:
Click on Payment to view all payment list.
Add Payment:

Accountant can make payment entry for member.
Accountant can add or manage payment.
Income list:

Accountant can also view list of all income.
Add Income:
Here accountant can add more then one entry of income with amount. So that can add many entries for one invoice. To add new row click on Add Income Entry button.
Accountant can also add or manage income.
Expense list:
Accountant can also view list of all Expense.
Add Expense:
Accountant can also add or manage Expense.
G) FAQ
1) I Dont see Installer Page properly.No background image,no Next button nothing.
Make Sure you have .htaccess file on main directory[in gym_master folder].Where src,webroot,config directory[].
If you already have .htaccess Make sure your host has mod_rewrite module on.Basically on apache server.
If you want to have any paid customization as per your requirements, you can contact us on sales@mojoomla.com.
1) When i go to Payment pages it says : An Internal Error Has Occurred.
For this you have to re-upload file paypal_class.php.Please upload file via c-pable file manager.
H) Setting Up Language
Since V14 application supports 31 languages
To change the application language goto "Genereal Settings" menu and select system laguage as per your need and click on save button.
System language will change.If it did not changed, give it 5 min to reflect new settings.
You can set application to RTL.Select RTL checkbox to change app to RTL and click on save.